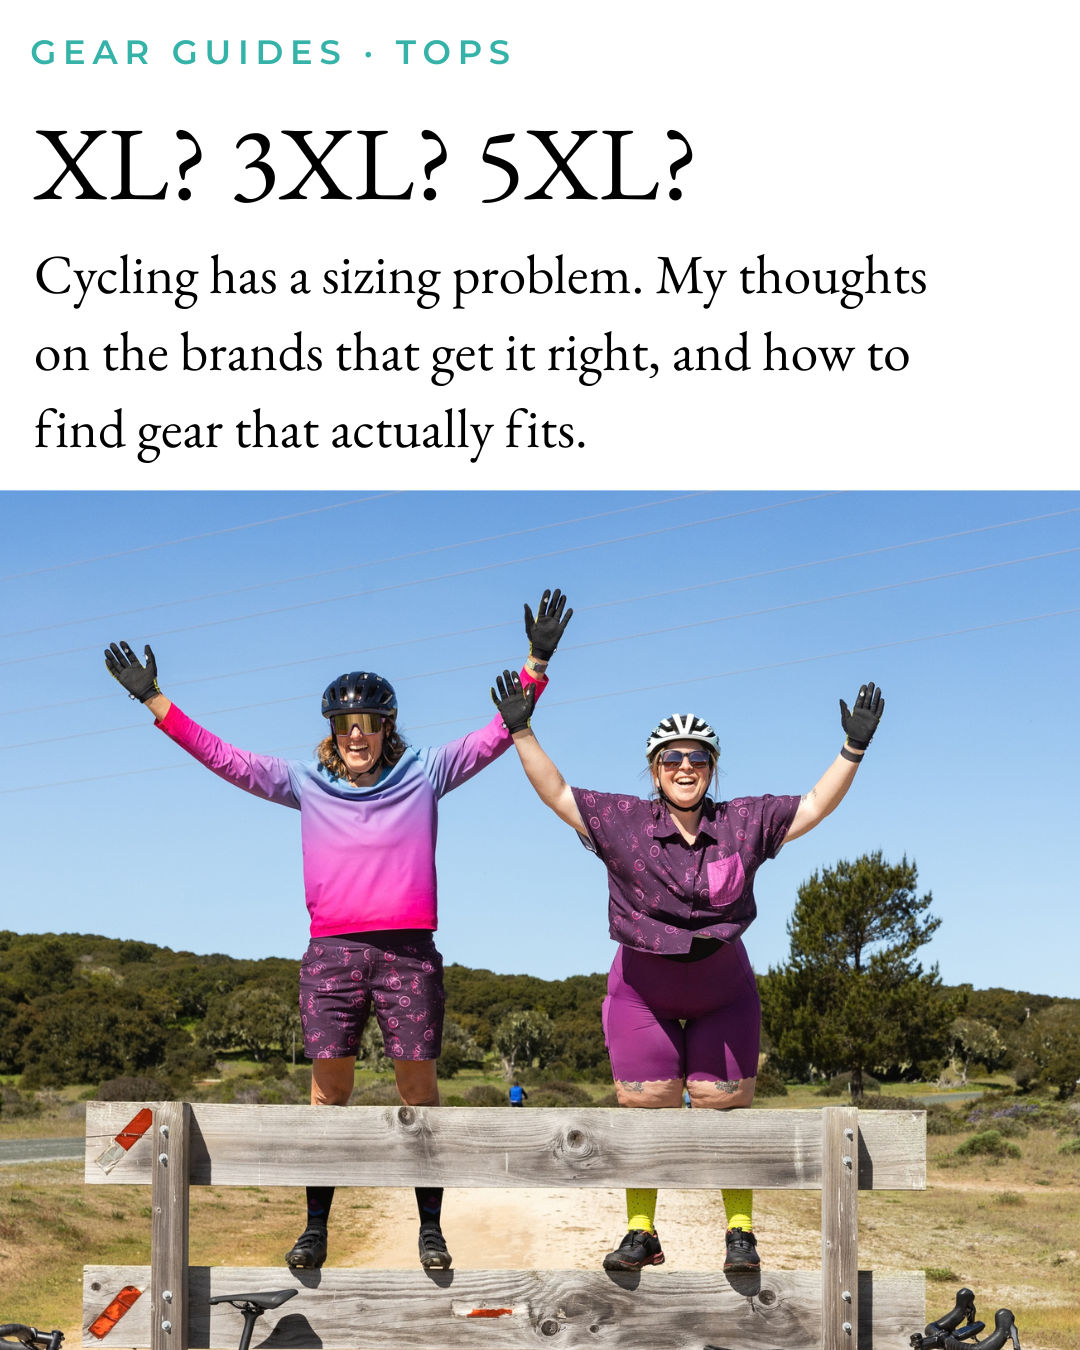
XL? 2XL? 5XL? Cycling has a sizing problem
In regular clothes I wear an XL top. In cycling clothes, I'm anywhere from an XL to a 5XL. Here's why cycling sizes are so confusing, my #1 tip for finding your fit, and my favorite brands making jerseys all the way up to 7XL.
Let's talk about the most confusing shopping experience in cycling: figuring out what size you are.
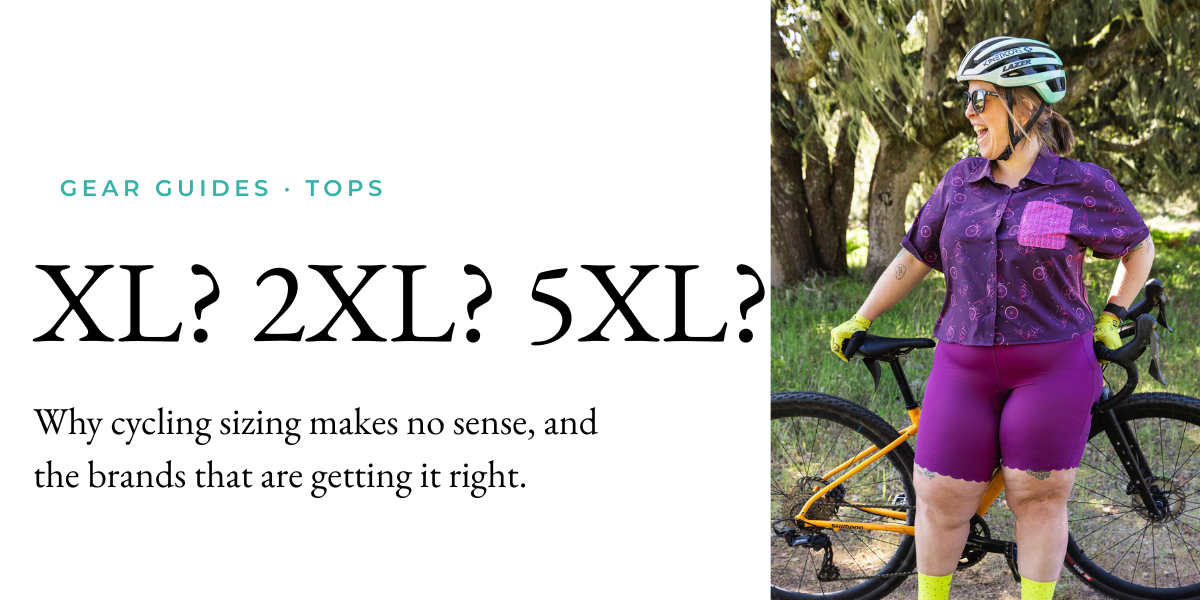
Take me, for example. I’m 5’2, and in regular, everyday clothes I typically wear an XL top, a size 16 dress, and size 18-20 pants. In cycling clothes? My size ranges from an XL all the way to a 5XL.
Same body. Same bust, same butt, same lipedema legs. Wildly different letters and numbers on the tag.
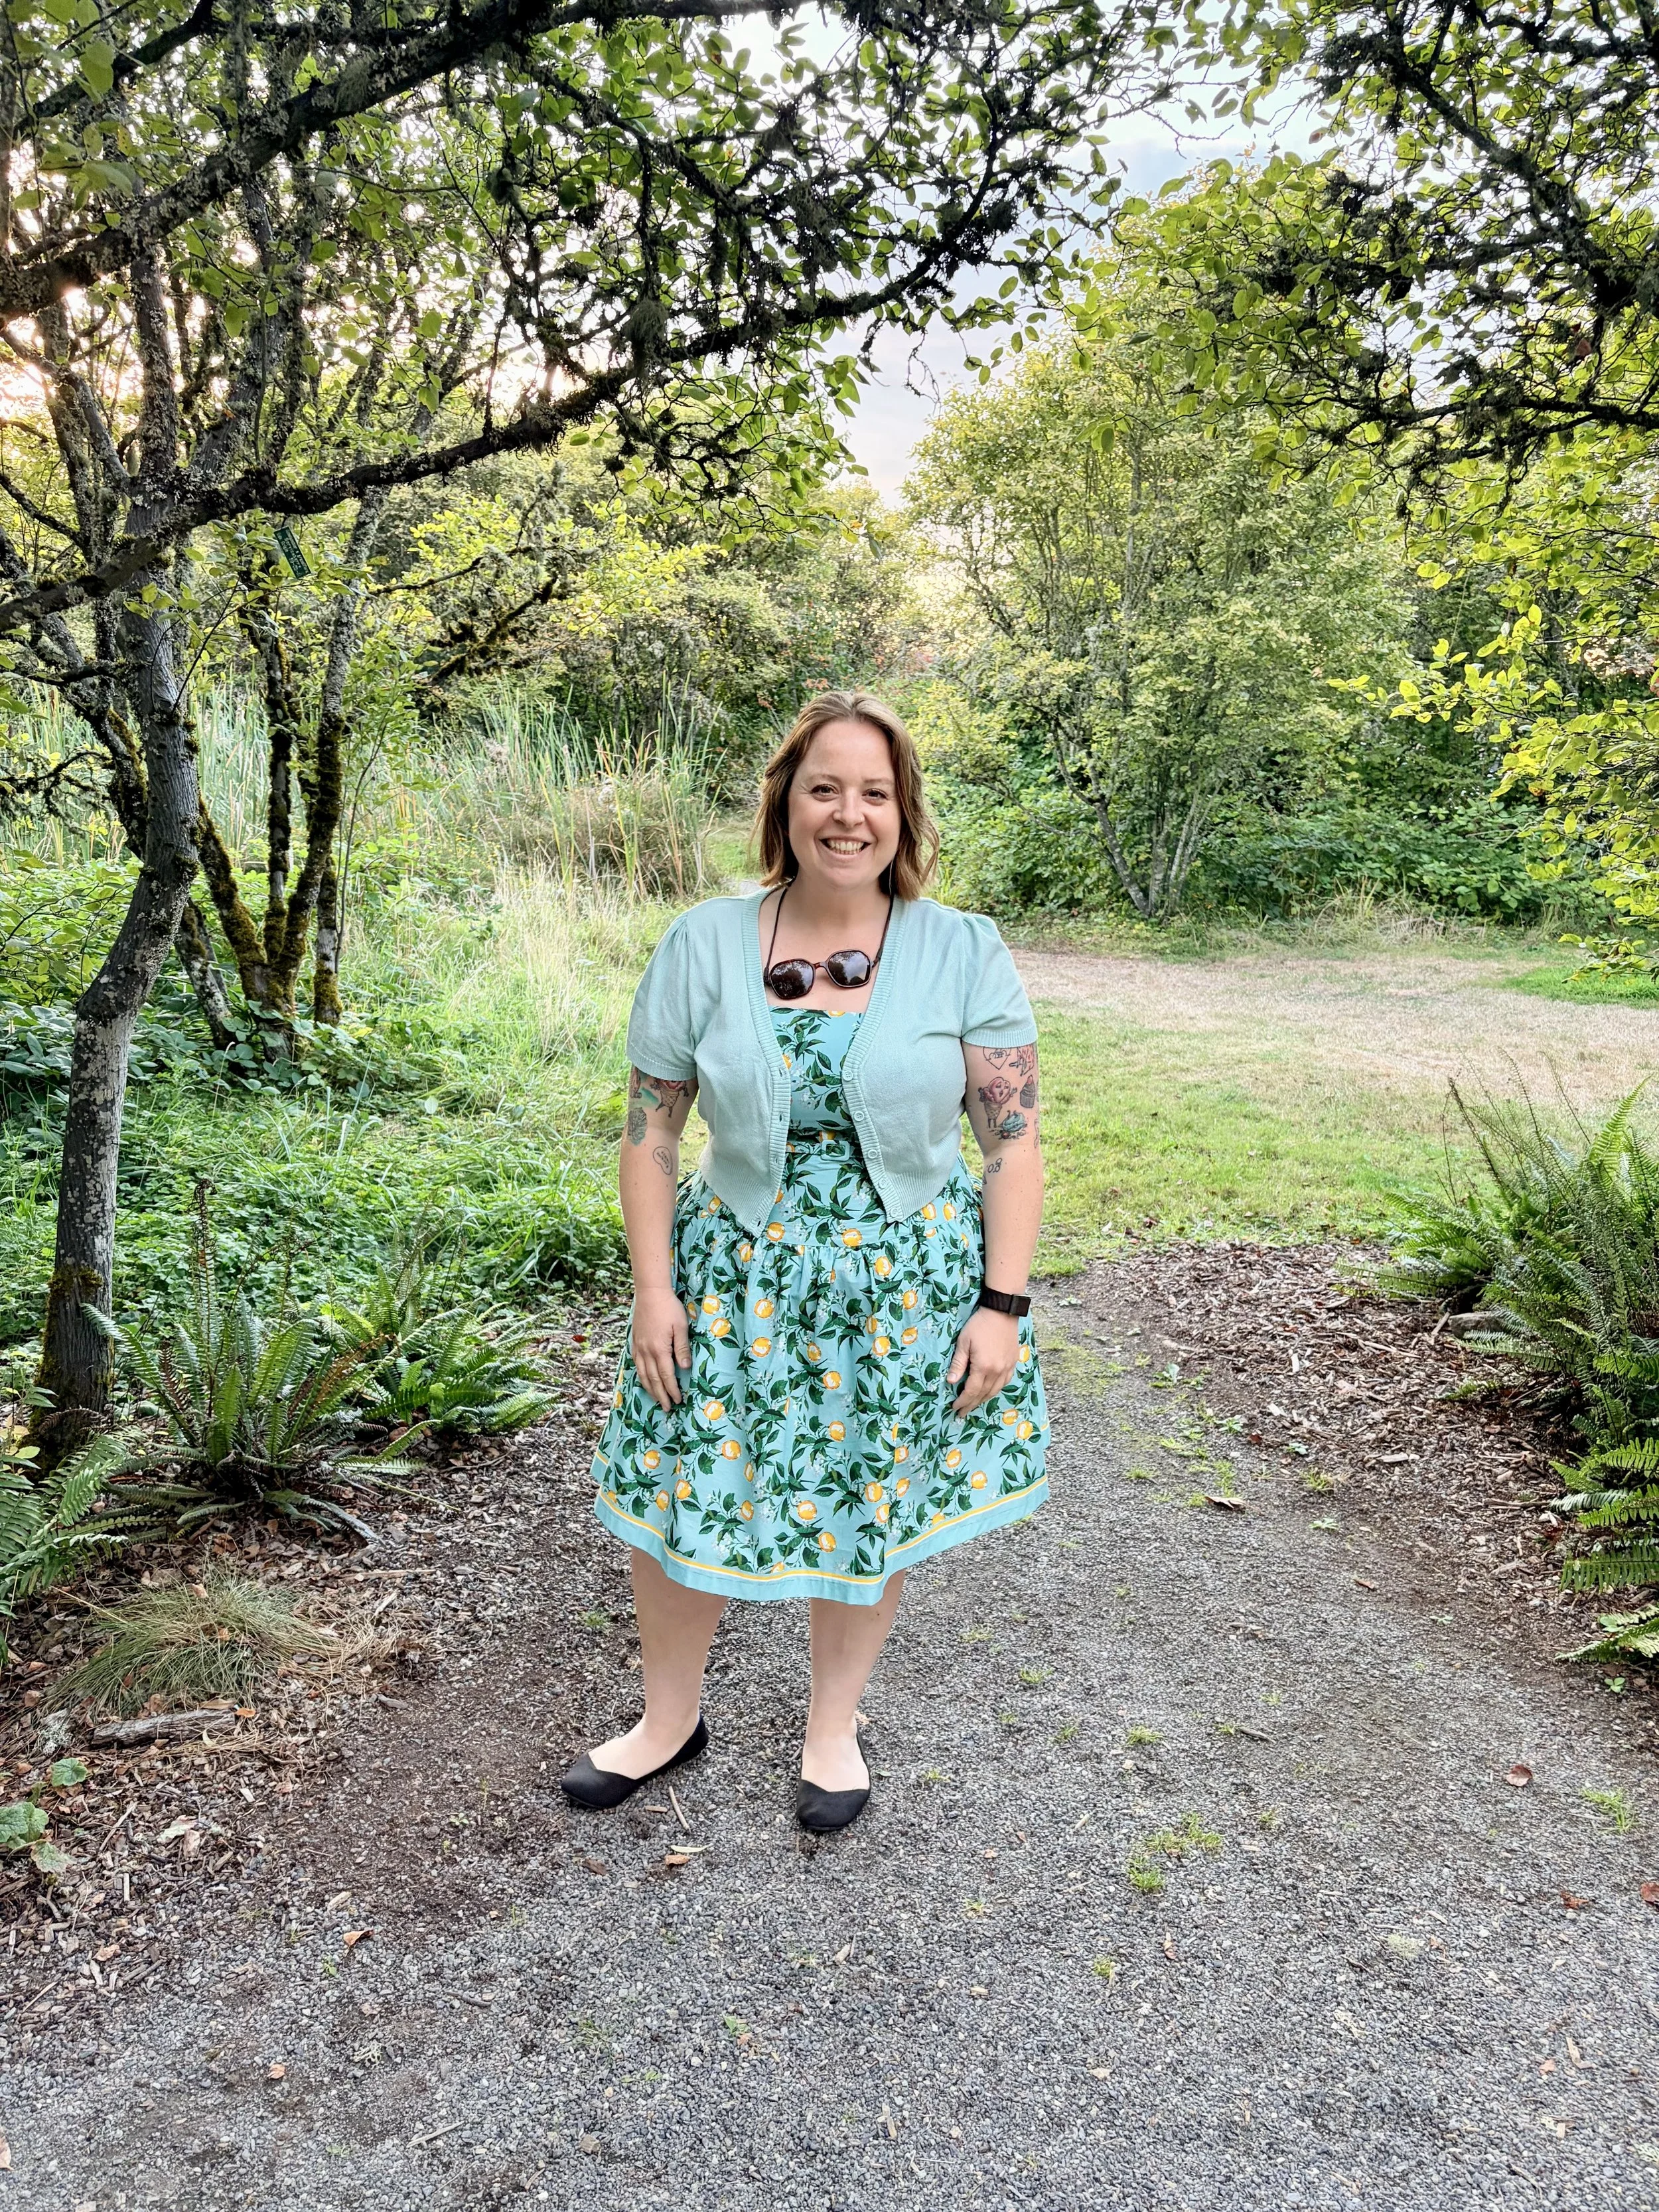
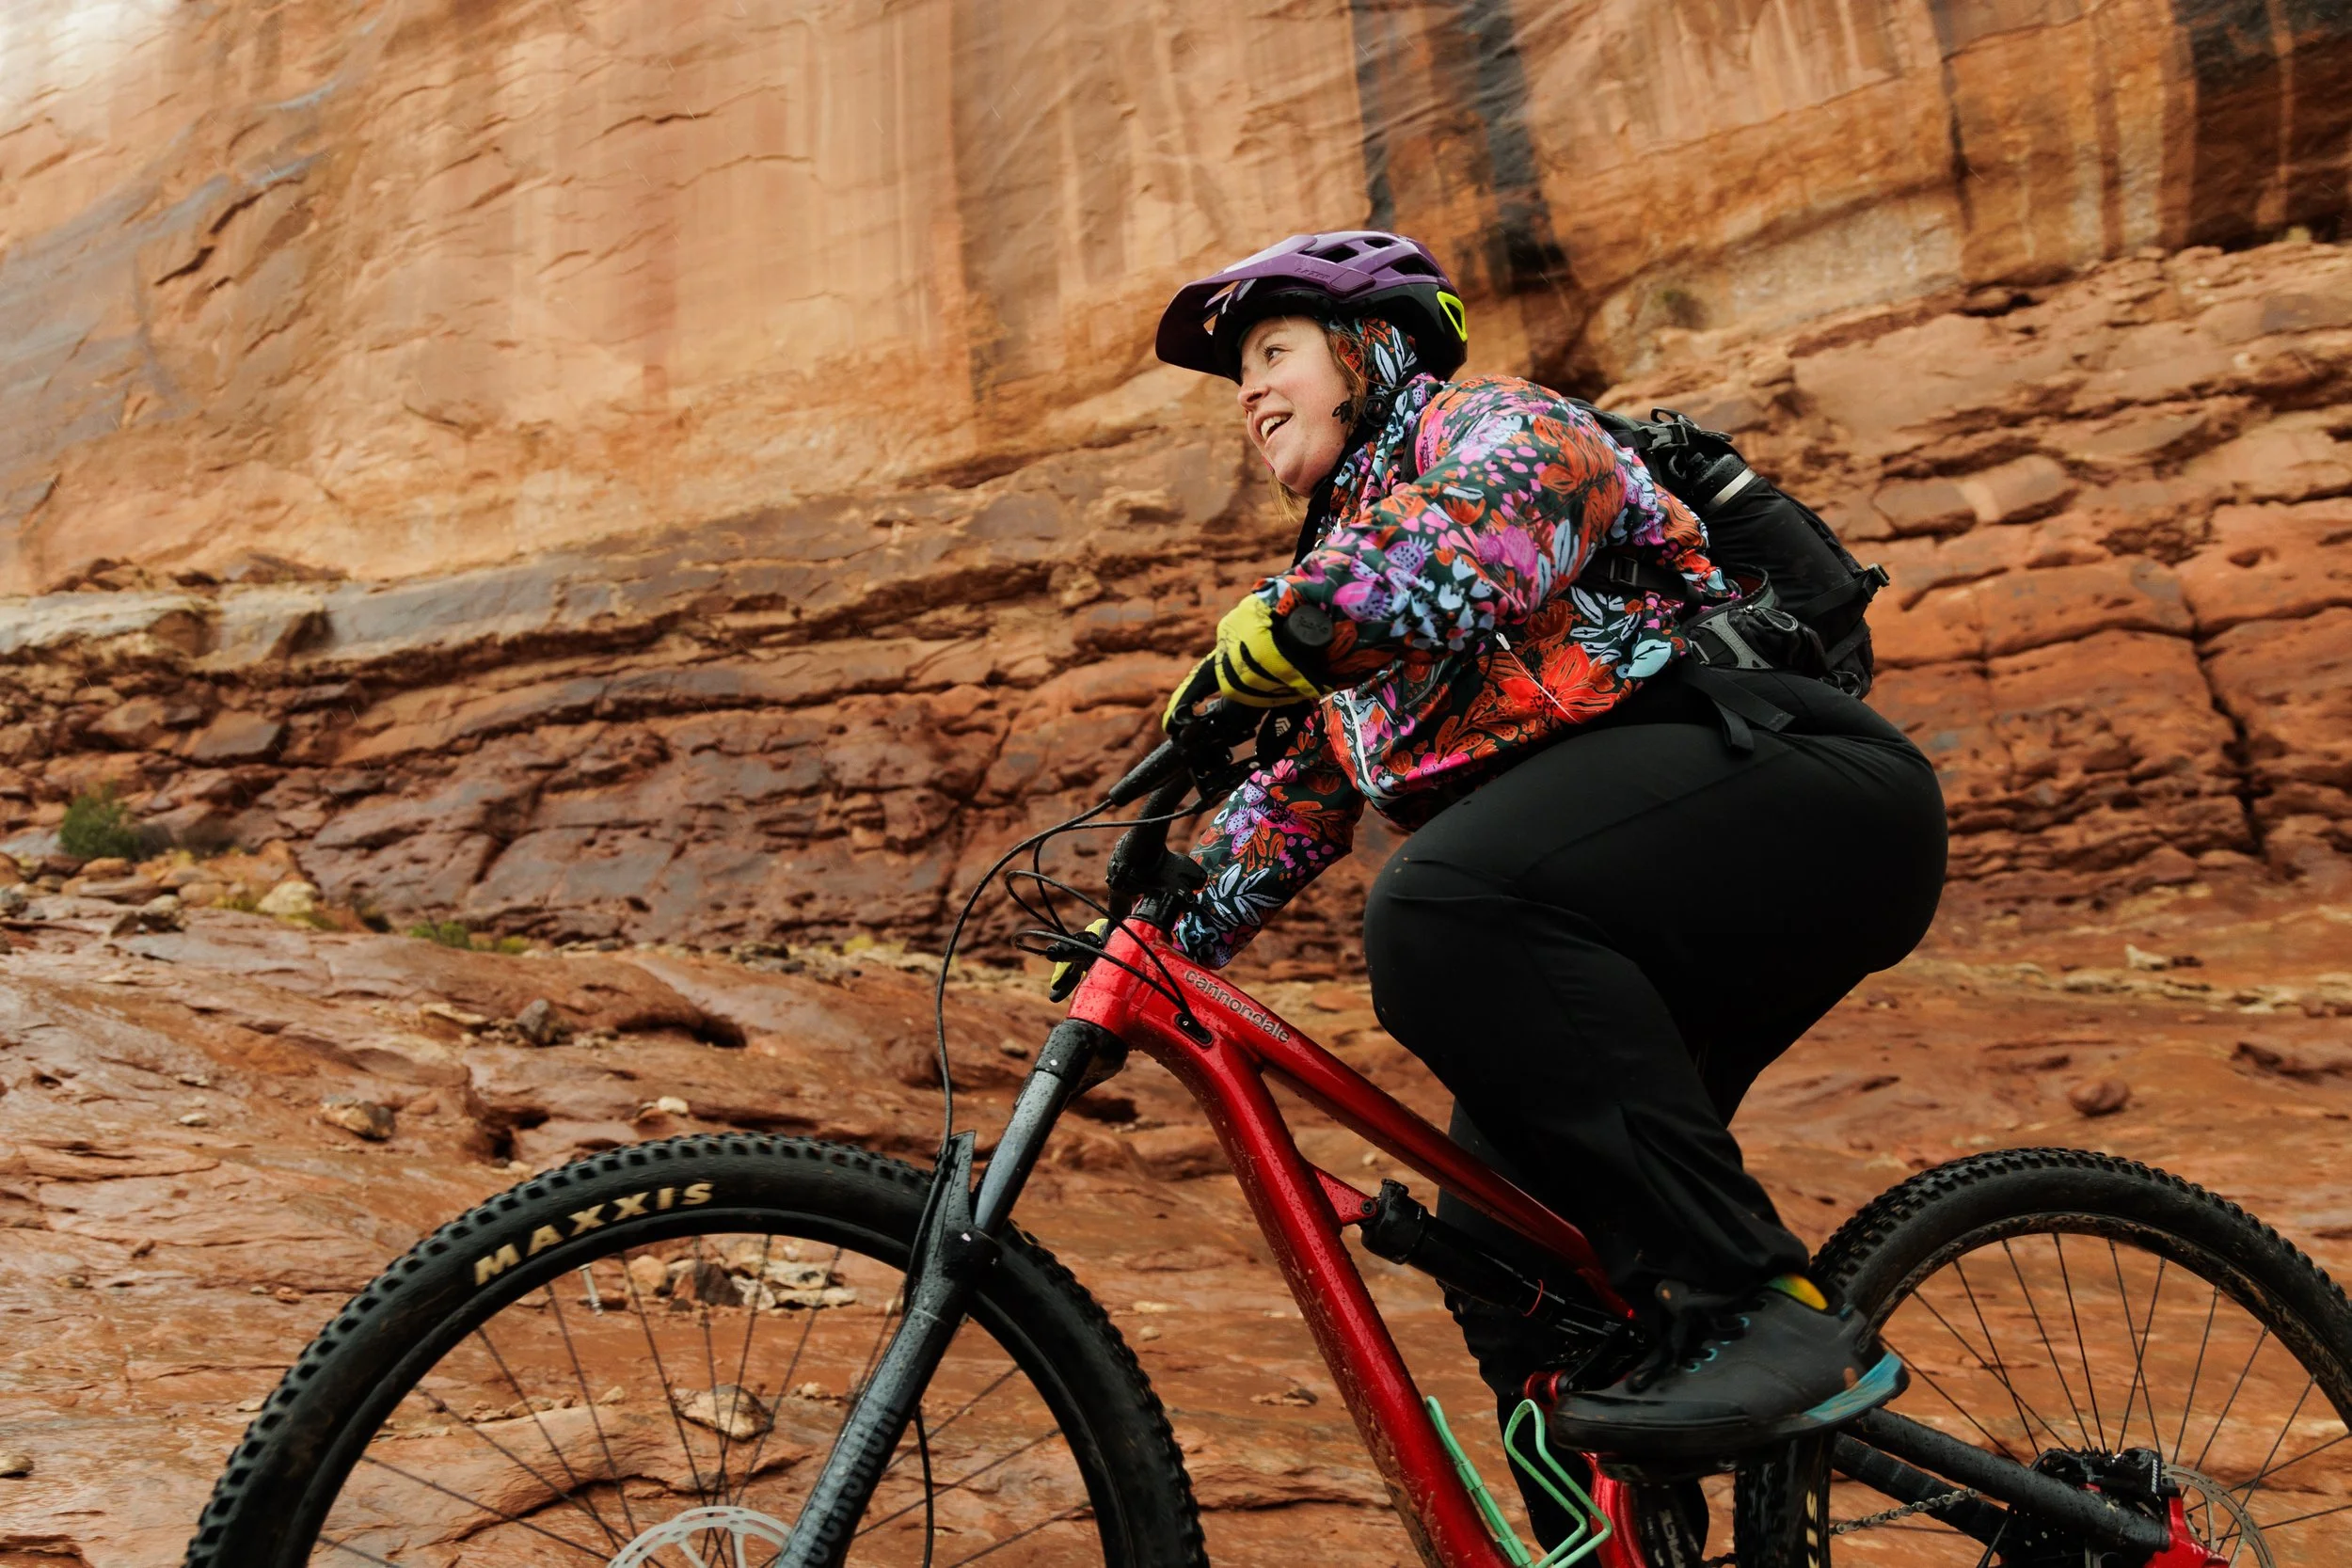
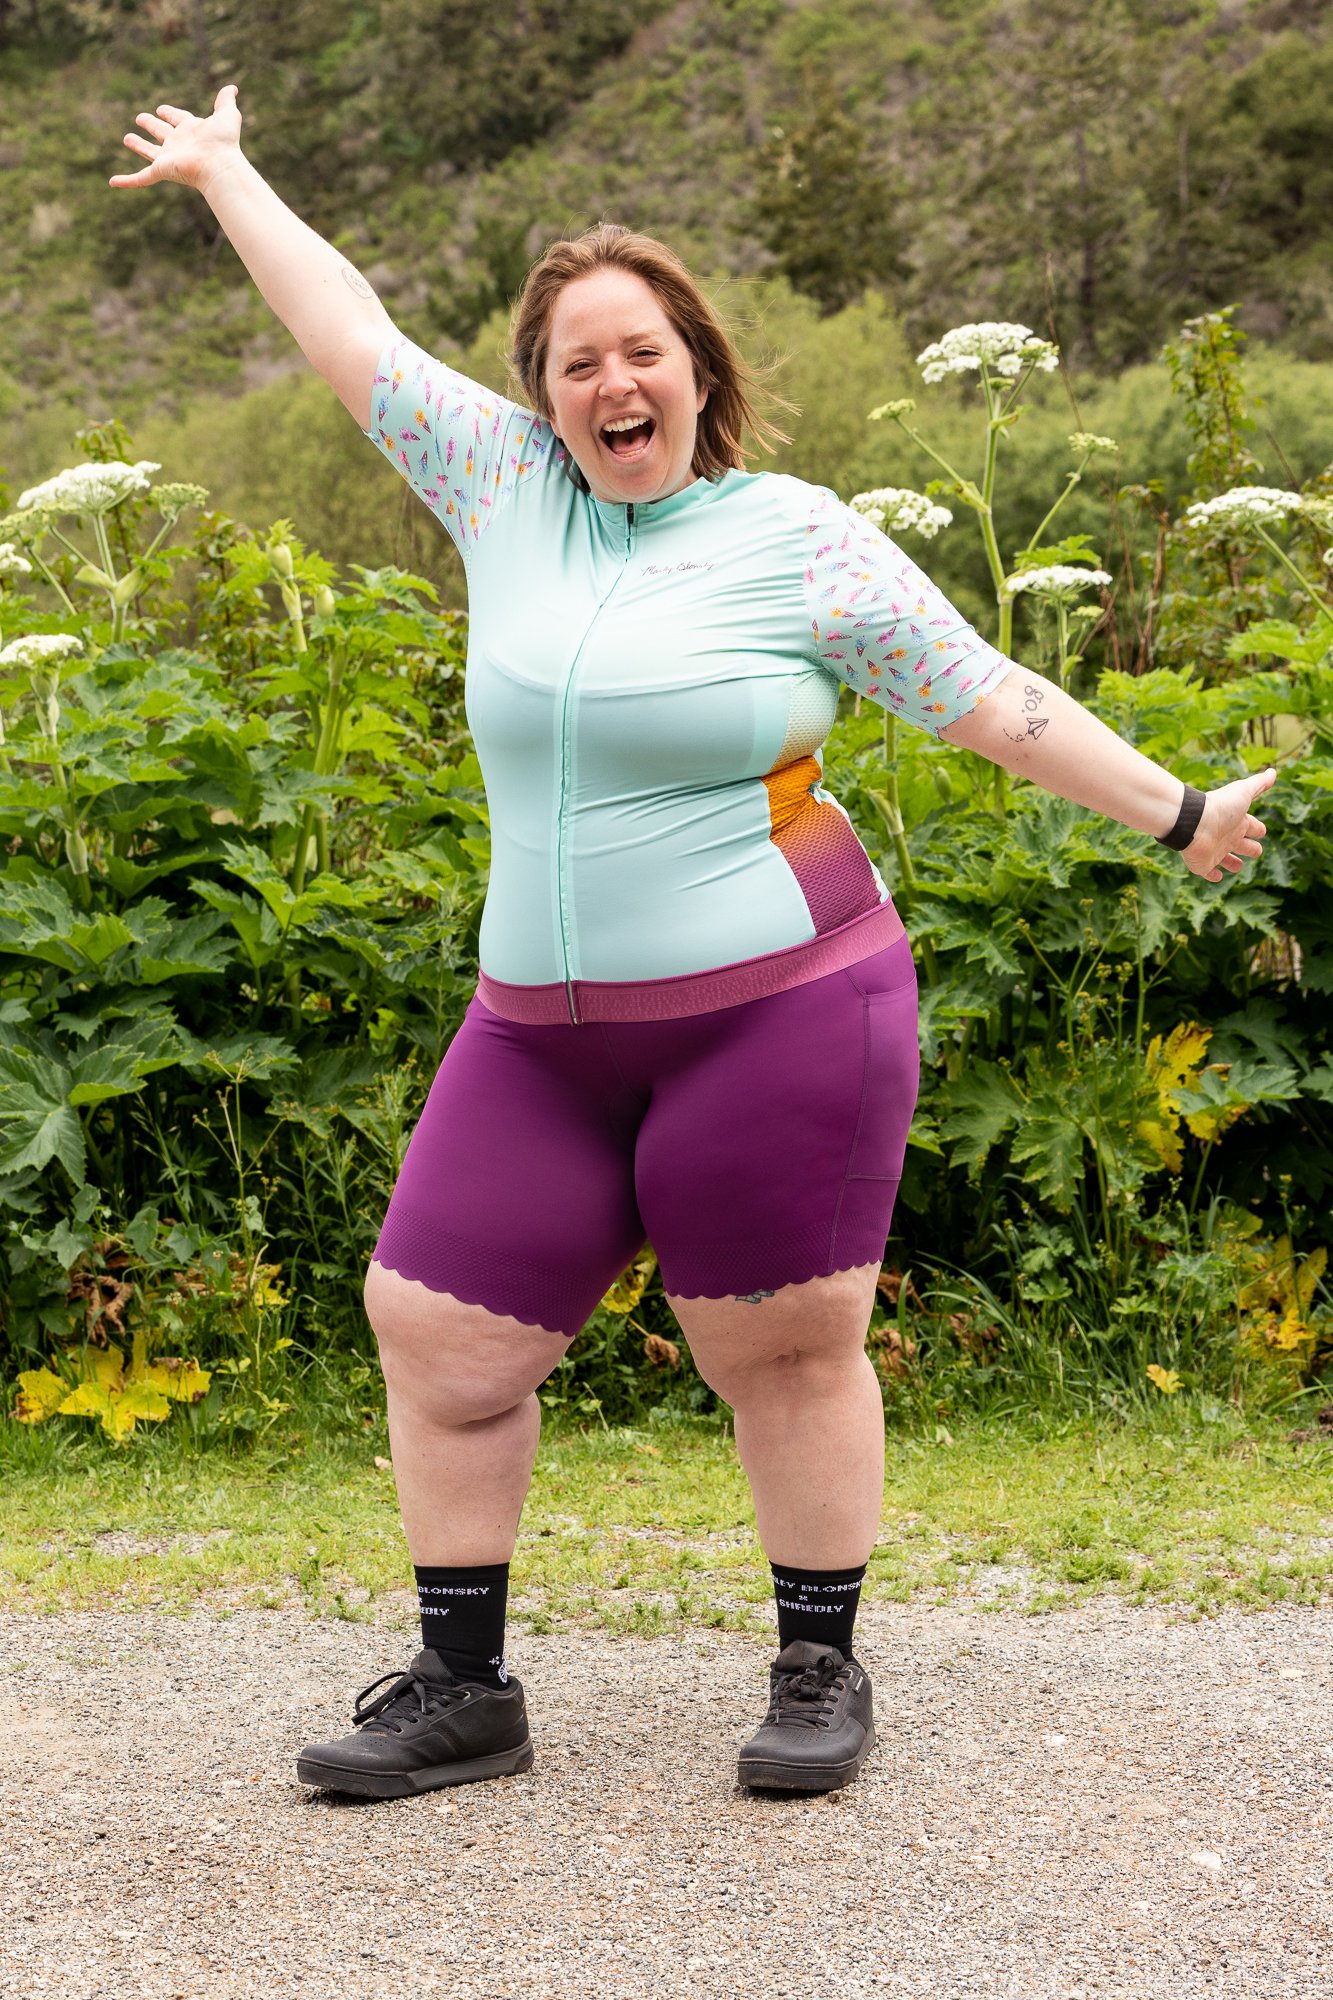
Even inside one brand, my size changes. In SHREDLY, I wear an XL casual top, a 2XL jersey and bib short, and a 20 in their numbered pants and shorts. If that makes your head spin, you're not alone. Cycling clothes often run smaller than regular clothes, so the size you wear every day might not be your size on the bike. Add to that vanity sizing, historically tiny European sizing standards, and quality differences between brands, and it can be nearly impossible to know your size.
And when every brand has its own size chart, "just order your size" isn't real advice. It's a guessing game, and plus-size riders are the ones who lose it most often, usually at the very end of the size run, or past it.
So what are you supposed to do? Here’s my best advice:
Ignore the tag, trust the tape measure.
Before you buy, grab a soft measuring tape and measure your bust, waist, and hips. Then check each brand's size chart and go by your measurements, not the size on the tag. It takes five minutes and saves you a lot of returns (and a lot of feelings in a dressing room). I know that measuring yourself can be triggering for some folks. If this is the case for you, I encourage you to remember that they’re just numbers and hold no value judgement.
You can ride in anything.
I want to be really clear about this: there's no right or wrong way to dress for riding a bike. Often in the summer you'll see me in sundresses and sandals and happy as a clam. If it's comfy and you can pedal in it, you're dressed for a bike ride.
So why bother with cycling clothes at all? Because once your rides get longer, purpose-built clothing really starts to earn its keep. A good jersey wicks sweat away instead of soaking it up like a cotton tee. Pockets in the back hold your phone and snacks. And clothes cut for the riding position mean way fewer adjustments: no tugging, no riding up, no stopping every few miles to fix things.
The same goes for bottoms. Never…or very very very rarely do I wear underwear when I ride bikes. Wearing underwear while biking is an excellent way to get chafing, saddle sores and wedgies from hell. A good chamois (padded short) goes on by itself, and when I have a long day in the saddle, it's the first piece of clothing I take off when I'm done riding.
Start with SHREDLY
If you're shopping for your first (or fiftieth) cycling top, I highly encourage you to start with SHREDLY. They make their tops in XS–3X and their bottoms in sizes 00–24, with styles for road, gravel, and mountain biking. Their size guide puts a 3X at a 48–51" chest, so you can check your measurements before you buy.
They also carry a variety of cycling top styles - including a traditional, close cut jersey, a boxier cropped tank top, long sleeve sun shirts, and cargo shirts!
Full disclosure: I'm biased, because SHREDLY is home to my very own SHREDLY x Marley Blonsky capsule collection! This year’s collection celebrates my children's book, The Ragtag Best Friends Bicycle Club, and the idea that every body belongs on a bike.
Shop the SHREDLY x Marley Blonsky collection
Ask your local bike shop to carry size-inclusive brands, like SHREDLY!
Here's the thing about online shopping: you can't try anything on. That's why I'd love to see more bike shops carrying full size runs when possible. Throughout 2027, I’ll also be working with SHREDLY to host pop-up shops in local bike shops, so riders can see the fabric, try on a few sizes, and find their fit in person.
So here's my ask: the next time you're at your local bike shop, share my Plus Size Cycling Tops Guide AND tell them you want a SHREDLY pop-up event! Shop owners, if you're interested in hosting one, reach out to me for more details!
More brands that go beyond XL
SHREDLY isn't the only brand making room for bigger bodies. Here are more of my picks, with the biggest size each one makes:
| Brand | Biggest size |
|---|---|
| Online Cycling Gear | 7XL |
| All Bodies on Bikes x Champion Systems | 6XL |
| Aero Tech Designs | 5XL |
| Samsara Cycle | 4XL |
| SHREDLY | 3X |
| SheBeest | 3X |
| Terry | 3X |
| Cyclewear Central (UK) | UK 28 |
For product links, size details, and fit notes for every brand, check out my full guide: Cycling Jerseys That Go Beyond XL.
Let's keep pushing
All gear should be made in many more sizes, up to at least a 6X or 7X. We're getting closer, and every time we buy from brands that make our sizes and ask for more, we move the whole industry forward.
Know a brand I missed? Tell me about it!
Some links in this post are affiliate links, which means I may earn a small commission if you buy something, at no extra cost to you. I partner with some of these brands, including SHREDLY.
A Size Inclusive Guide to Bike Commuting!
Whether you’re heading to work, class, or just out for errands, what you wear on your bike commute can make or break your ride. Prioritizing comfort, weather readiness, and visibility keeps you feeling great and helps you stay safe out on the road.
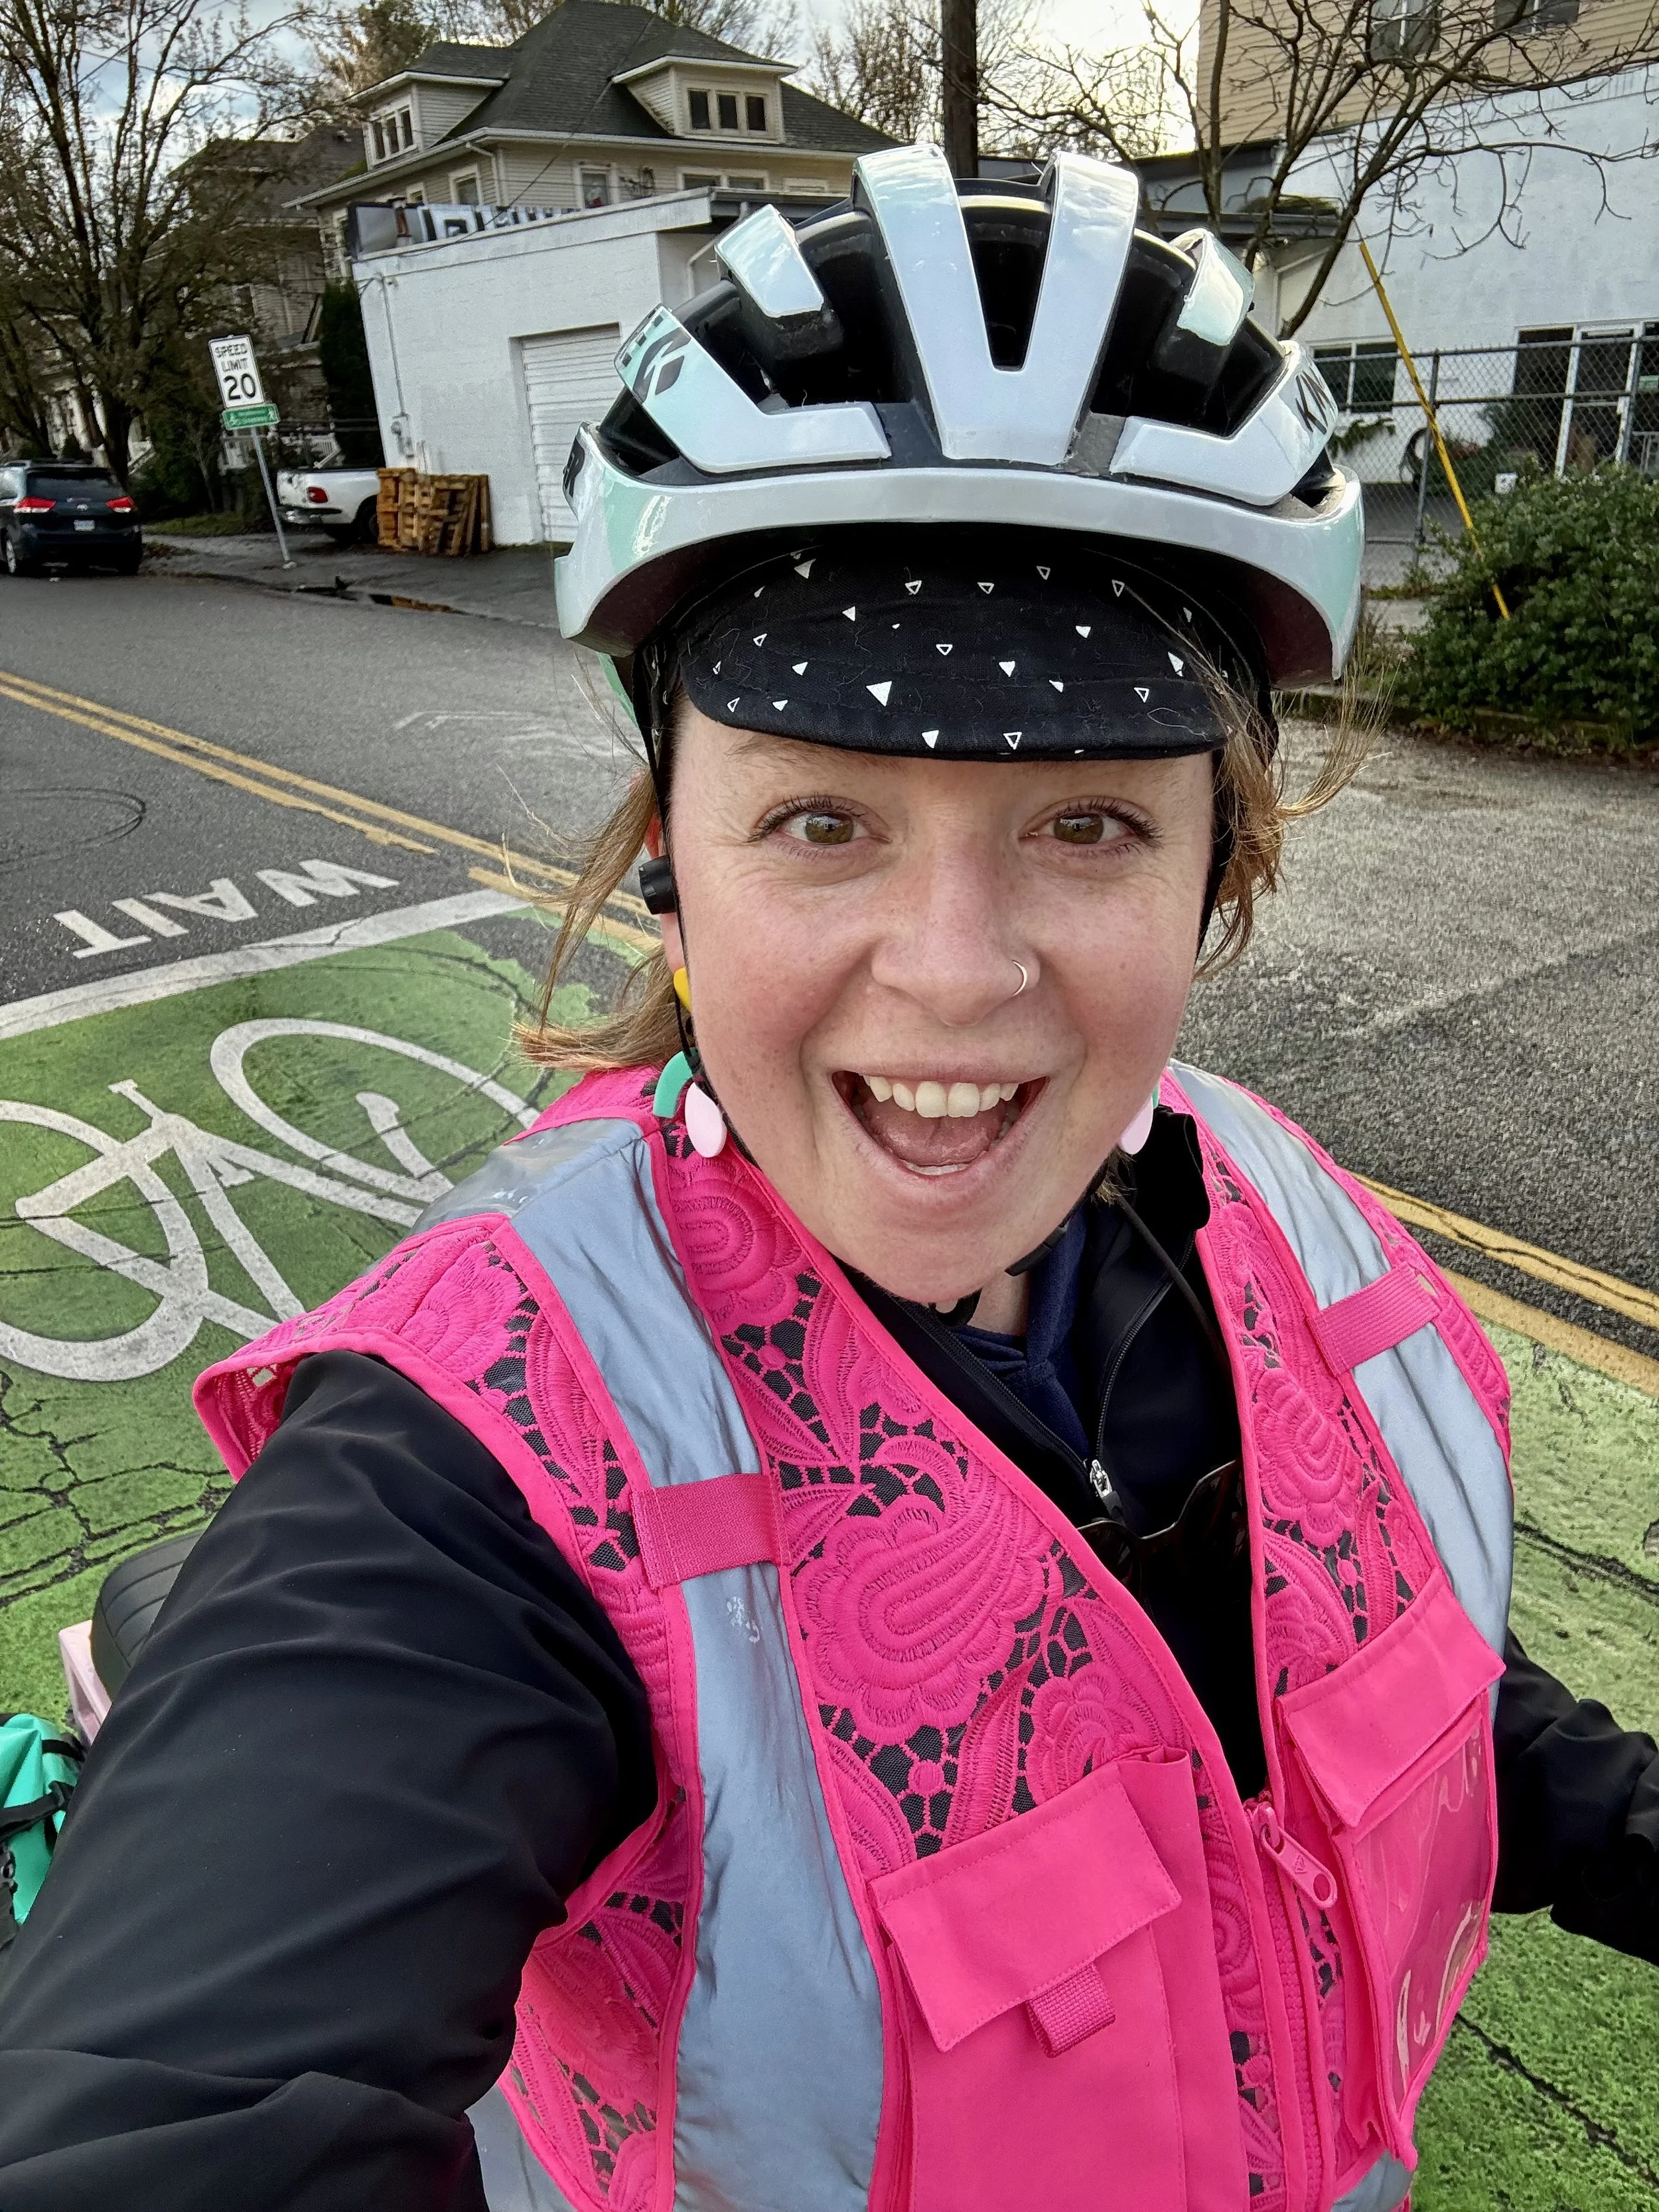
Here’s a curated kit that hits all those marks, is size inclusive, and super cute!
Pants That Move With You
Go beyond athletic leggings or stiff denim. Commuter-friendly pants should flex, breathe, and not bind when you pedal. If you’ve got a longer commute, layer padded cycling shorts/underwear under your pants.
Some options:
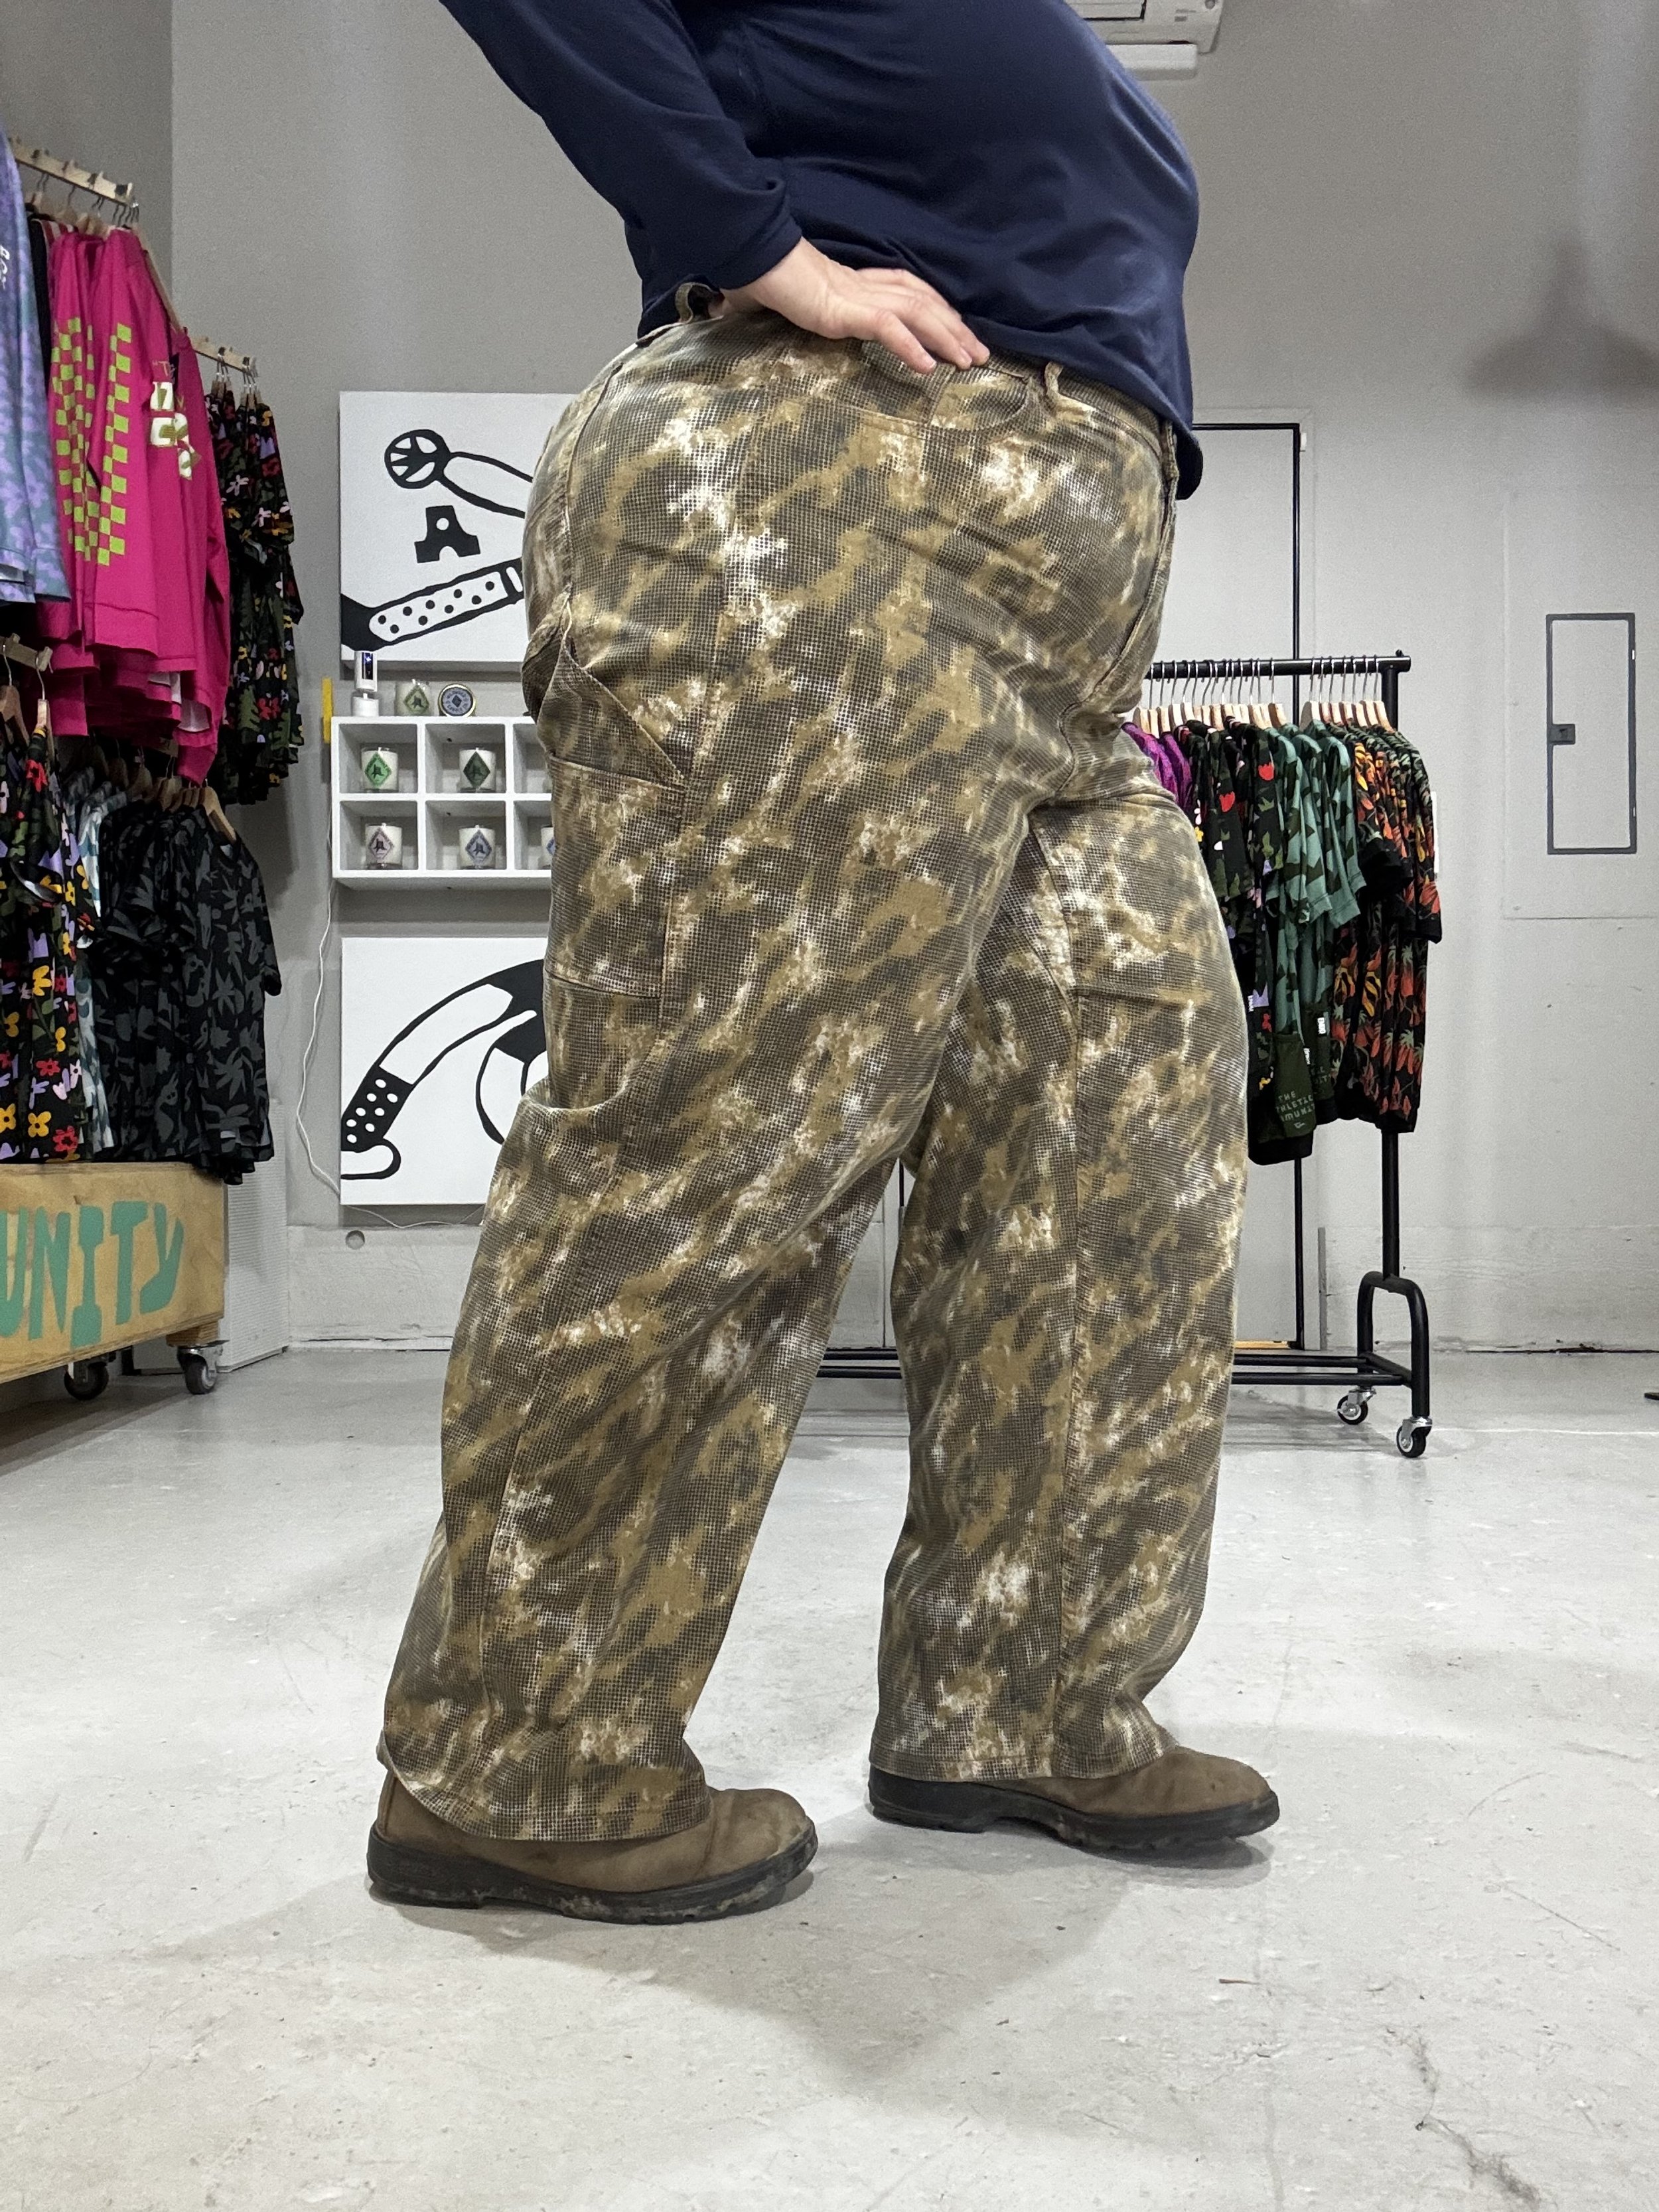
Ripton Superlite Camo Jeans — lightweight, flexible denim with stretch and relaxed fit so you can move comfortably on and off the bike. These ride-ready jeans have just enough structure to look polished for work or errands while fitting like your favorite everyday pants.
Shredly Limitless Riding Pants- Designed for comfort on and off the bike, these high-rise pants feature a wide, ultra-stretch waistband that moves with you while riding and stays comfortable all day long. The flexible fabric allows for easy pedaling without pinching or restriction, making them a great option for commuting, errands, or casual rides. Thoughtfully designed for real bodies, these pants are size-inclusive and available up to a size 24!
Rain Protection That Works With Your Ride
Unexpected weather? That’s part of commuting — and the right rain gear turns a soggy ride into a dry one.
Waterproof and easy to slip on over layers:
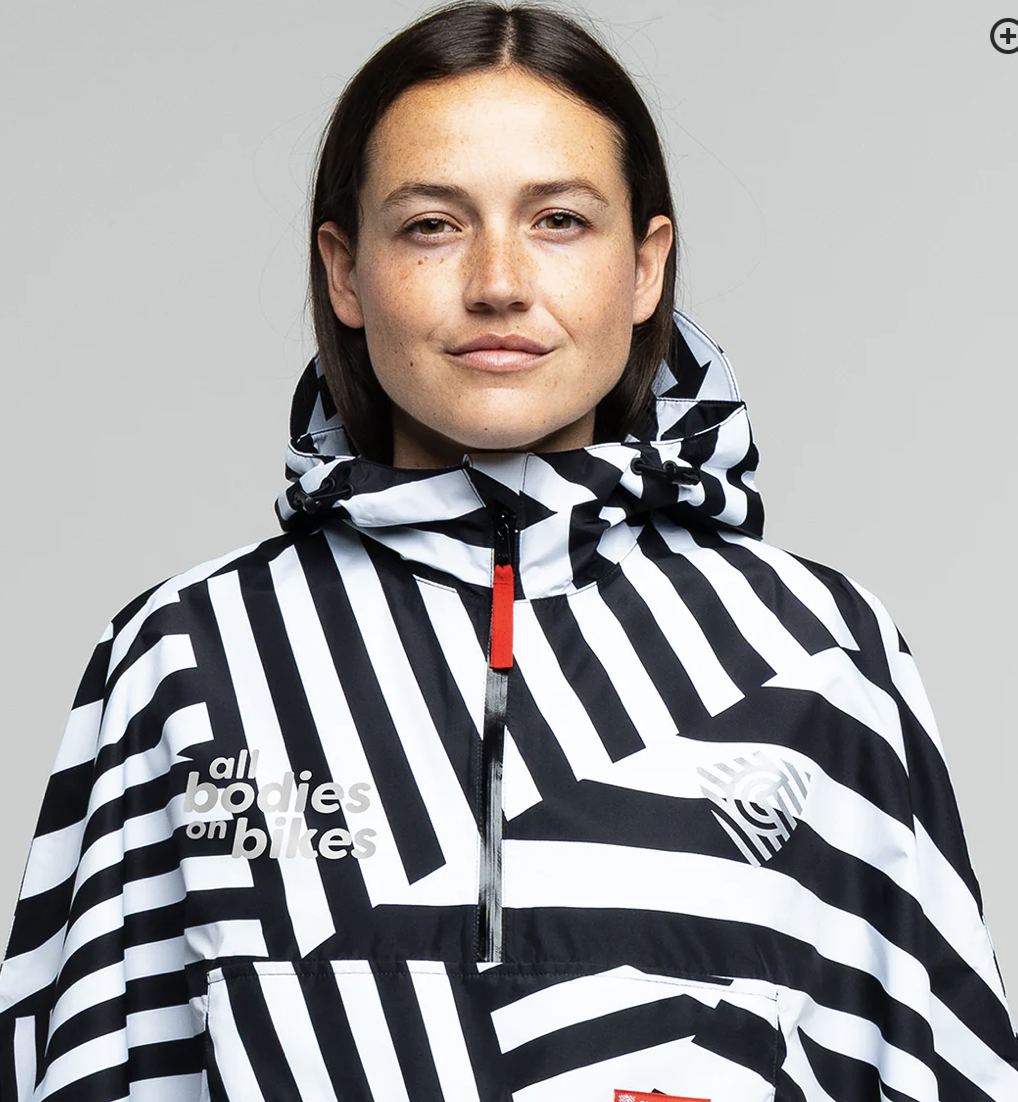
All Bodies on Bikes Rover 2.0 Rain Cape — This rain cape keeps you dry without restricting movement on the bike. Its generous cut lets you wear layers underneath and still stay covered when the skies open up. The best part, All Bodies on Bikes get a percentage of each sale of our branded gear!
Why a cape? Easy on/off over backpacks, doesn’t bunch up when you pedal, and still lets airflow circulate so you won’t overheat.
A Jacket That’s Built for Movement
Commuting weather isn’t always rain — sometimes it’s breezy, cool, or just unpredictable. A versatile outer layer can be your best friend.
My current favorites:
SHREDLY Beyond Tech Jacket — A relaxed, crop jacket that layers effortlessly. Breathable and soft, it’s a great piece whether you’re cruising to coffee or to a meeting.
SHREDLY Oversized Shacket — Stupidly comfortable and cute, this is the perfect combination jacket + sweatshirt (i.e. Shacket!) The quilted inner layer is absolutely perfect for staying warm on the cooler commute days.
Gloves That Keep You Comfortable + in Control
Your hands do a lot — braking, shifting, controlling. Keeping them happy matters!
Warmth and grip without bulk:
Ninja Ice Gloves — These Amazon special gloves offer weather-resistant protection with dexterity for brakes and shifters. These gloves were designed for folks who work in freezers/wet environments, so you know they’re going to be good. I’ve been using these since 2015 in Seattle and they’re still my favorite!
SHREDLY Manatee Gloves — Straight from my “Fast a MF Manatee” Cycling Collection with SHREDLY, these lightweight gloves are perfect for a warmer day.
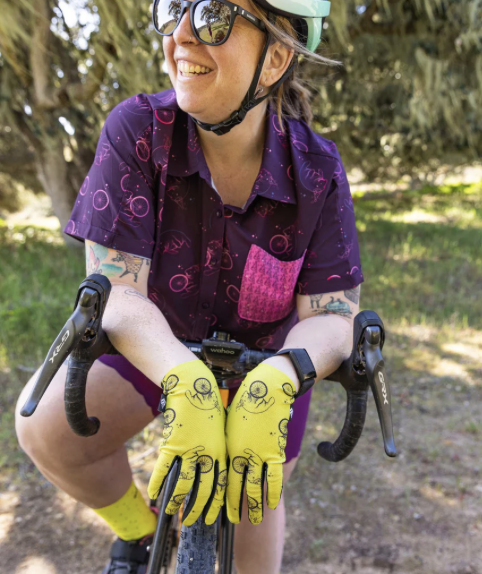
Marley poses with her Manatee cycling gloves from SHREDLY.
Be Seen, Be Safe
Visibility is non-negotiable for commuters — especially at dawn, dusk, or in rainy weather.
A safety vest with flair:
Lace Safety Vest — A bold reflective vest that doesn’t feel like generic hi-vis gear. It signals your presence to drivers and also brings personality to your commute.
Pro-tip: If lace isn’t your style, check out the selection of safety gear at the next truck stop you go to. They often have extended sizes, and reflective warm gear including jackets, hats, gloves and vests!
Reflective elements are one of the easiest ways to improve your visibility without sacrificing style.
Quick Commuter Clothing Checklist
✔ Comfy, flexible pants that pedal well
✔ Waterproof layer you can toss on fast
✔ Outer layer that moves with you
✔ Gloves for grip + warmth
✔ High visibility essentials for safety
By focusing on function first but choosing pieces you actually enjoy wearing, your bike commute becomes something you look forward to — no matter the weather.
What’s on your commute must-wear list?

My Favorite Size Inclusive Cycling Gear
Discover the best size-inclusive cycling gear for plus size riders, from SHREDLY bibs to Osprey packs, Cleverhood rain gear, and more!
Disclosure: I am a sponsored athlete with SHREDLY and Osprey, and All Bodies on Bikes has a partnership with Cleverhood. If you choose to purchase any of the products mentioned in this post, I may receive a small commission or other financial benefit.
As a plus sized woman, I’ve grown accustomed to stores not having my size, especially when it comes to cycling gear. So when I first walked into the SHREDLY trailer at ROAM Fest Knoxville in 2022 and tried on a pair of bike shorts in my size, I literally cried. Not only did they have my size, but I had a choice of multiple patterns and inseam lengths.
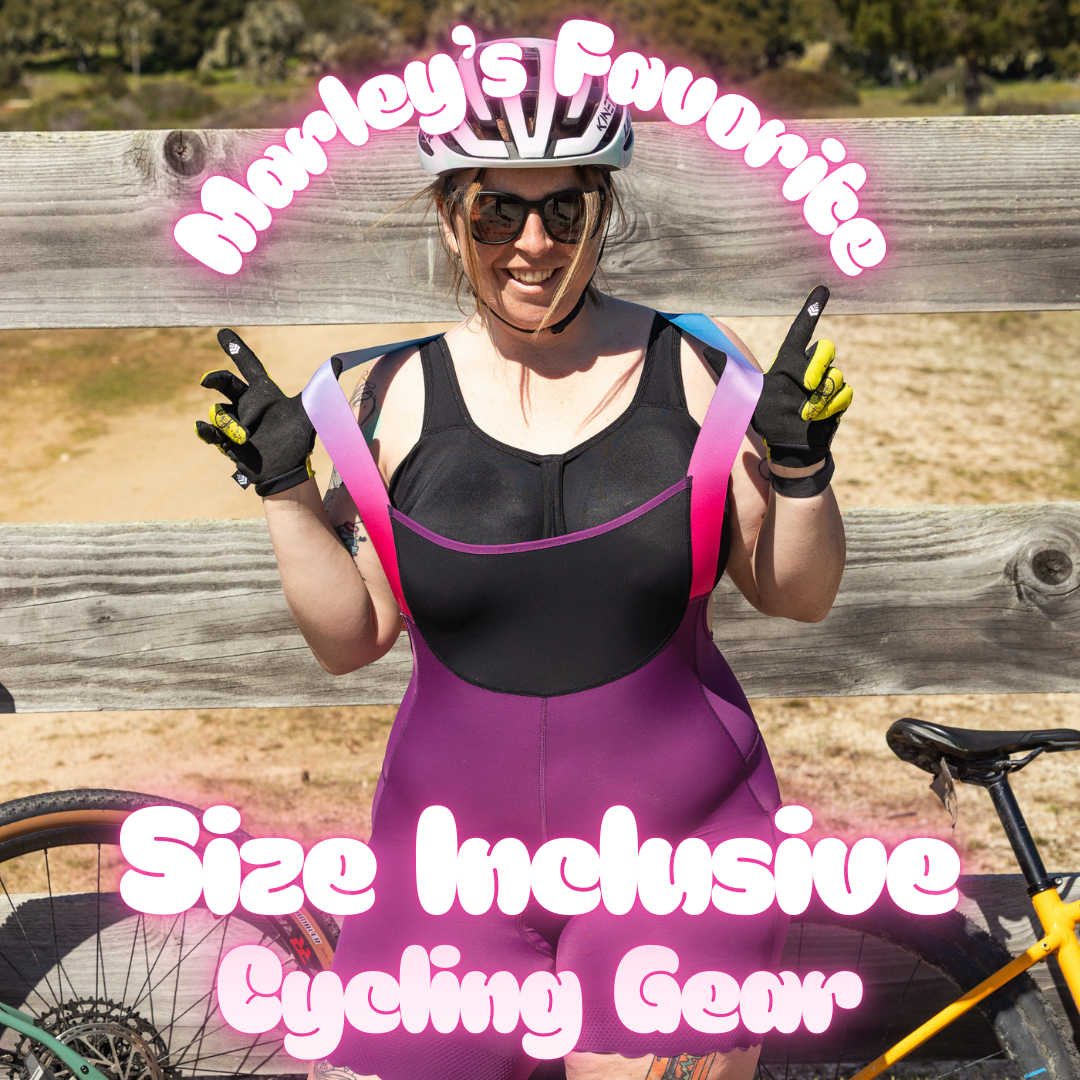
While this shouldn’t be out of the norm, it’s frustratingly the reality for many plus size cyclists. There is good news, however, as multiple brands have started making size inclusive gear over the past few years. Here’s a rundown of my top four pieces - including clothing, rain gear, fanny packs and more!
SHREDLY x Marley Blonsky: Biker Bib - Ok. Obviously I love this one because it’s part of my signature collection, but also because these bibs are great. Cargo pockets, drop tail (so you can pee without getting naked), scalloped edges, and they come in sizes X-Small through 3X. I recommend you size down in these, as they run pretty generously.
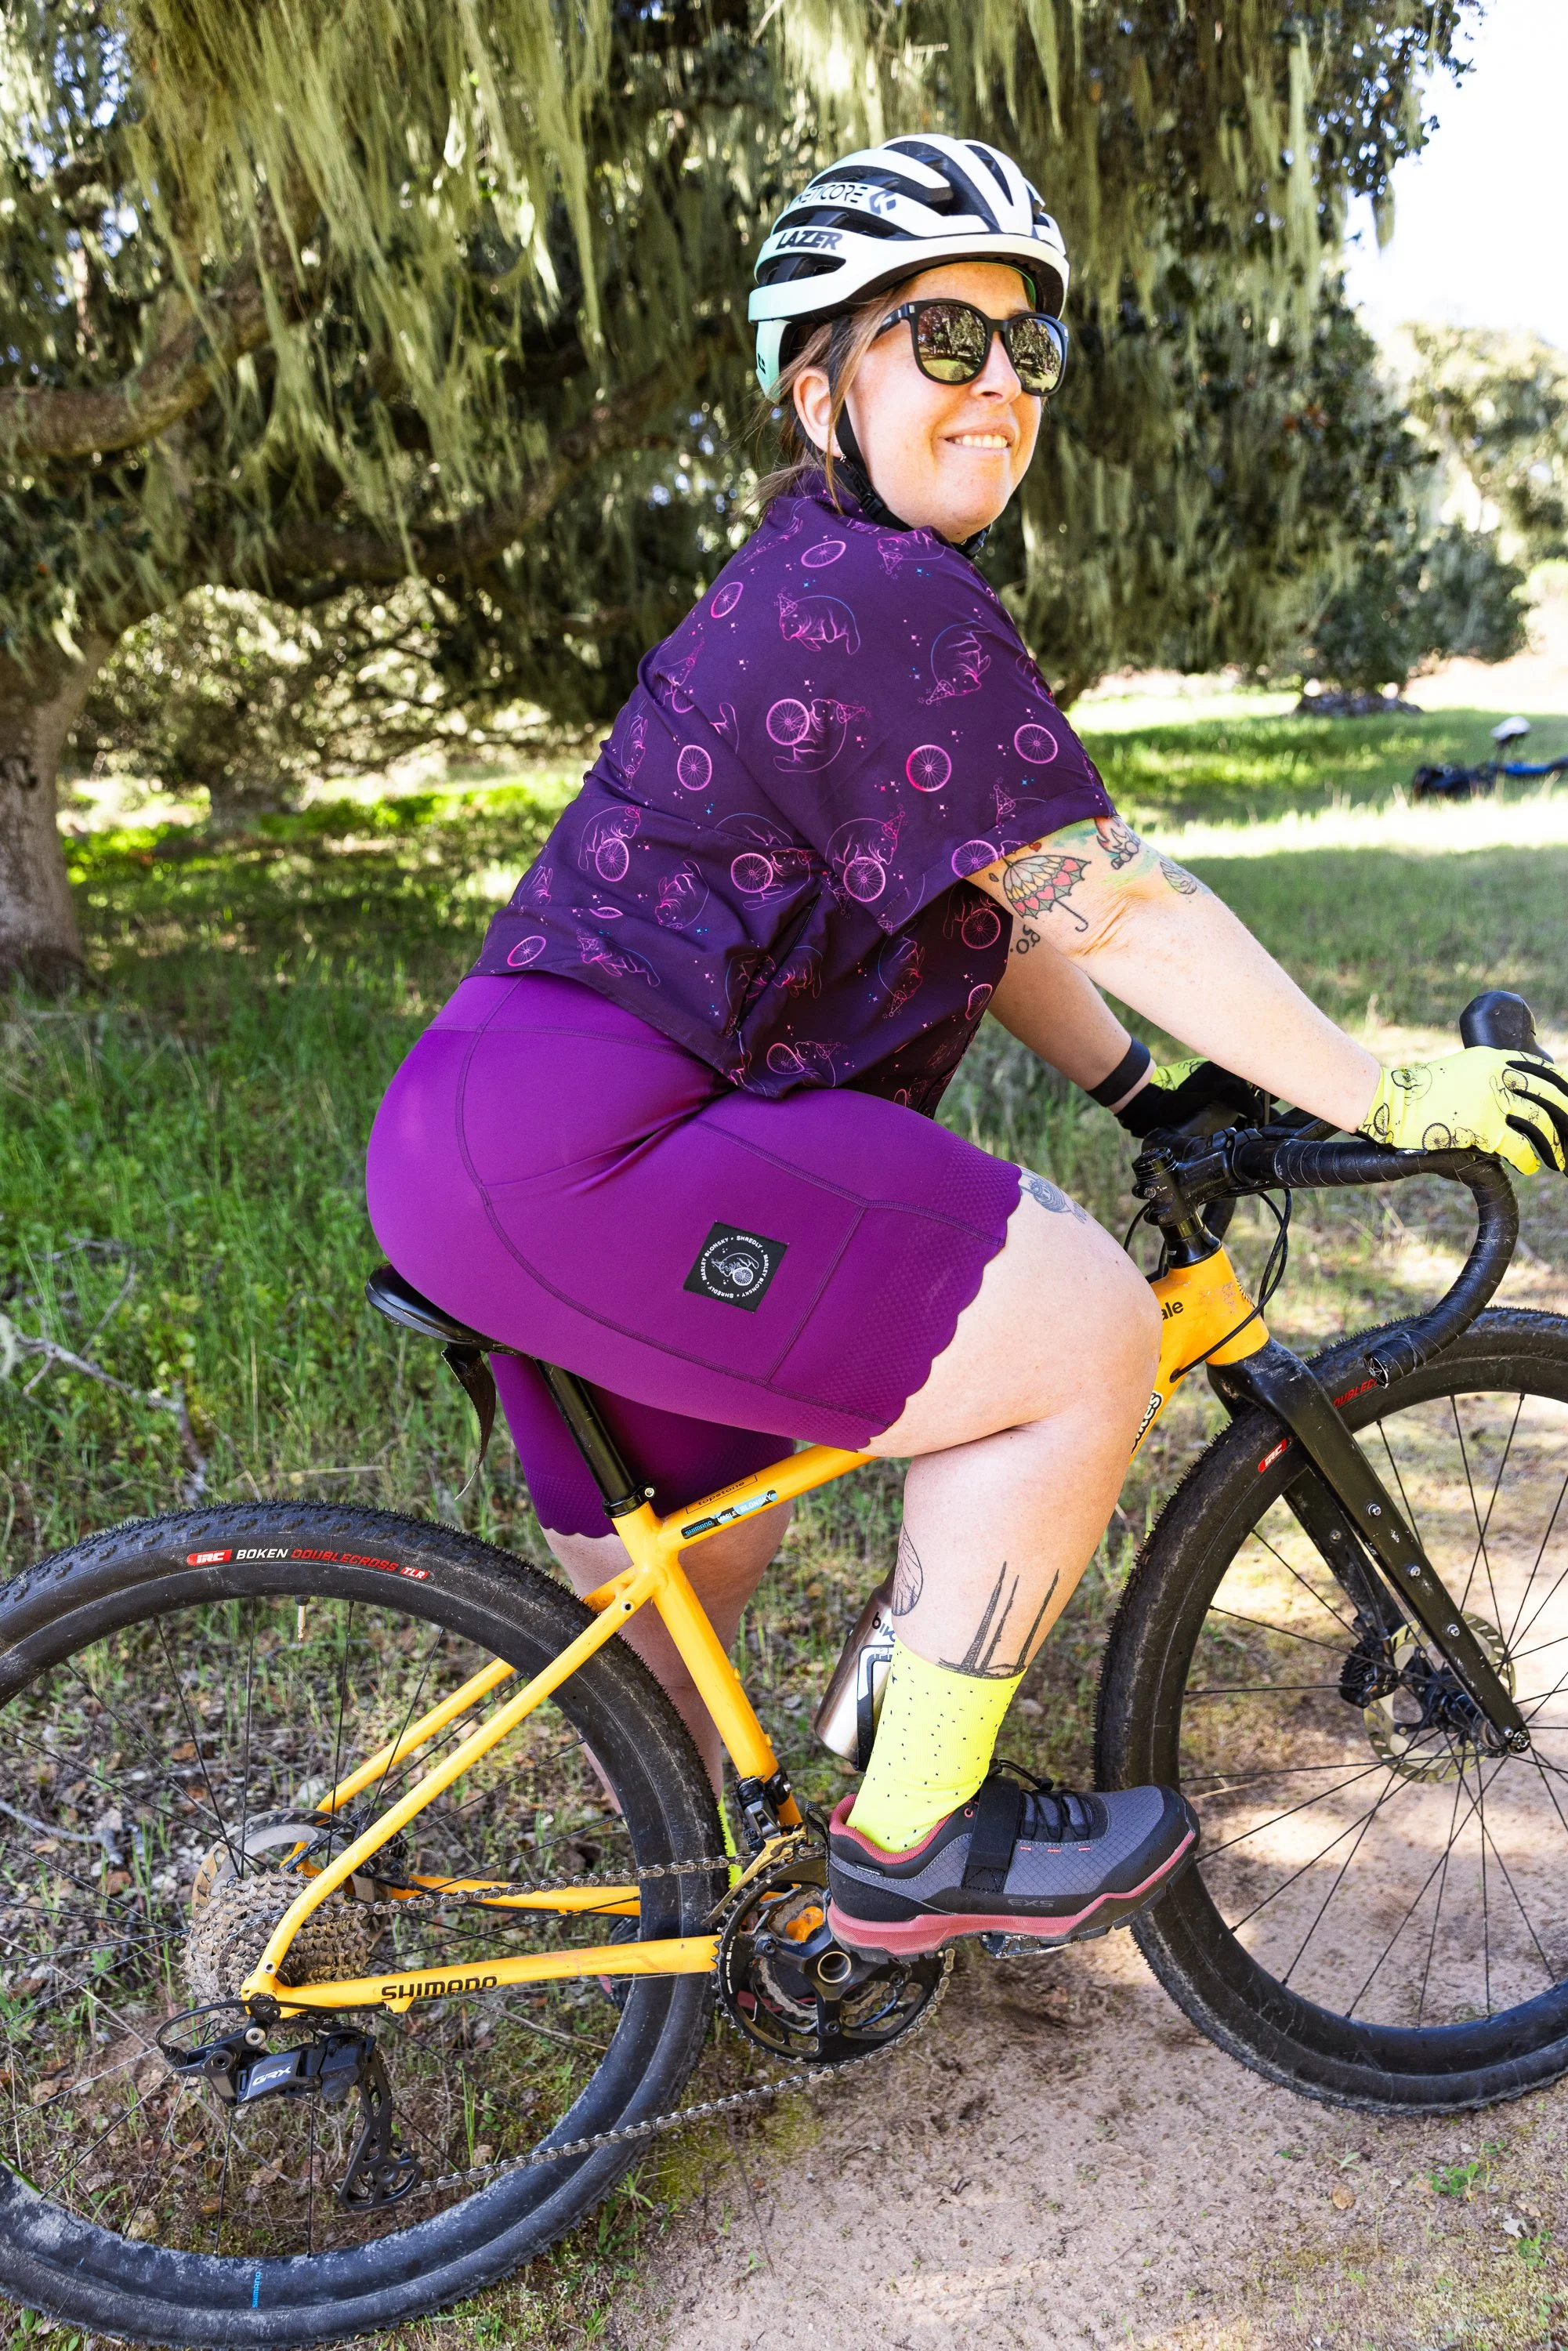
Marley in the SHREDLY bib and Manatee Explorer Top. Photo credit: Jay Melena
All Bodies on Bikes Champion System Tech + Jersey - Coming in sizes X-Small through 6X, this jersey fits better than any other traditional cycling jersey I’ve ever tried. Bonus - a portion of each sale goes to All Bodies on Bikes!
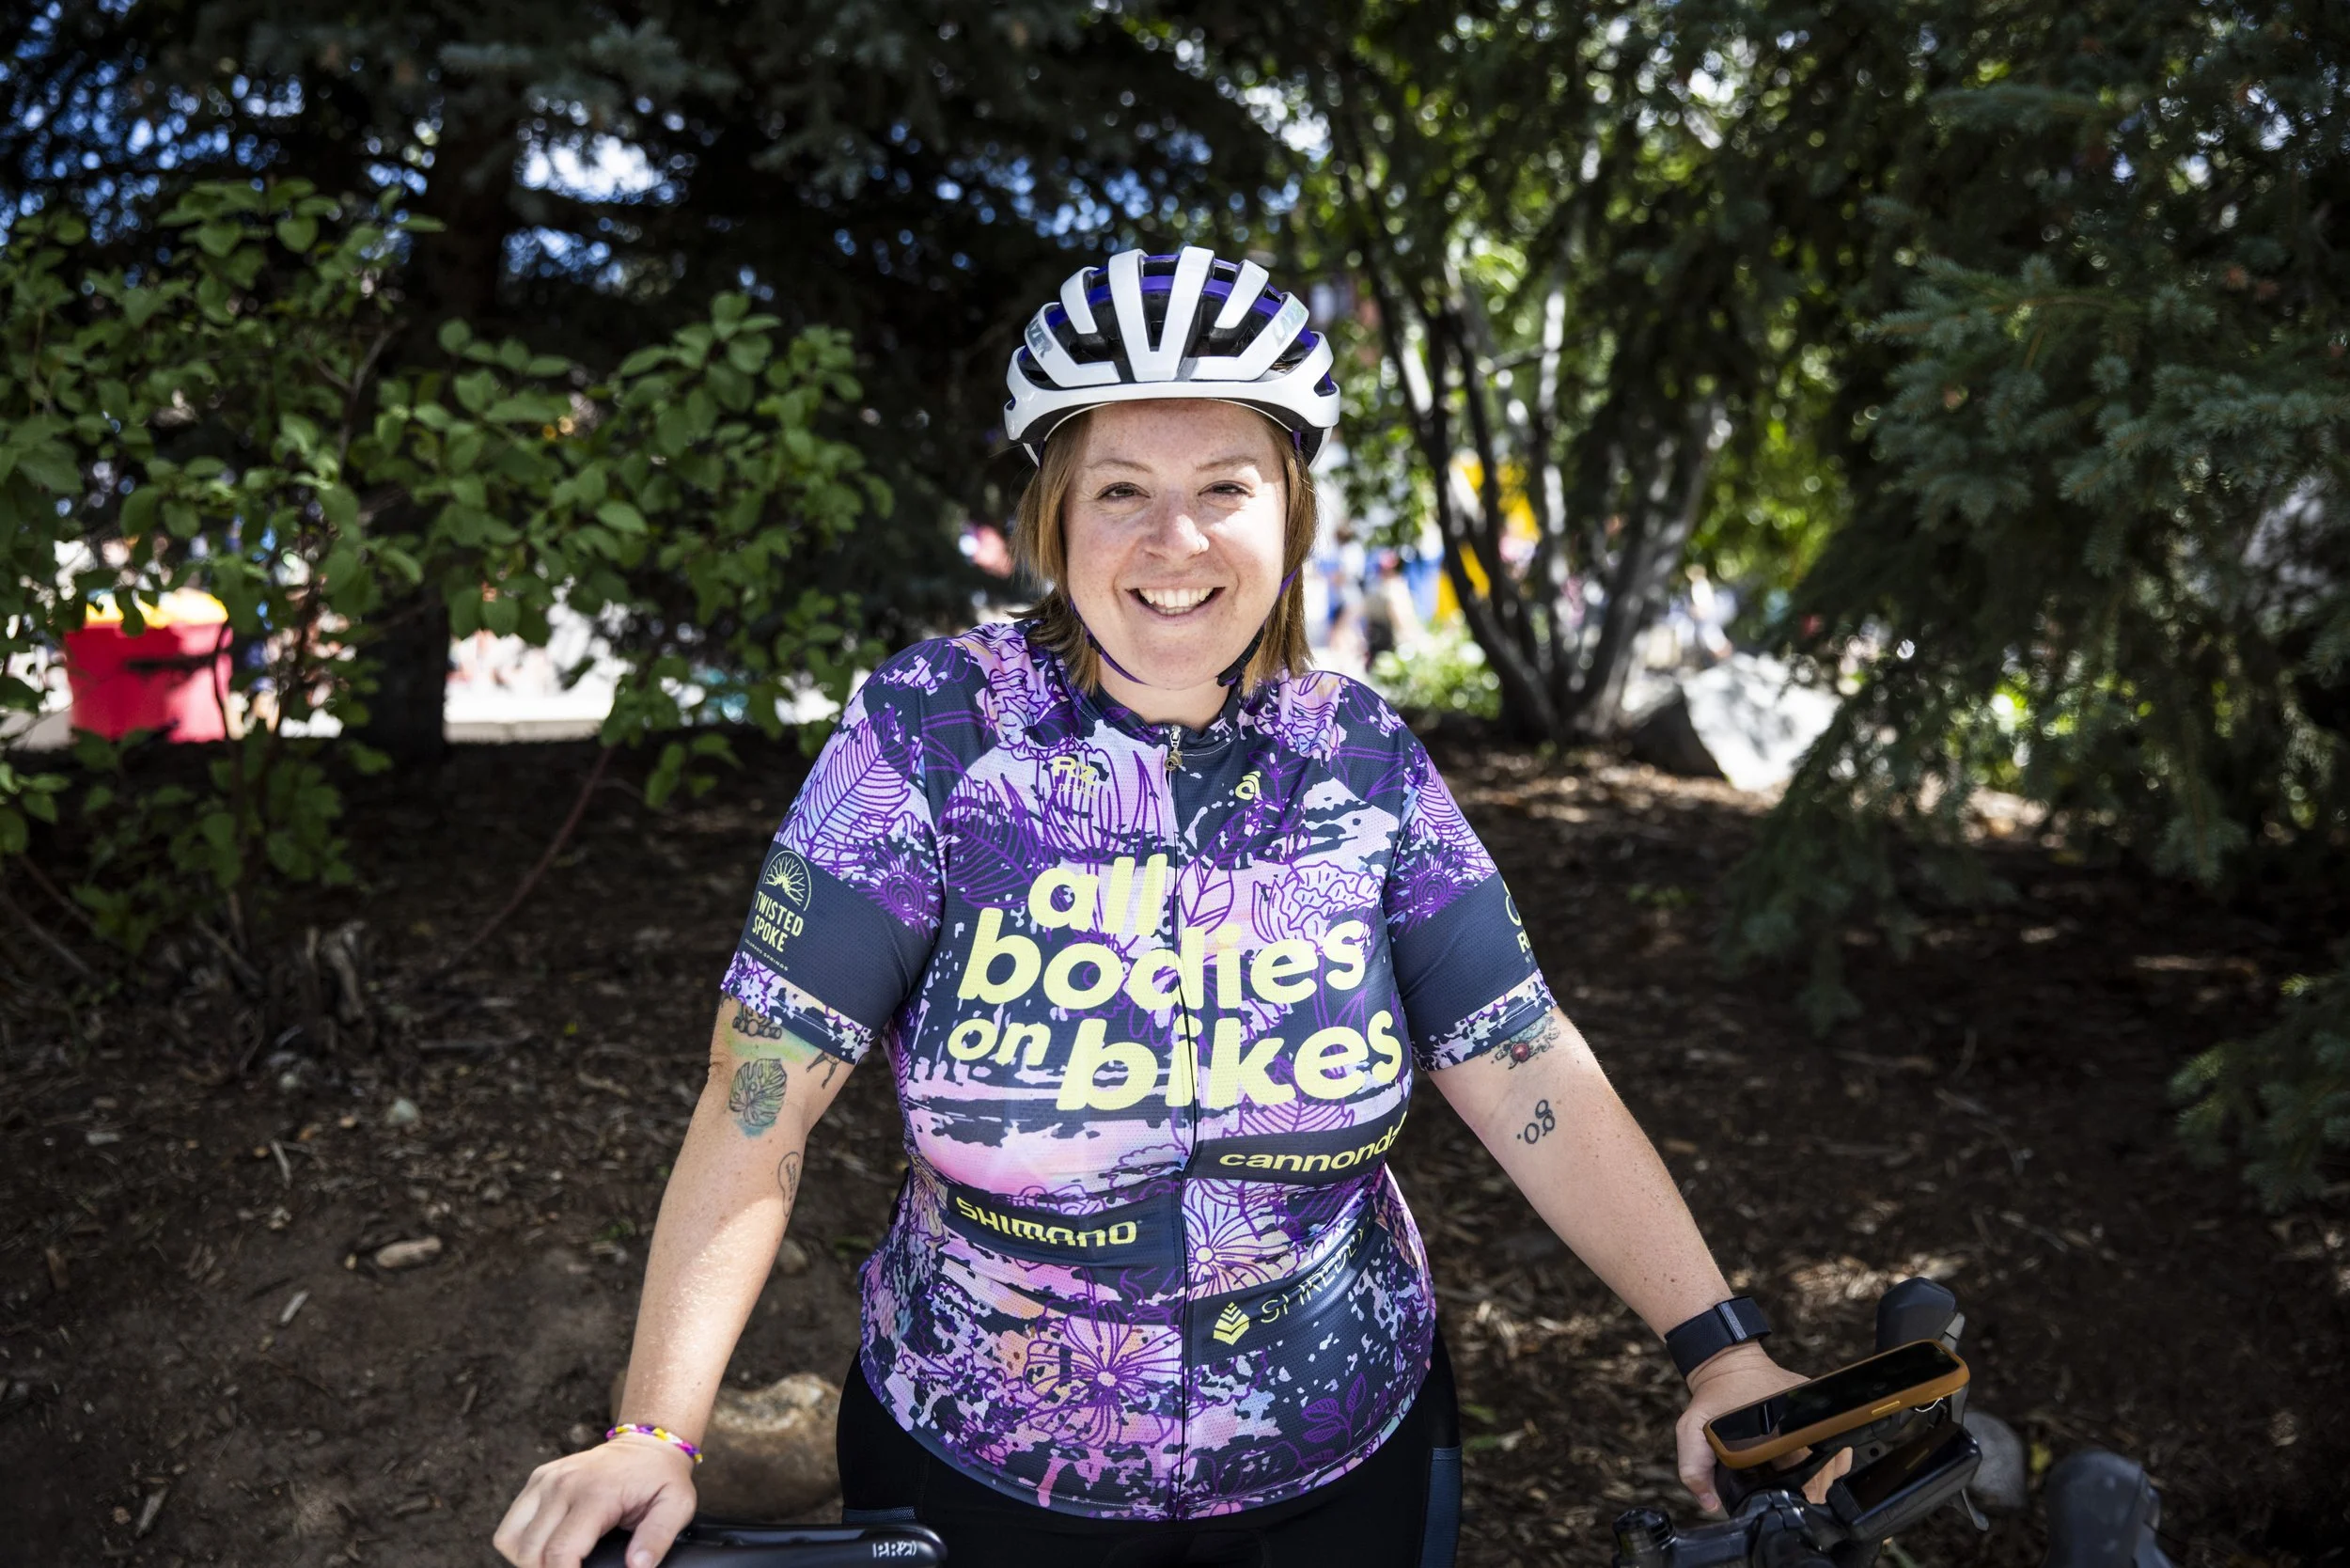
Photo Credit: Gretchen Powers
Osprey Extended Fit Raven Mountain Bike Pack - Comfortable and roomy, this pack comes with a 2.5L water reservoir and the hips fit up to 70”. Osprey also makes a rad hip pack that now also comes in Extended Fit!
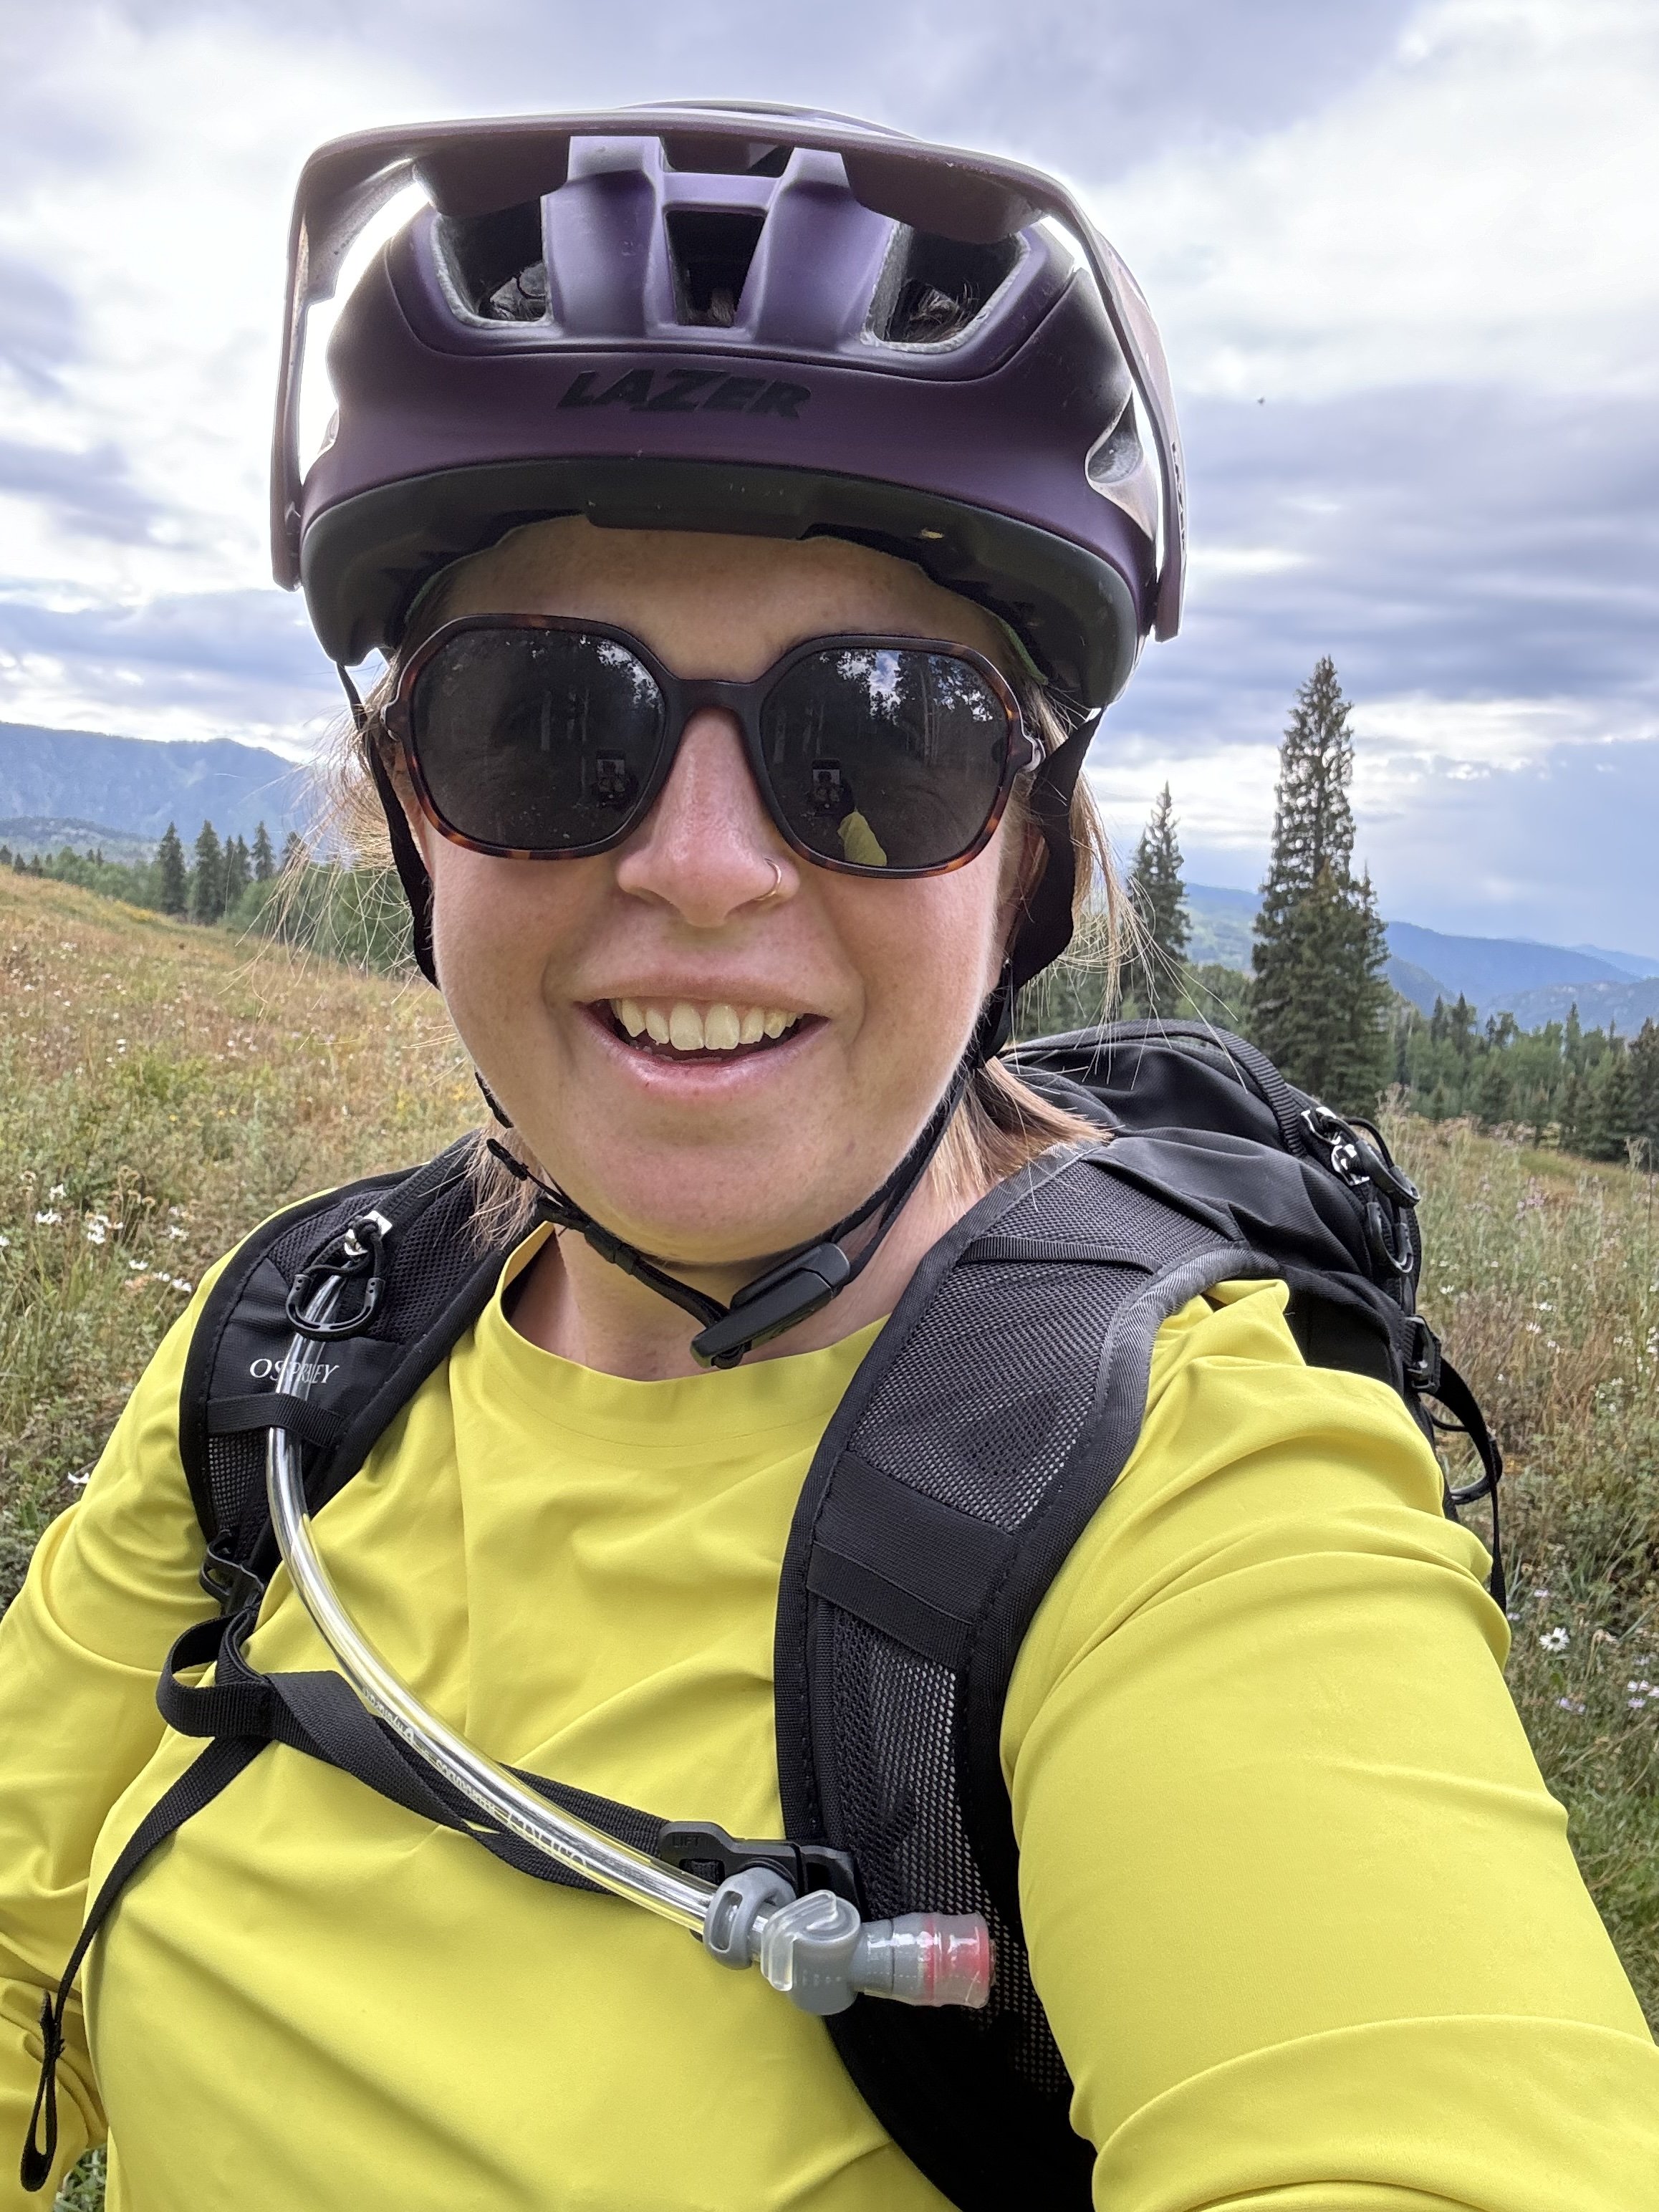
Marley in the Osprey Extended Fit Raven backpack
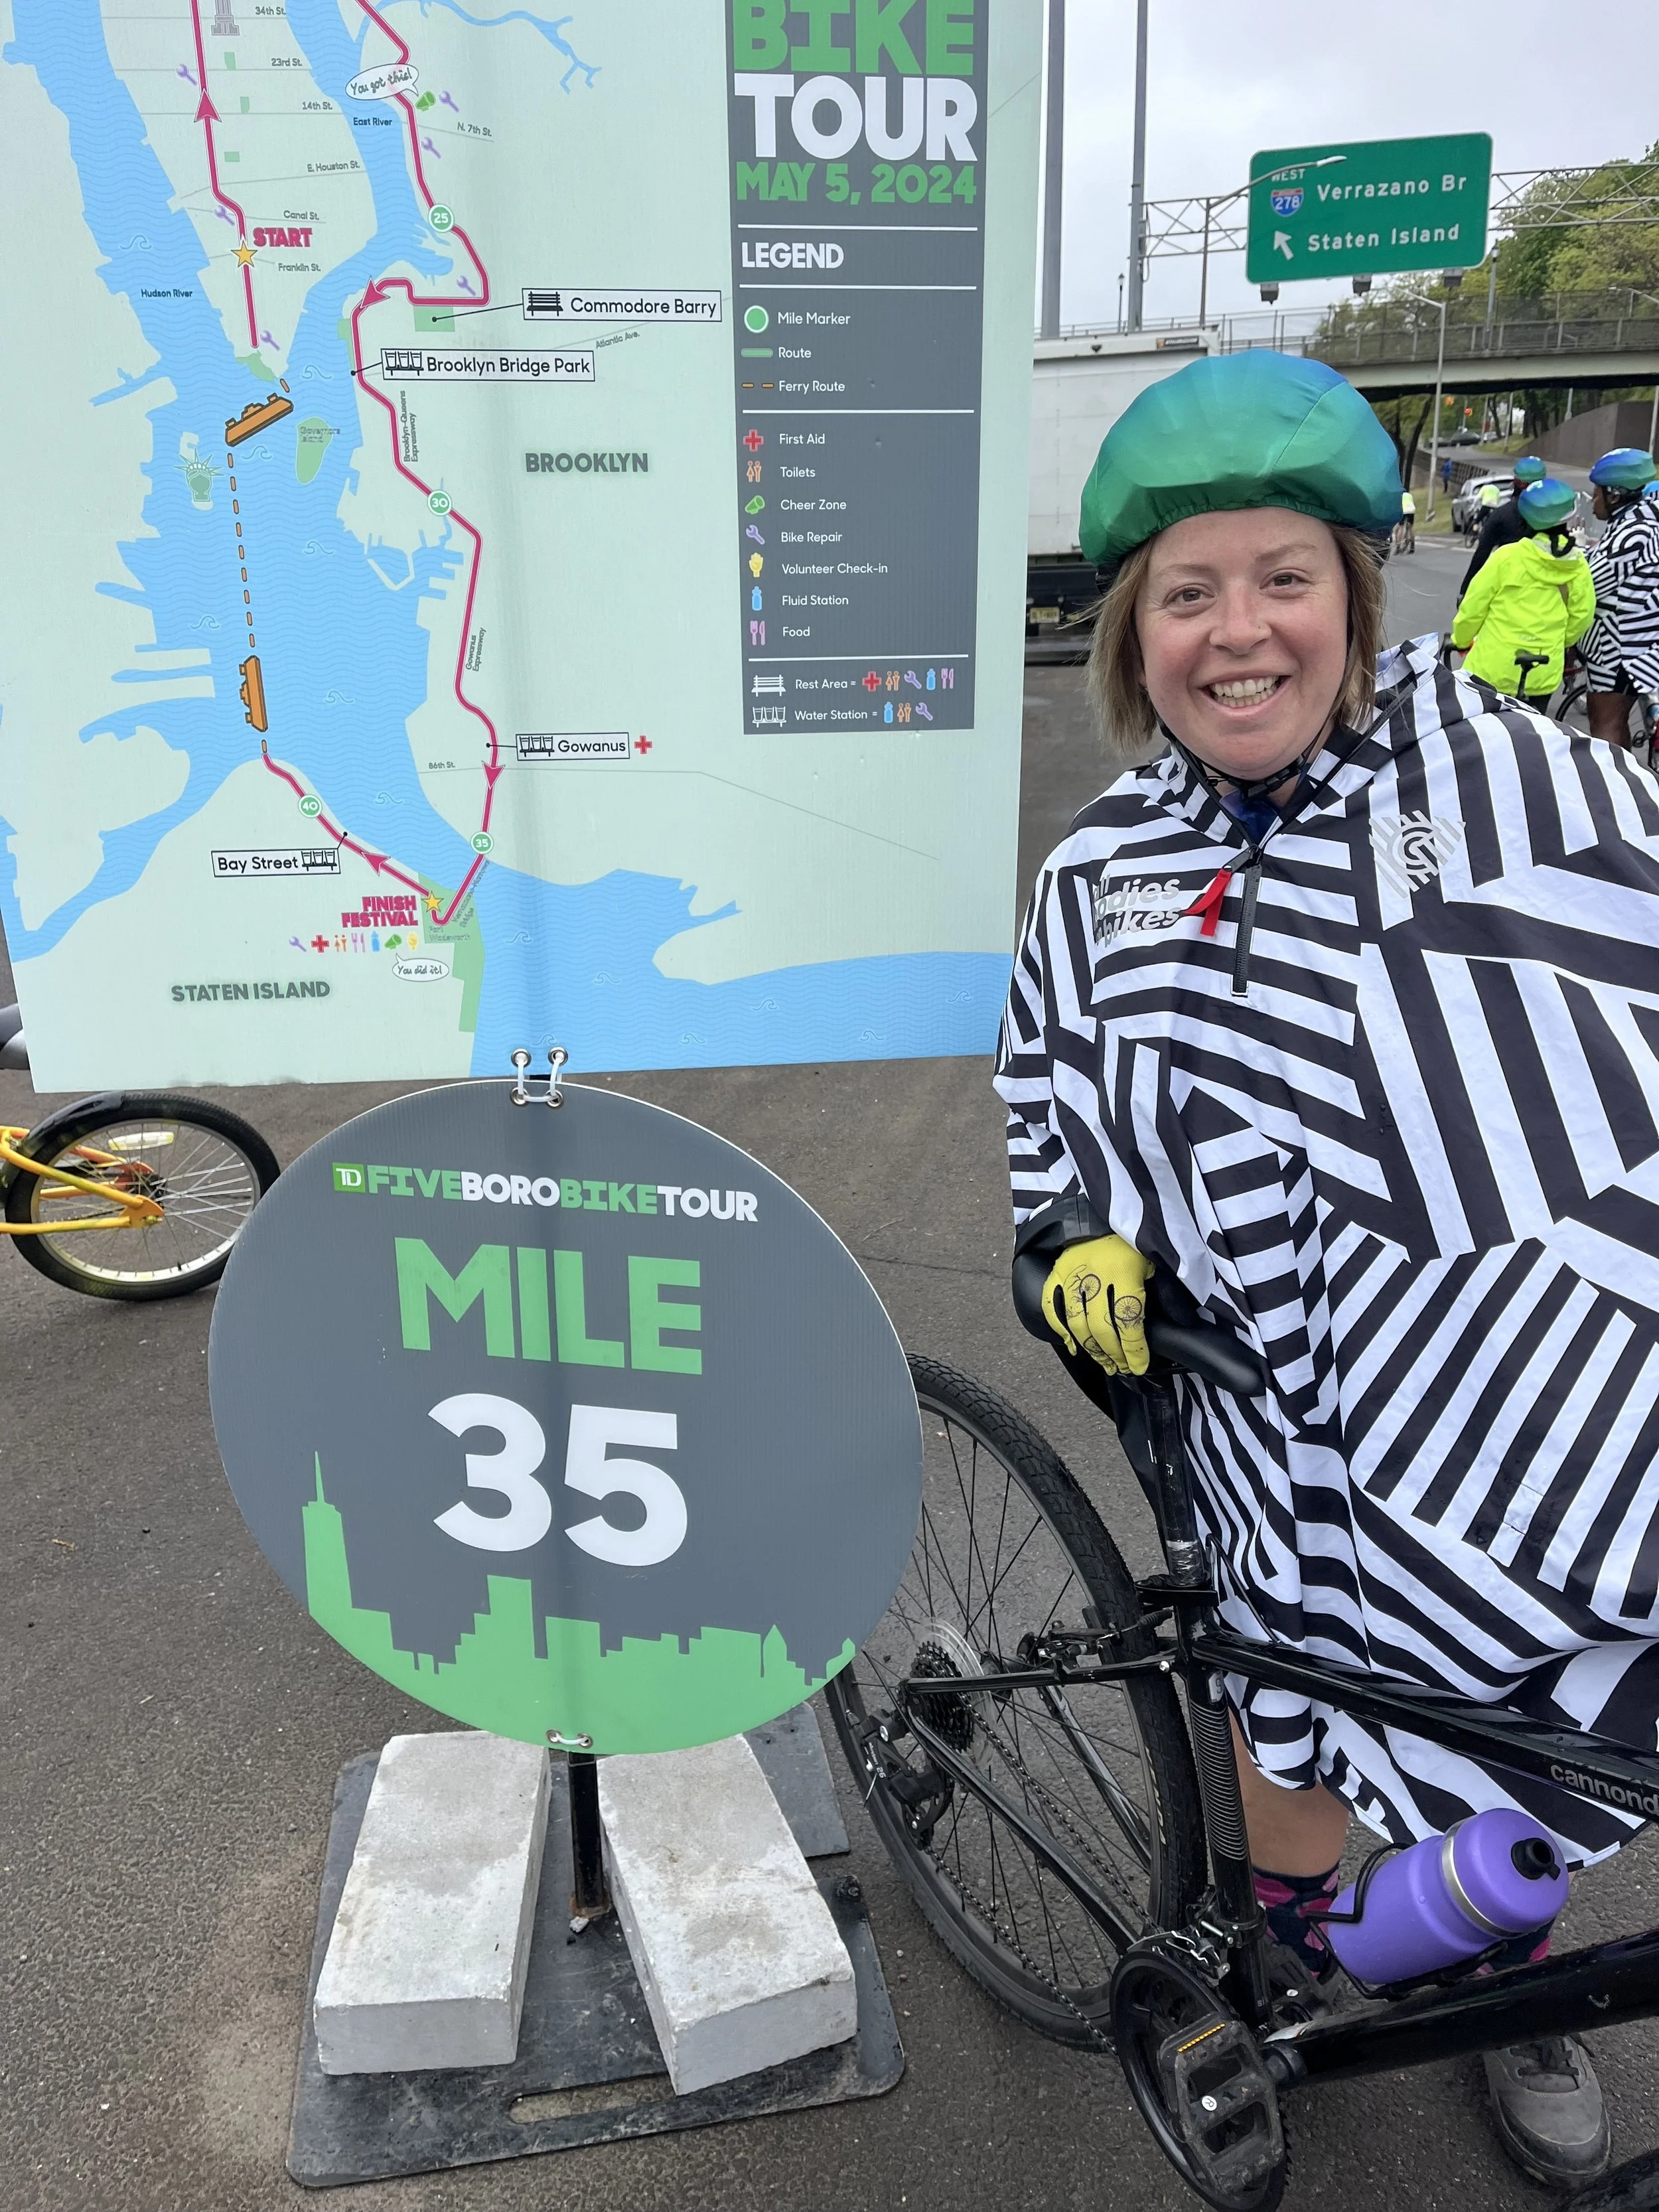
Cleverhood Rain Cape - I’m moving to the Pacific Northwest where it rains a lot. I’m excited to get more use out of my Cleverhood rain cape which works for riders of many shapes and sizes! Bonus - we’ve got an All Bodies on Bikes line with Cleverhood, with 20% of proceeds going directly to the organization!
Fire, Ice, and Mountain Streams - A Bikepacking Adventure in the Gifford Pinchot
The Gifford Pinchot Wilderness has been on my bucket list of places to ride forever. This massive area that encompasses over 1.3 million acres and spans between Mount Saint Helens and Mount Adams in southwestern Washington state offers countless options for gravel riding on forest service roads, dispersed backcountry camping, and exploring through caves, lava tubes, huckleberry fields, and rivers.
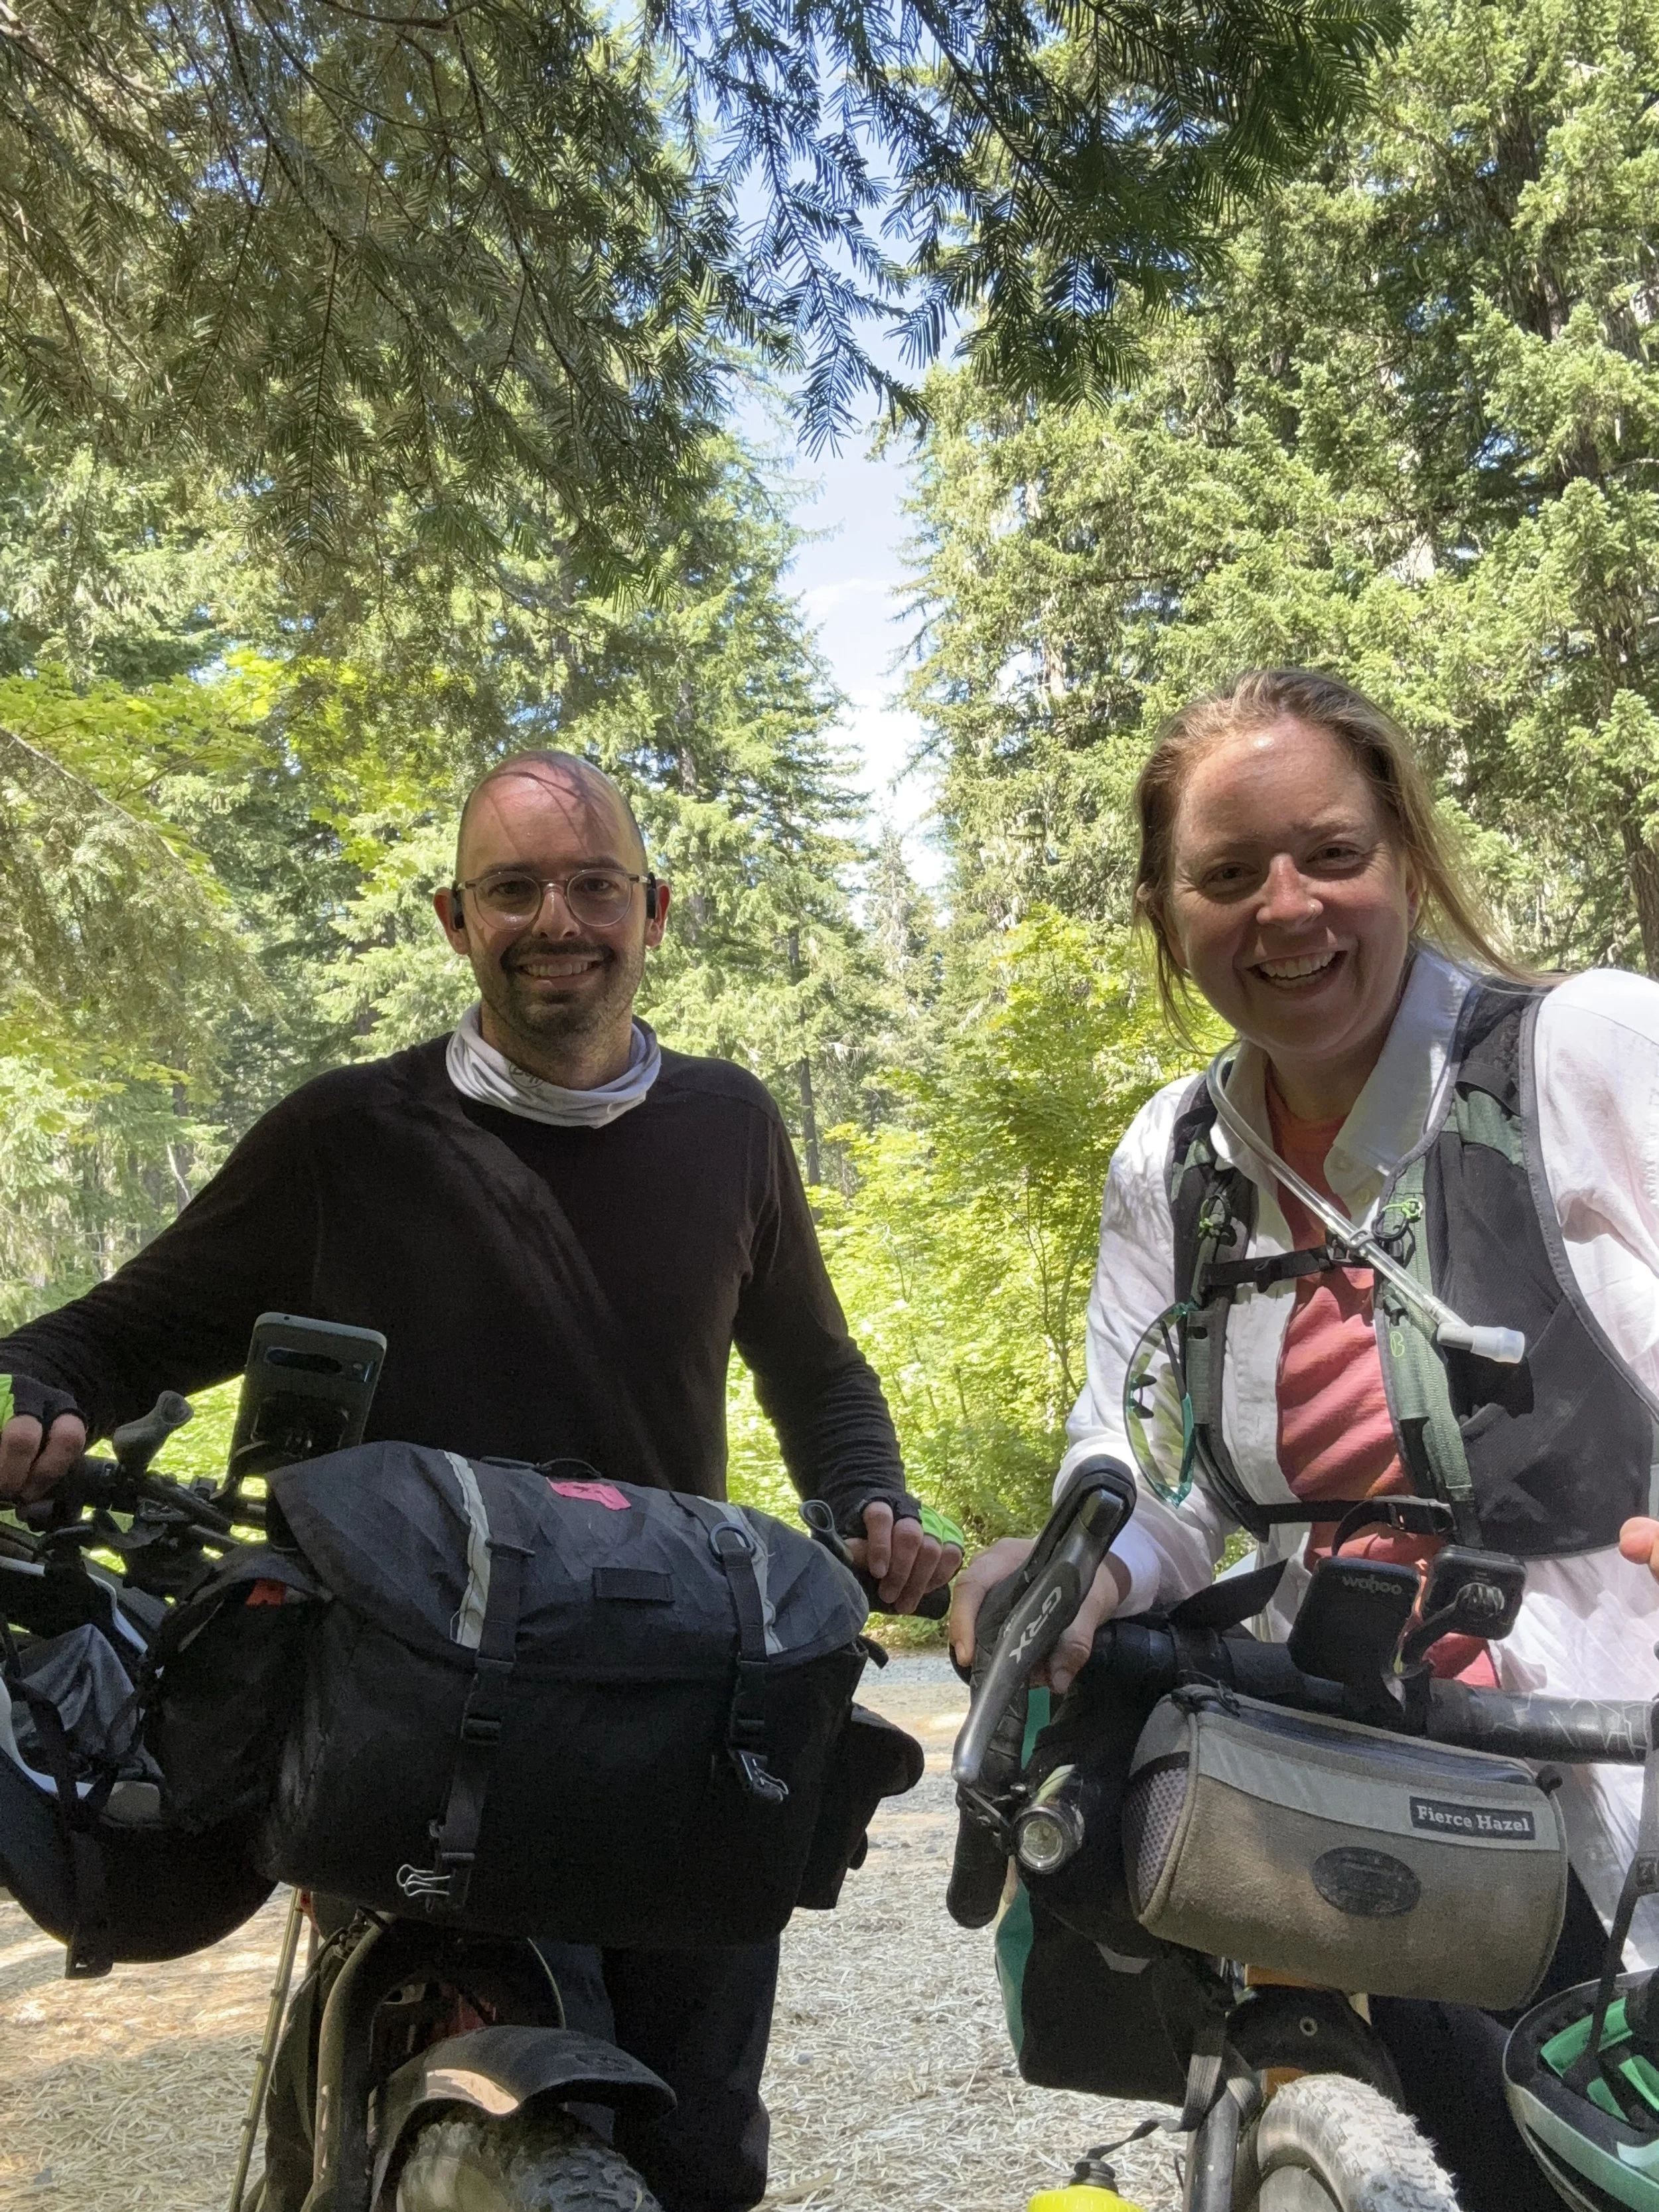
As my summer plans started to come together, I reached out to my friend Eliot who’s been a reliable bikepacking buddy for a few trips to see if he was interested in joining. I love planning trips with Eliot because he’s really good at it. He’s literally an Eagle Scout, and embodies so many characteristics I admire (and wish I had): super knowledgable in the outdoors, always prepared, and organized. His job was to plan the route, while I’d take care of food.
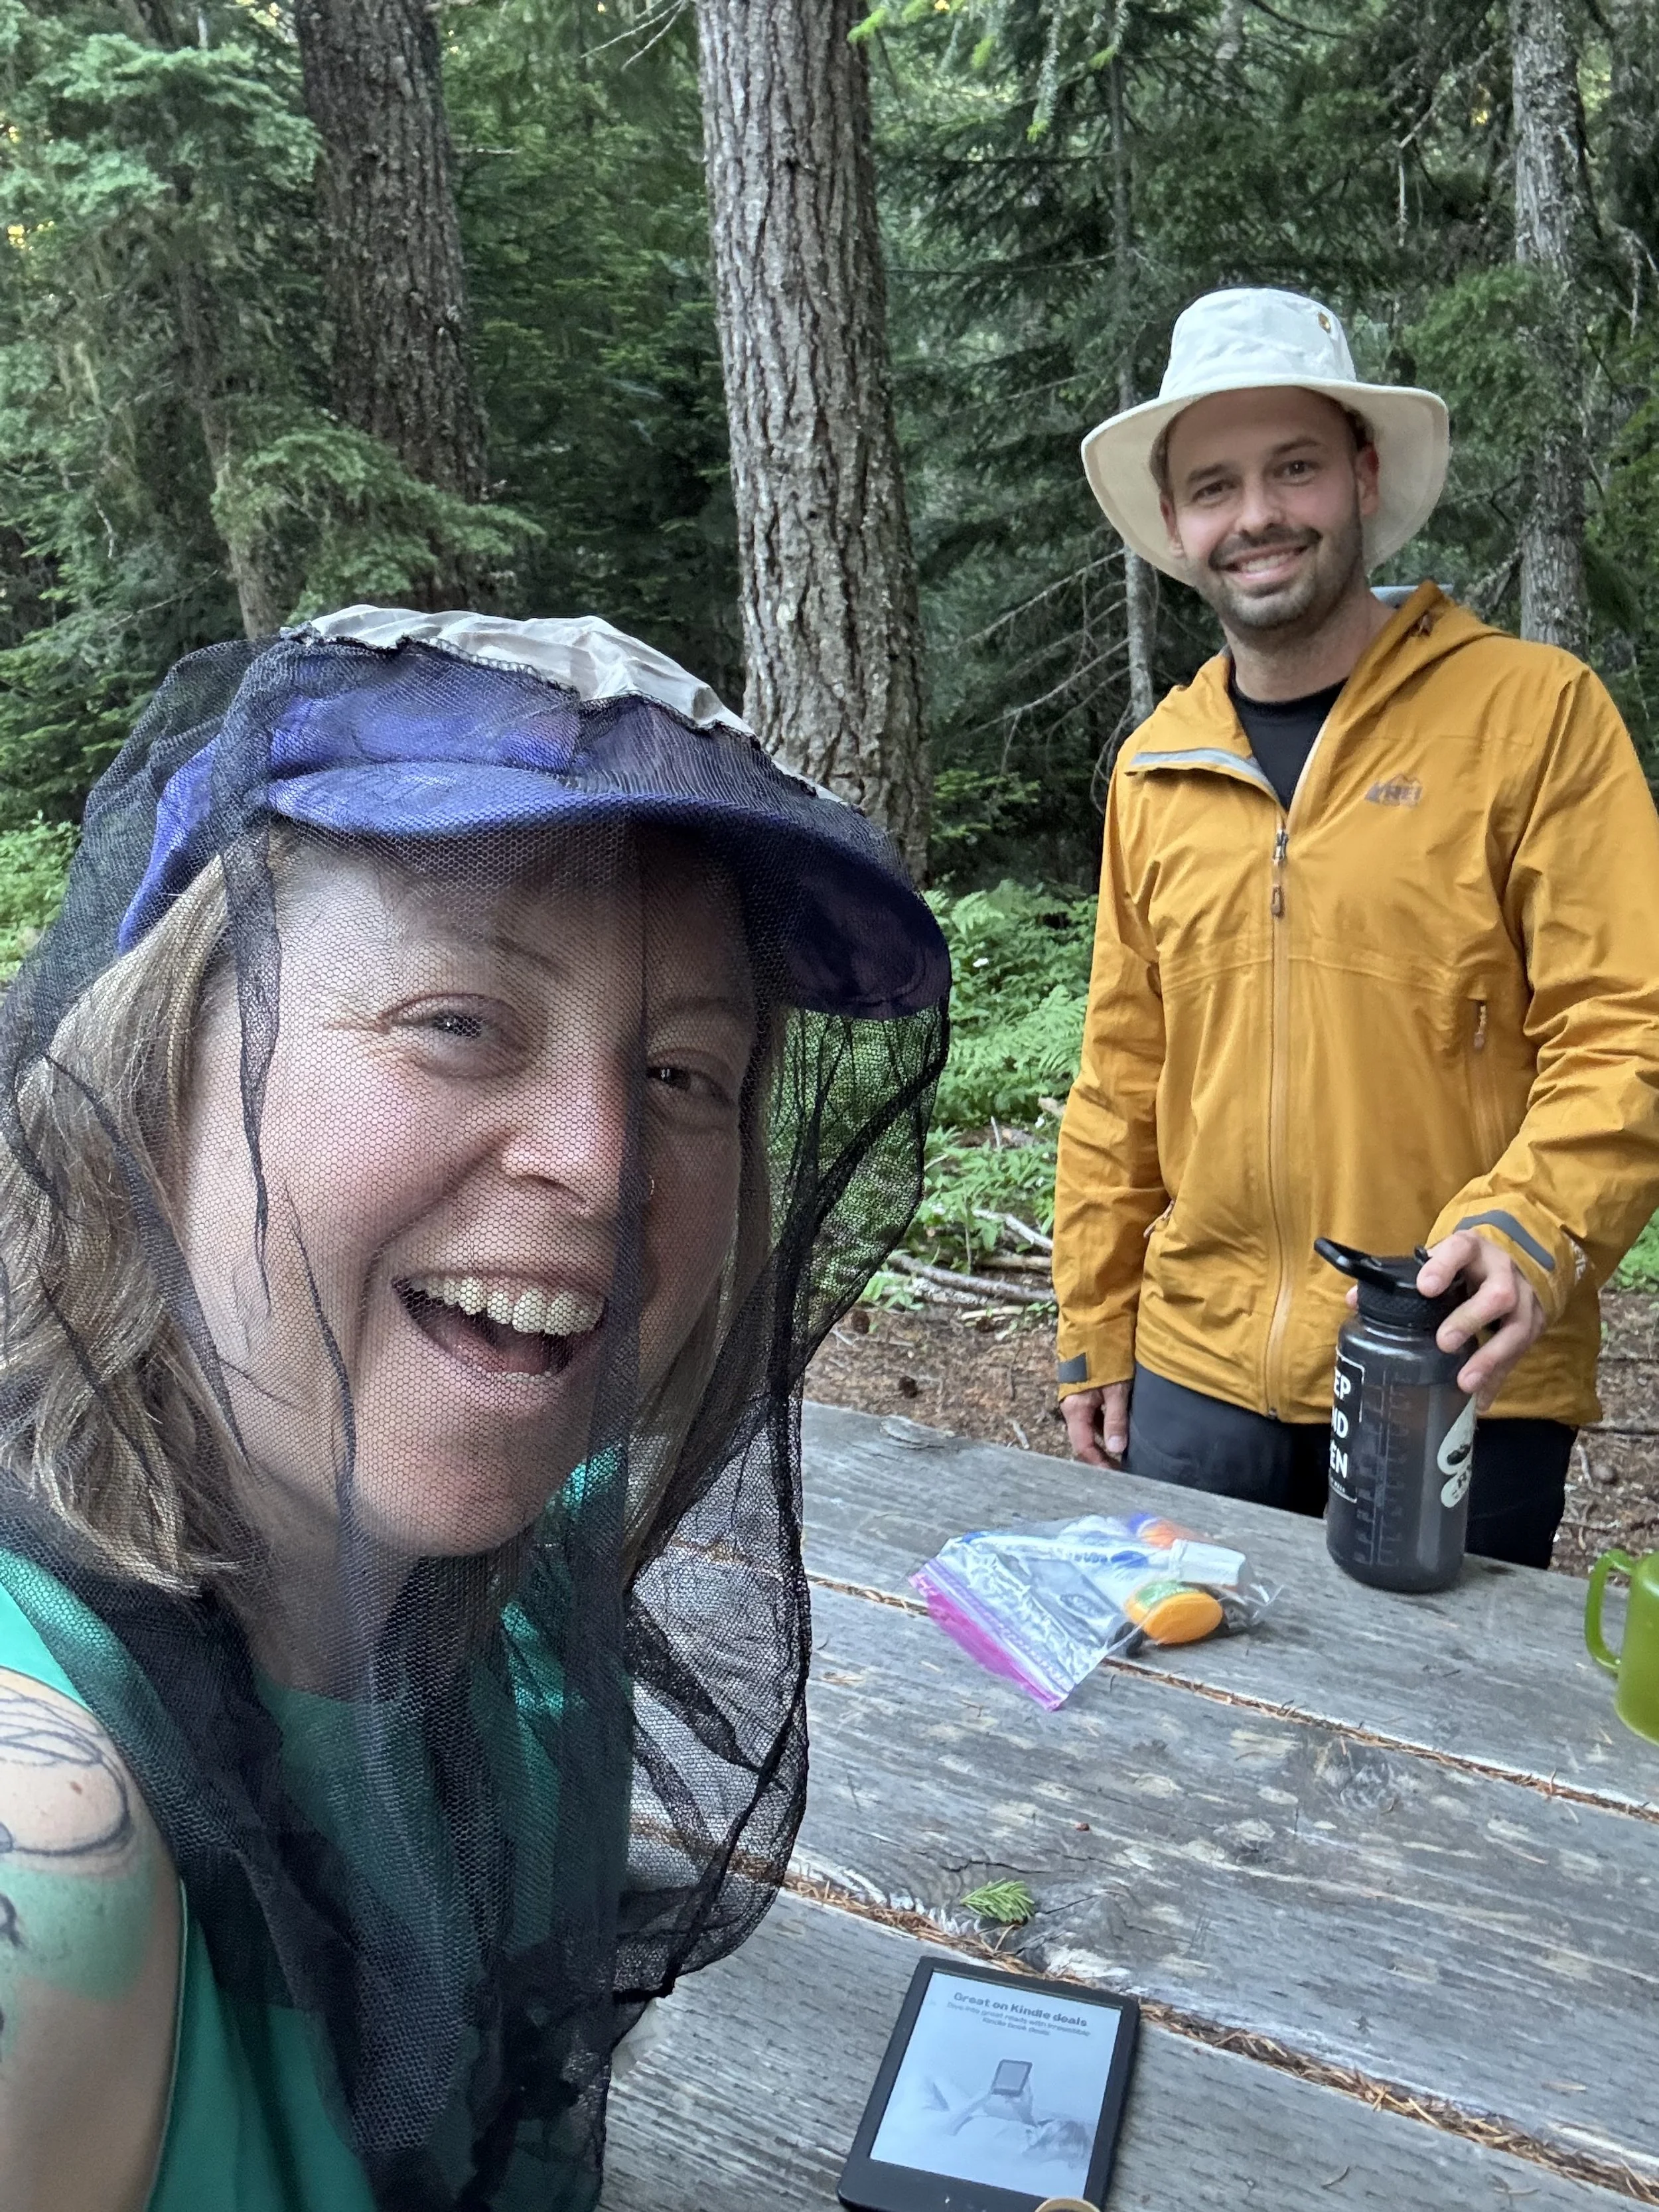
Hanging at camp with Eliot
We built our trip with a few goals in mind:
Get out into the woods
Spend 3 days riding, and 2 nights camping
Have fun and stay alive
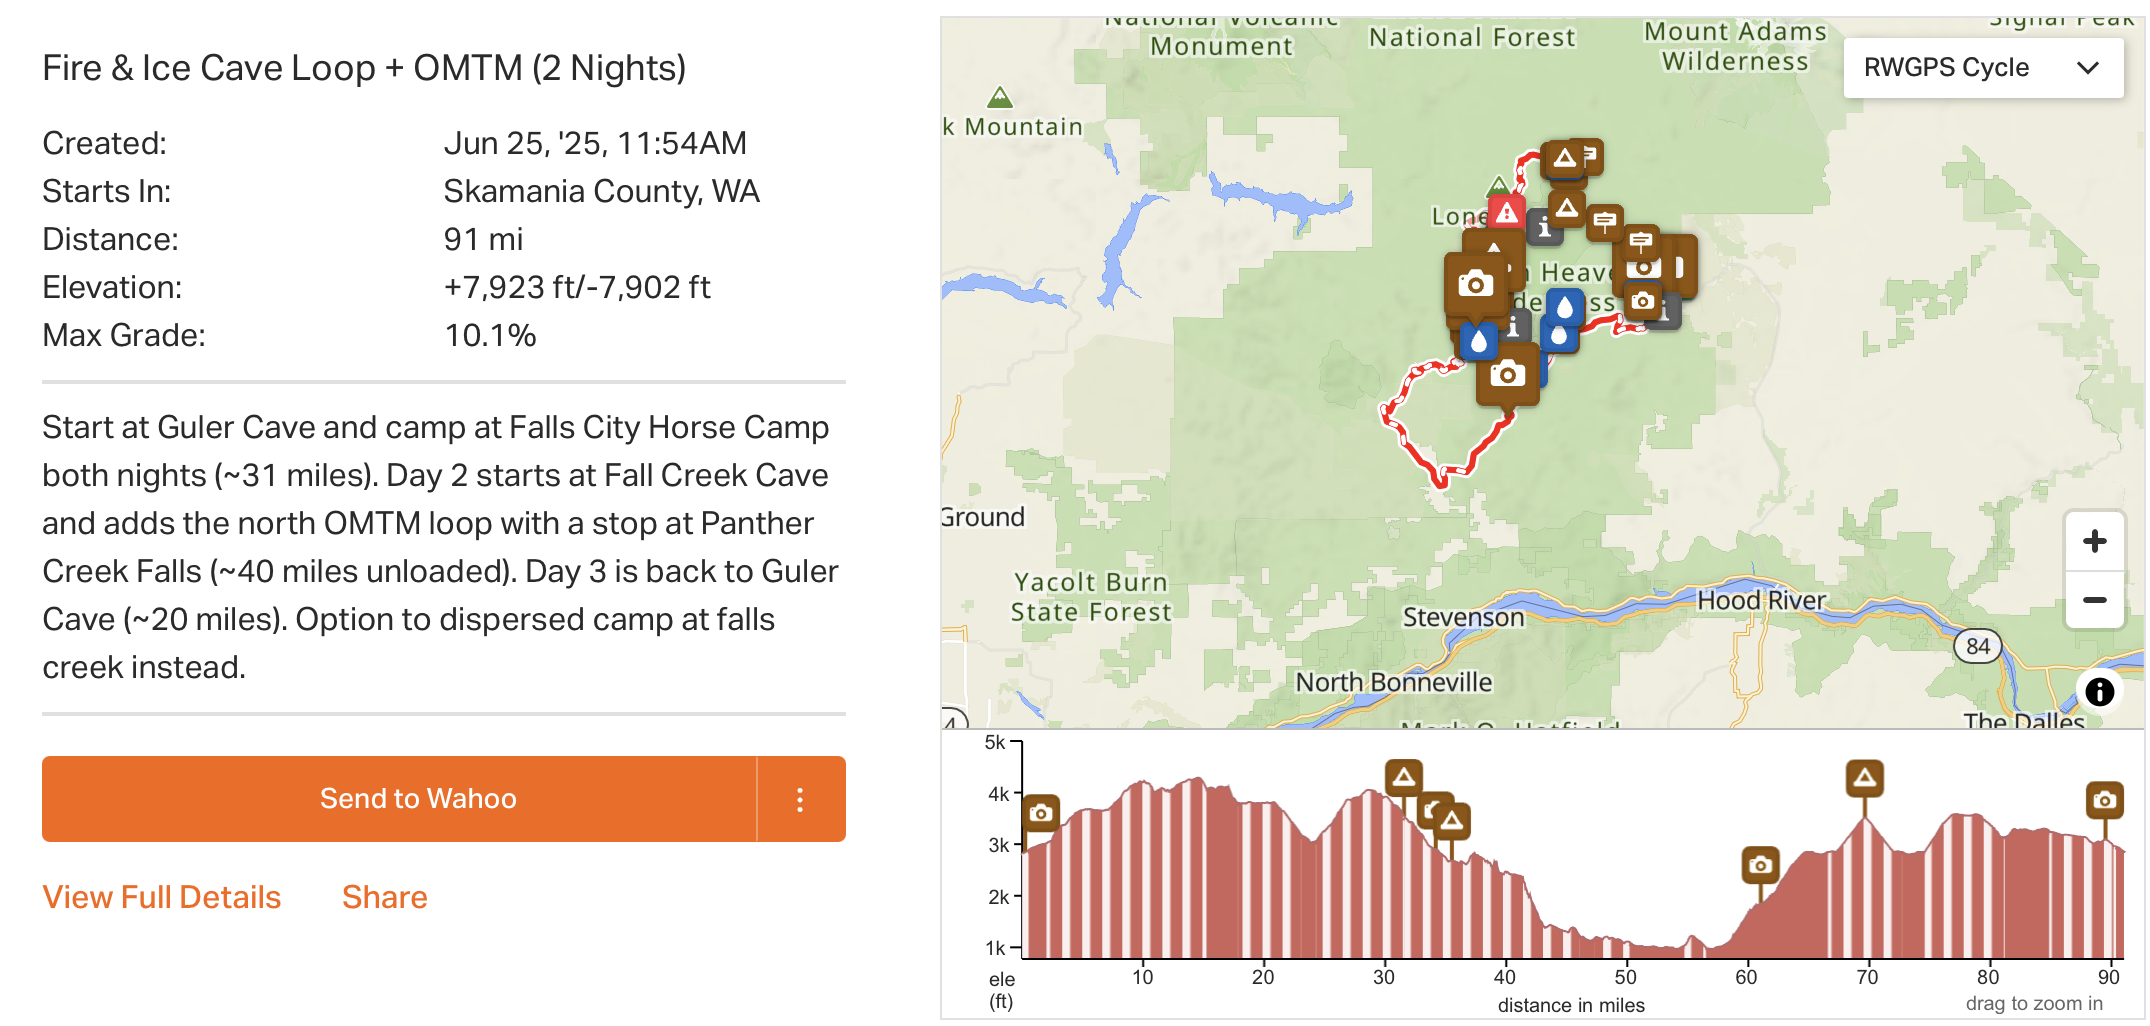
With these in mind, Eliot put together an incredible route that was built by combining two previously existing routes, The Fire and Ice Cave Loop from Bikepacking.com, and a route from Our Mother The Mountain. Clocking in at 91 miles with nearly 8,000 feet of climbing, this was definitely my most ambitious bikepacking trip, but turned out to be the most rewarding in terms of views, company, and fun.
My Bike Set Up
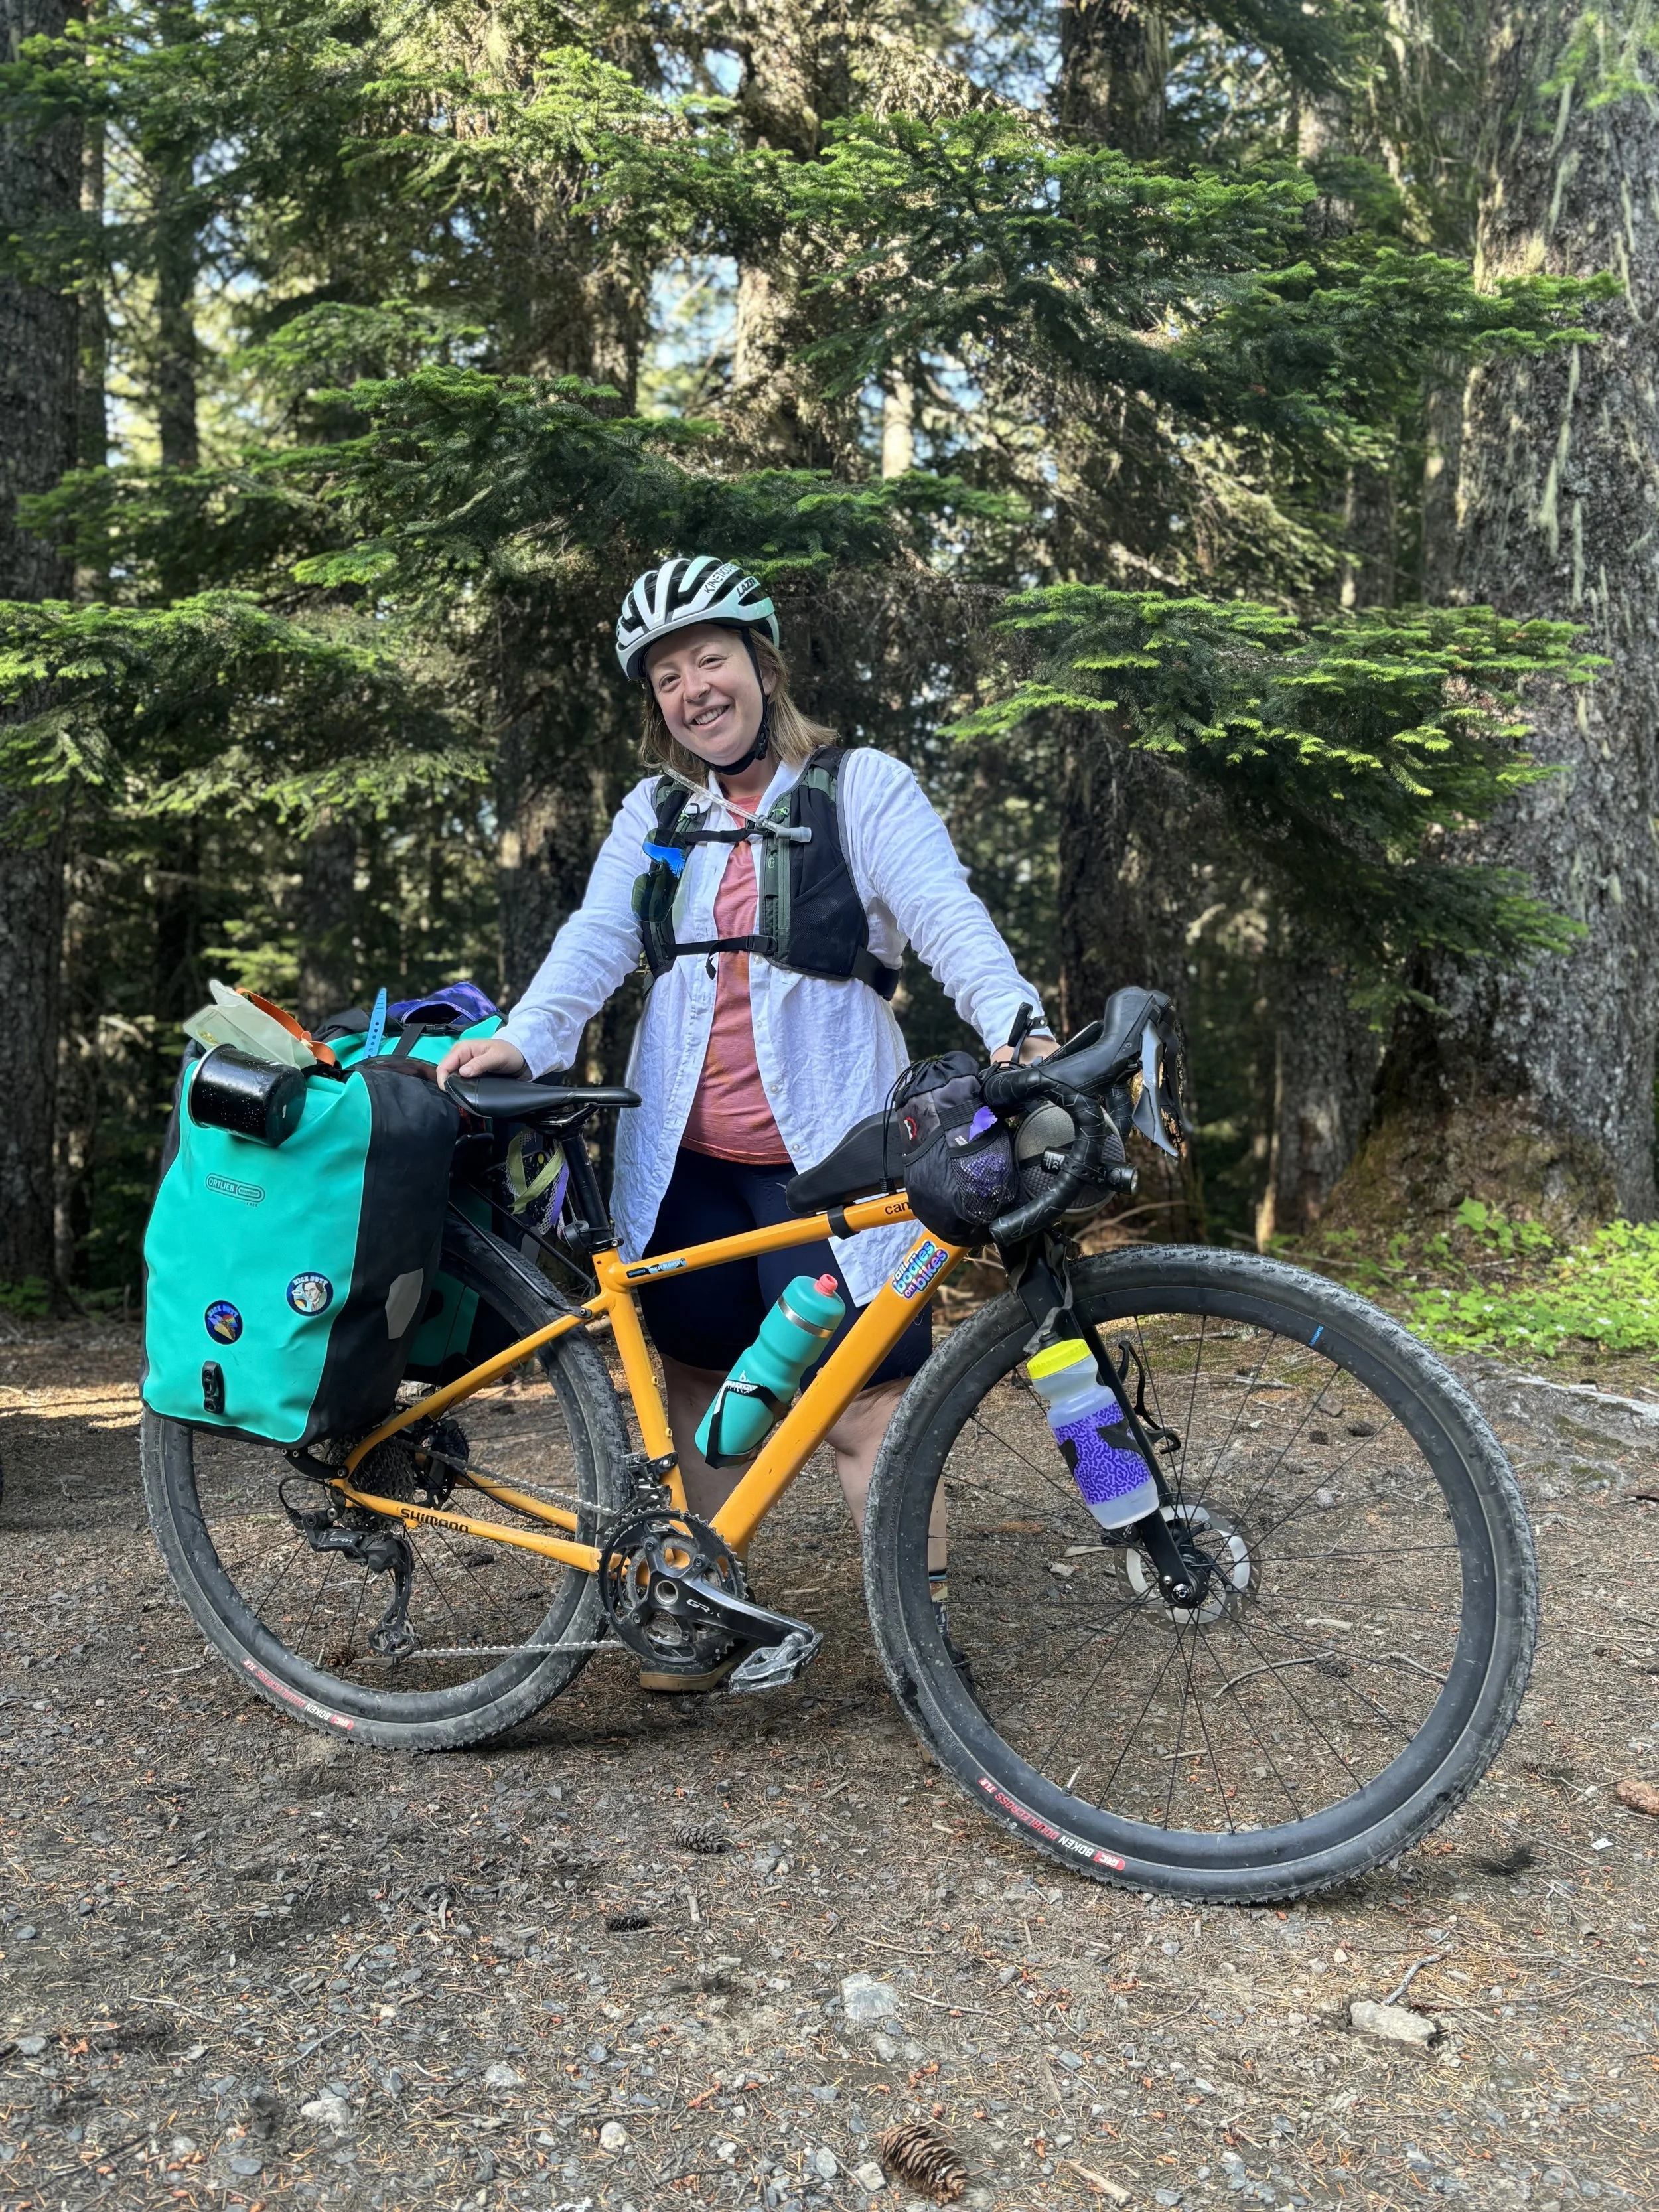
I rode my do-it-all Cannondale Topstone 4, equipped with a back rack and panniers. I was definitely underbiked for the single-track portion of Day 2, but was otherwise quite happy with my choice of ride. The route is a nice combination of gravel roads, beautiful pavement, and single track, but nothing was ever too technical.
This is the same bike I recently rode both Unbound Gravel 100 and The Oregon Gran Fondo, proving it’s a truly capable bike. It’s currently got the Shimano mechanical 2x12 GRX Groupset on there, with GRX brakes and wheels, and it performed beautifully. There were a few times where I could have used some additional climbing gears, but I’m not too proud to push my bike up a hill when it gets too steep.
For this trip, I ran 700x42 IRC Boken Double Cross tires, set up tubules at 40 psi (both front and rear.) No notes on tires, although Eliot ran 2.2” tires and also seemed to be quite happy, especially on the single track.
My biggest challenge with this bicycle is the size of it. It’s tiny, which doesn’t provide much space for either luggage or water carrying. To solve this, I simply packed in Ortleib panniers and mounted water bottle cages to my front fork. I also carried a hydration pack from Osprey. Fully loaded I was able to carry 2.5 liters of water, which was sufficient with periodic refills from mountainside streams (filtered of course.)
My bike setup
Food, Route Highlights, and More
As mentioned earlier, I was responsible for the food planning portion of the trip. If you know me, you know that I hate even the idea of being hungry, so I majorly overpacked on food. As I was unloading my pannier at camp the first night, Eliot summed it up well: “I packed to survive on this trip. Marley packed to be happy on this trip.” And it’s true - we ate good and were never hungry.
Our meals were:
Breakfasts - Oatmeal with peanut butter, chia seeds & mini chocolate chips, Dried Mango
Lunches - Tortilla wraps with chickpeas, tuna, dried bell pepper, and tortillas with salami & cheese
Dinner - Homemade pasta with veggie sauce & Dehydrated meals
Snacks - Everything including candy, fresh fruit, beef jerky, cookies, and more!

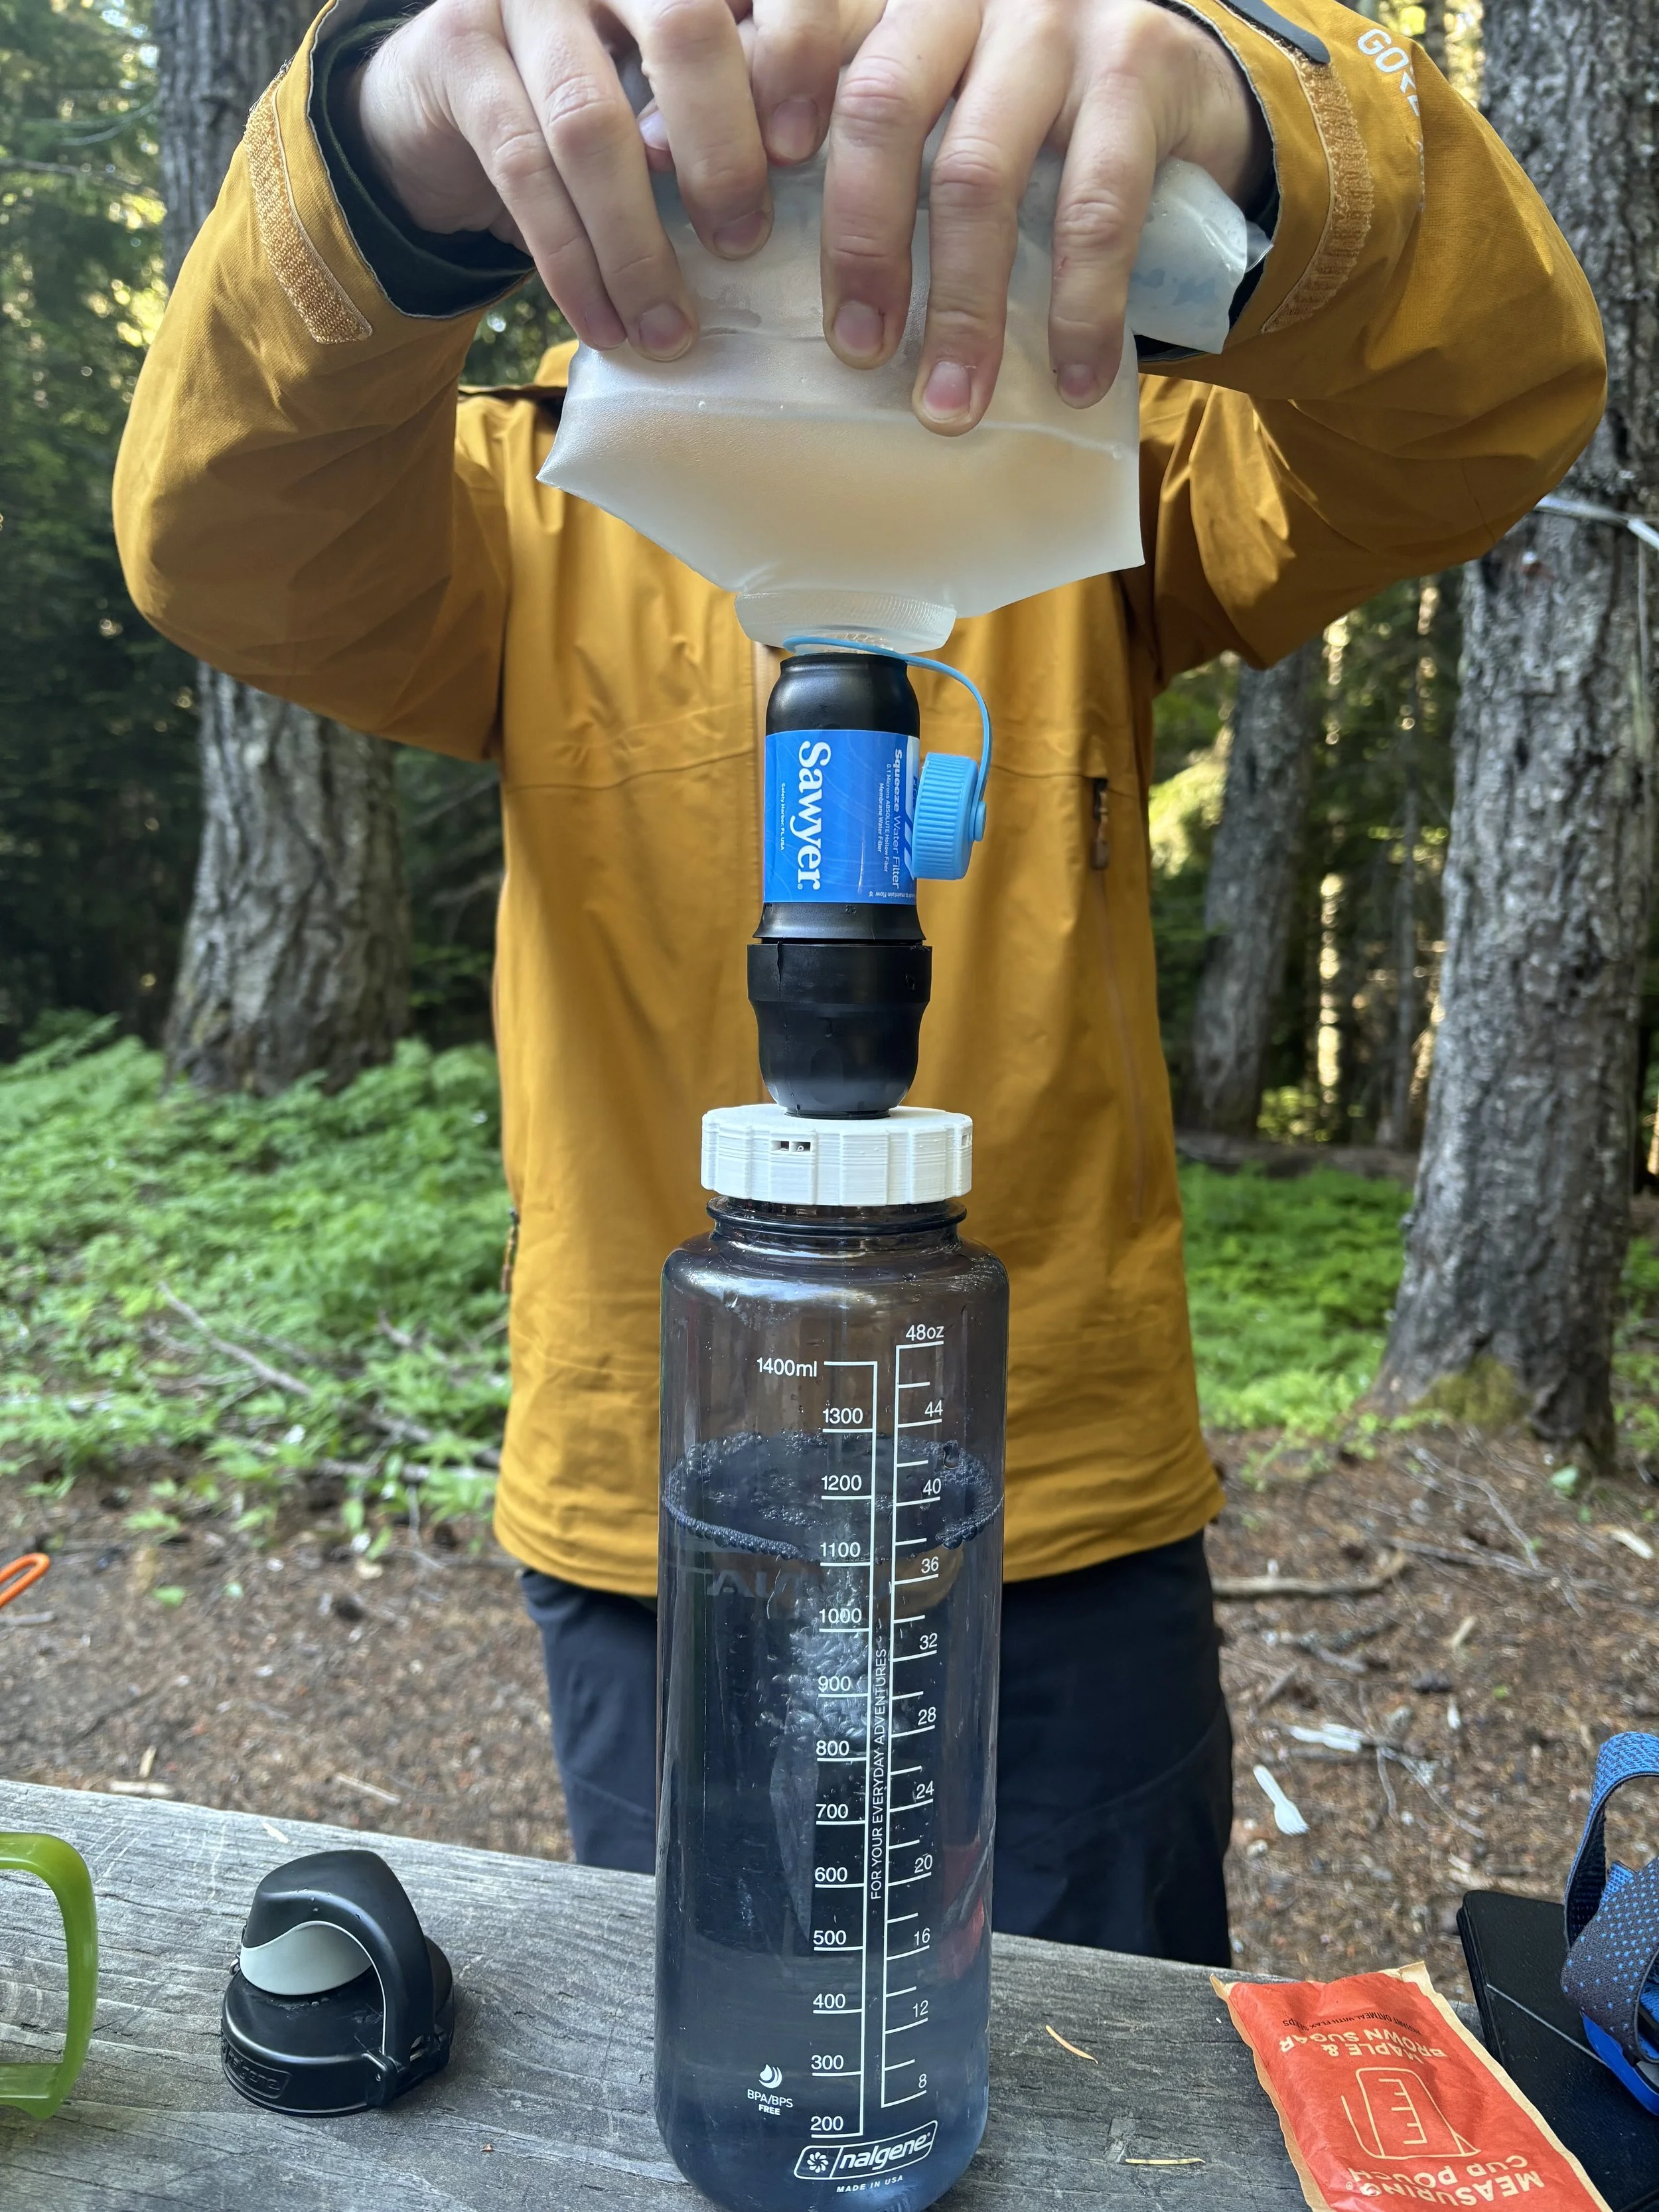
Importantly, we packed and shared a Sawyer squeeze water filter to ensure we had clean safe water to drink for the entire trip. Eliot rode with this at all times, which came in handy during our 11 mile climb on Day 2 where we ran out of water mid-way up the climb and were able to refill from a stream on the side of the road. As you can see in the photo below, Eliot 3-D printed the interface between the Nalgene and the actual filter, which proved to work beautifully. I keep telling him to sell his inventions - but he doesn’t listen to me.
We broke the route up into three days, covering 31, 40, and 20 miles on each day respectively. Day 1 started out with a banger of a climb, gaining nearly 1500 feet of elevation in under 10 miles. Though daunting, we took it slow and made it to the ridge line, which we followed for most of the rest of the day. We were rewarded throughout the day with massive views of Mount Adams interspersed with huge, old growth forests. The route passes through a huge huckleberry field, however, we were up there too early in the season to take advantage of any roadside snacks.
We set up camp for the trip at the Falls Creek Horse Camp, a nice little camp group with a pit toilet, picnic tables, and a stream for water access.
Day 2 was a loop, starting and ending at our campsite, which meant we could ride unloaded! Eliot loaded up his handlebar bag with our lunches and snacks and off we went. The route for Day 2 started with a nearly 20 mile descent, the first 11 of which were on single track. Technically labeled a “blue” for intermediate, the trail was super fun and a bit rowdy in places. Had I of been on a mountain bike, I could’ve ridden the entire thing, as there were no drops over 1 foot and no large obstructions. Because I was on a gravel bike, I did end up walking a couple of sections, however, nothing to complain about.
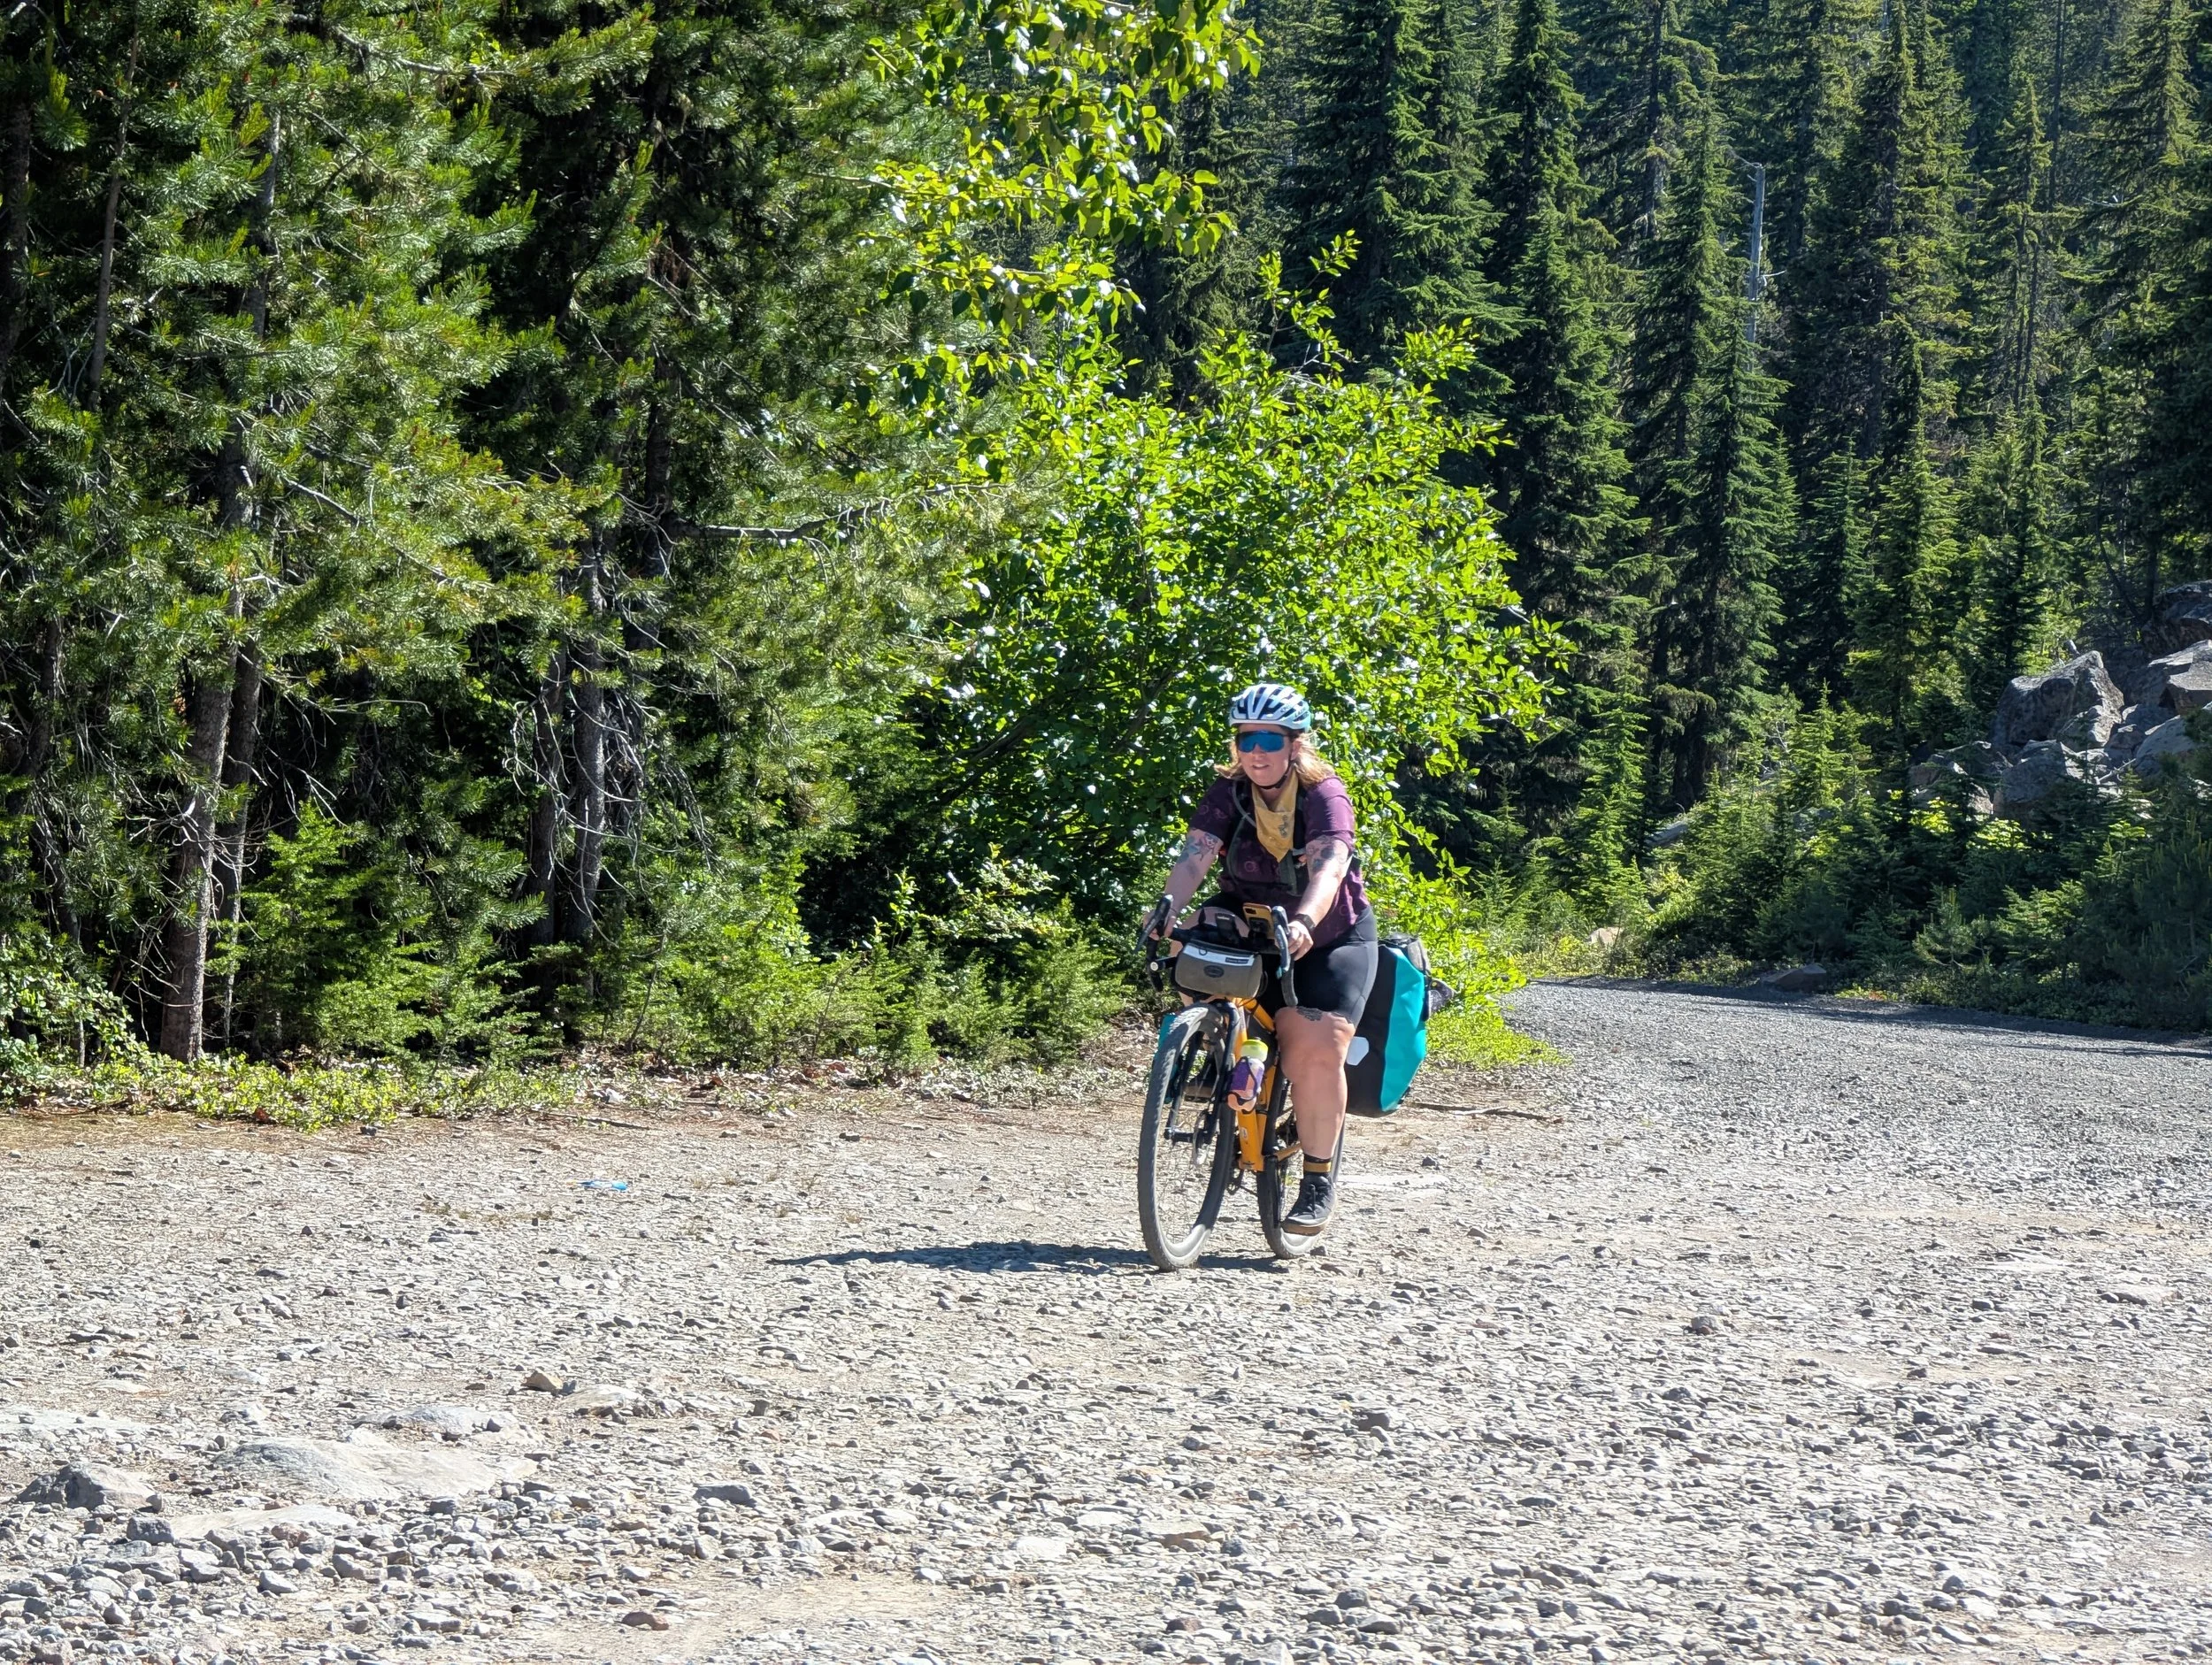
If you do this route, I highly recommend following the direction we traveled, as otherwise you would have some massive single track climbing, which is definitely not my favorite. After the dirt section, we descended for a few more miles, before starting the long climb back up. I was dreading the final climb all day, which would see us gaining over 2500 feet of elevation in less than 20 miles.
Forever climbing
The climb started out gradual, but we were baking in the hot sun. With temperatures hovering in the mid-90s and most of the climb fully exposed on asphalt, it became a game of seeking out the shade to rest, conserving water, and going at a slow but steady pace. After nearly 4 hours of climbing (with lots of resting in there), we made it back to camp, where Eliot rewarded himself with a dip in the creek, and I took a nap in the hammock.
Day 3 was a 20 mile ride back to the car, with just a few hills. Had it been hotter, we would’ve jumped in Goose Lake, however, we took it as a chance to eat some snacks, chat with some fishermen, and enjoy a few last minutes in the forest.
One of the coolest things about this route was the caves, lava flows, and natural bridges. We took lots of time to explore each one we came across. Even though it was super majestic, photos just don’t do it justice.
Reflections and Closing Thoughts
Throughout the trip, I had a constant narrative going through my head - I am so lucky to get to do this. From having a flexible schedule, to a capable body, to a prepared friend to go with, all the stars aligned for this trip. I owe a massive thank you to Eliot, who really took on the brunt of the planning and routing, water filtering, and carried our tent. I was basically just there for entertainment purposes, and think I did an ok job of it.
I am so excited to get back out to that area and explore further.