Gals at the Dalles

There's something about rolling hills, farms and open prairie that just does it for me. I absolutely love it. Add gravel roads, cows, a challenging climb with a screaming descent, the opportunity for dispersed camping and you've got my perfect ride.

Two years ago, I was introduced to the Dalles Mountain 60. This route is typically ridden in one day on the second Saturday in March, with whoever shows up. When I did it in 2016, a mixed bag of cyclists showed up, but primarily roadies with really fancy bikes and spandex. Most people seemed ready to test their mettle on this early season ride and go as fast as possible - up and over Dalles Mountain, down Maryhill Loops, and over Old Moody Road. Scenic photos be damned, they were going for King of the Mountain!

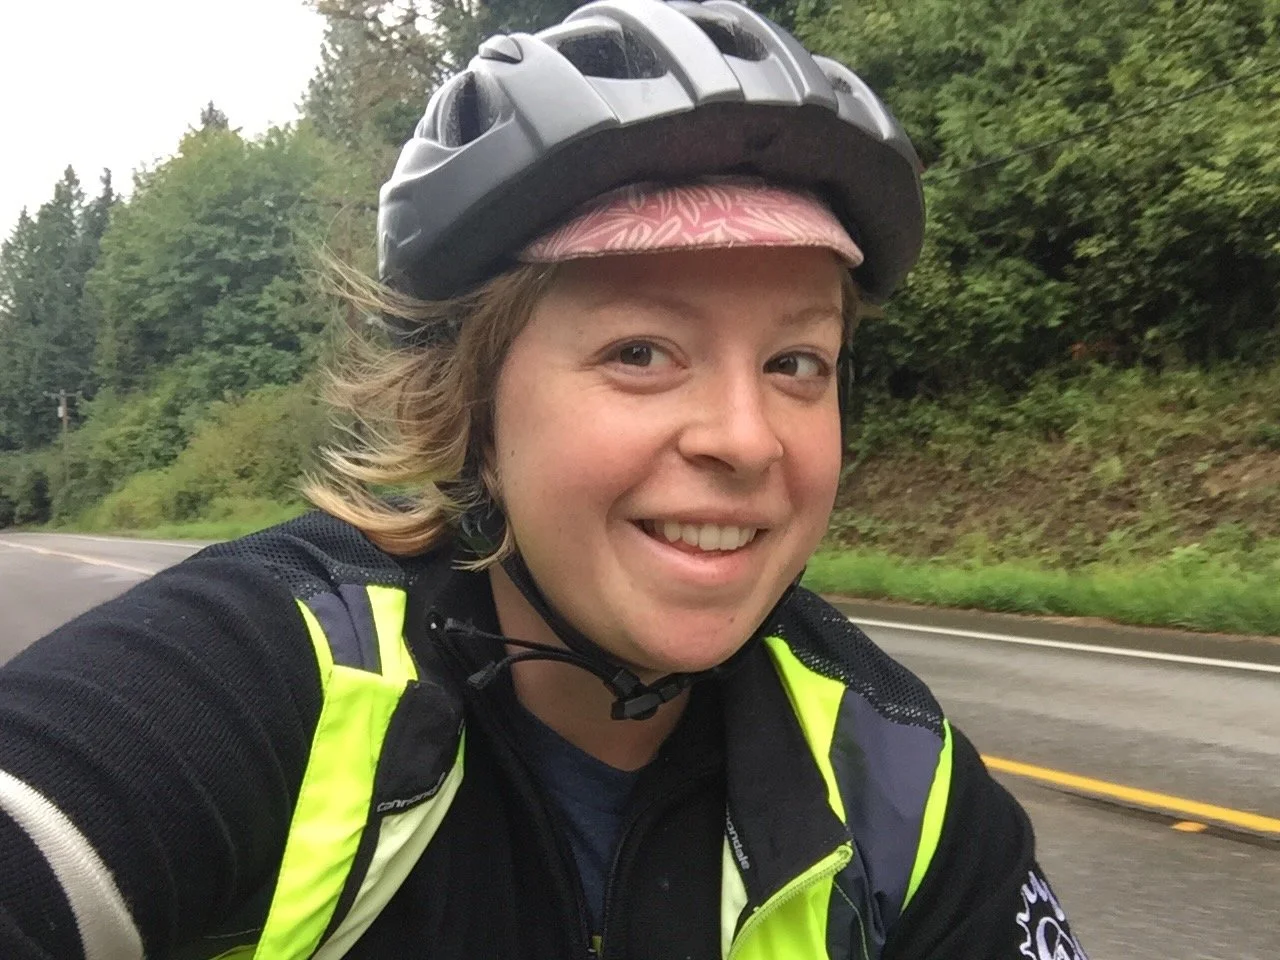
My style of riding is quite different. I'm in it for the journey- photos, fun stops, and whatever may come my way. The problem with doing this ride in early March, however, is you're battling daylight. It's a long, challenging ride with some decent elevation gain. If you don't hustle, you won't make it back to the city before sunset and it gets COLD and DARK out there. 

So after my first experience in the Dalles I knew that I wanted to go back. I was in love with the scenery and wanted more, but wanted to do it on my own terms. And that's how Gals at the Dalles was born.

If you've ready my blog post about my trip last summer with Komorebi Cycling Team, you know about the magic that is biking with all women. So I'm not going to rehash that, but suffice it to say, I was intentional in planning this trip to be all women.

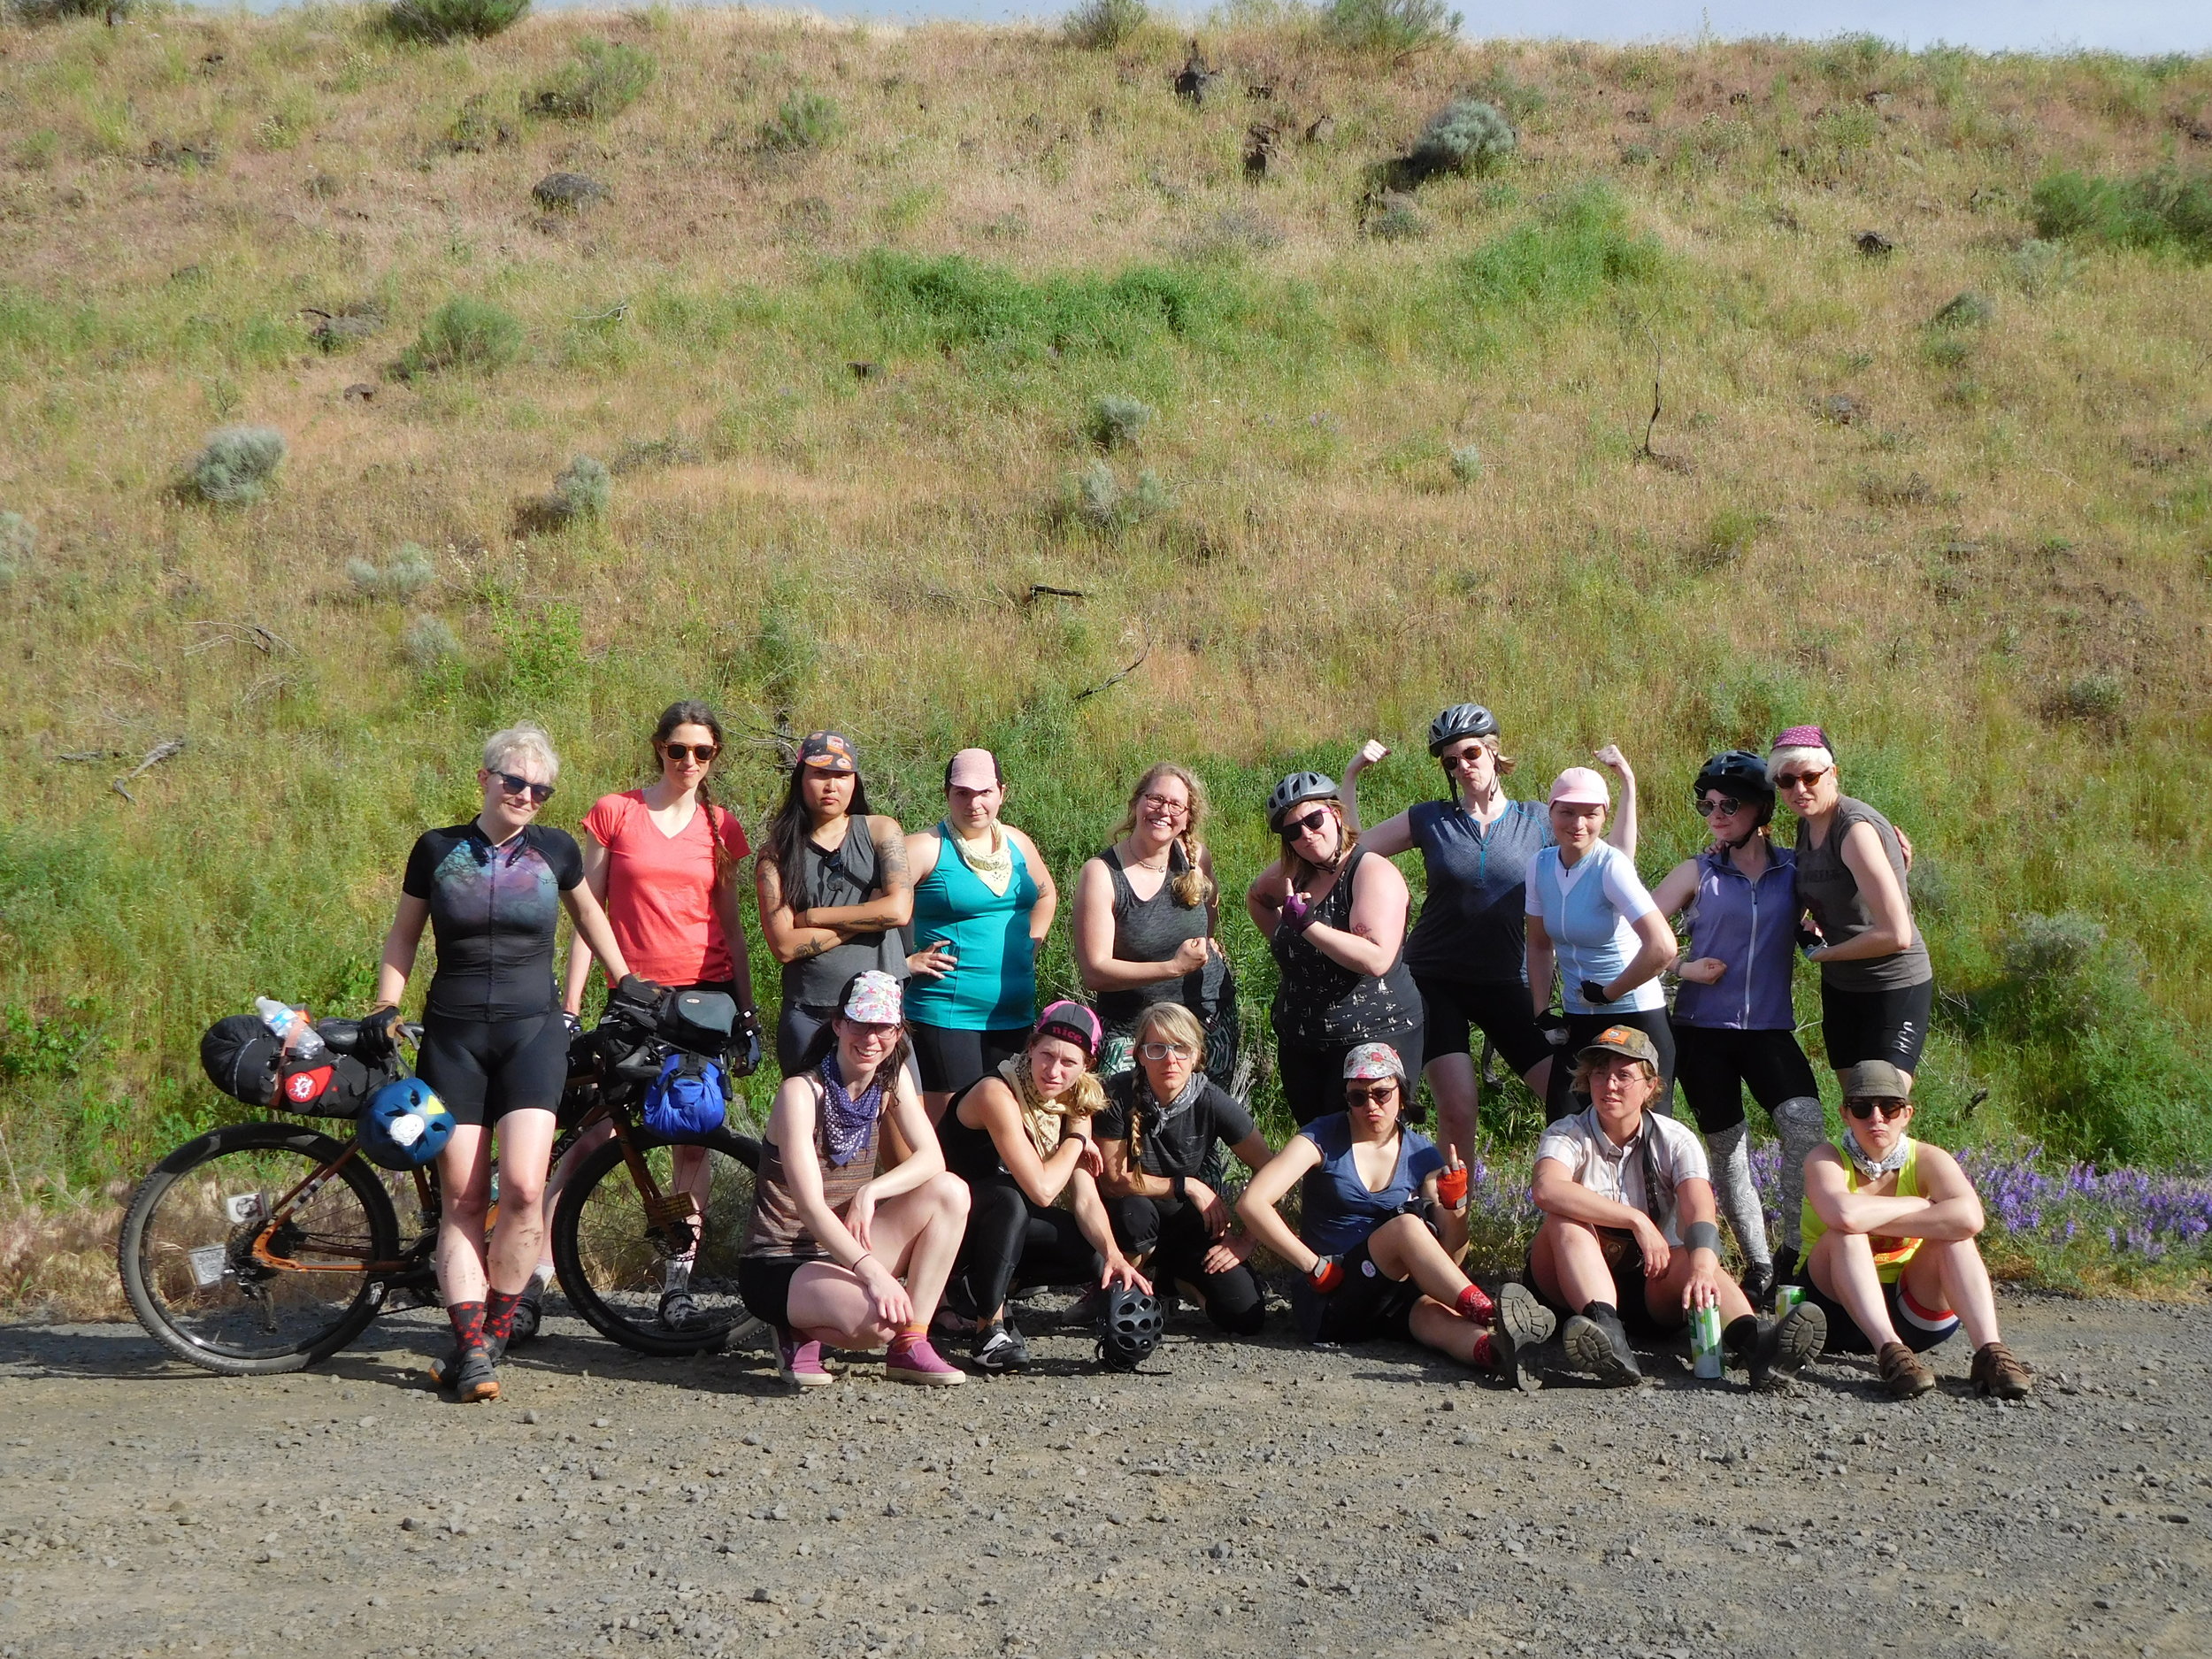
I put the call out on social media that I was doing this trip to Oregon, open to rad women, gave them the route, and to meet at Holstein's Coffee on Saturday the 20th at 10am. In the end, 18 women ended up making the trip to Oregon - 2 from Montana, 2 from Oregon, and 14 from Washington! A pretty damn good turnout!

One challenge going into this ride was fighting my internal voice that kept saying "You're too slow to lead a ride like this." And on some levels, it's true. For the climb up Dalles Mountain (the first 16 miles of Day 1), I was the slowest. But, that doesn't mean I couldn't lead in other ways. To combat this internal struggle, I did the following:

  • Made sure everybody else was as prepared as possible to ride ahead with the route, cue sheets, and knew specific details (like where to get water)

  • Made it abundantly clear that there was no expectation for the group of 18 to stick together

  • Enjoyed my own pace and rode my own ride

My plan totally worked and I was pleasantly surprised when at mile 37, we came down a huge hill after Stonehenge (seriously, there's a full size replica of Stonehenge in the middle of Washington) to find the whole group! I have no idea how long they'd just been hanging out eating lime salted cucumber (you can read about that here on Adventure Cycling) but it was the BEST SURPRISE EVER!!

From there, we rode the final 5 miles into the Deschutes River Recreation Area where we had staged a car with all of our camping gear and a cooler with cold LaCroix and beer. After loading up our bikes, it was a stunning ride 8 miles down the Old Rail Trail to a dispersed camping site for the night.

DSCN1515.JPG

Day 2 started with a seriously stupid number of flat tires on the sharp gravel, luckily most of them easily fixable. We only had to boot one tire but it proved to be a good learning experience. Eventually we all made it off of the Rail Trail and back onto the main Dalles 60 route, where Old Moody Road awaited us. 

I think this road should be called Old Moody Mountain, and I honestly think it's the hardest part of the entire trip. This road is like a freaking wall and it's all gravel and so steep. Once we finally conquered that, it was smooth, beautiful riding all the way back into the Dalles.

Ending back at Holsteins Coffee we all collapsed onto the patio in the 95 degree heat. Happy, exhausted, accomplished. And excited to do it again next year?

p.s. This time, I took 600+ photos, and who knows how many the other women took. To see a small selection, search for the hashtag #galsatthedalles on Instagram!

with these THIGHS

I climb mountains.

I squat almost my body weight.

I bust out seams on jeans that were meant to keep for much smaller legs.

These thighs have taken me all across the world and I'm damn proud of them. They're strong. They're solid. They do exactly what I ask of them and more.

with these THIGHS.

Inspired by my friend Leah, owner of Gladys Bikes in Portland who originally printed these stickers, I have also printed these stickers. If you're also proud of your thighs, let me know and I'll get you a few.


EDIT: Order stickers here!

Gear Reviews - Sleeping System

When people who only car camp hear that I'm riding my bike out to the woods to sleep outside for one night there is typically one reaction - "Girl, you're nuts. That's way too much work just to sleep outside for one night."

And, I think in their minds, they envision that I'm hauling as much stuff as they would typically take car camping: a cooler, camp chairs, a large tent, shelter, and all sorts of gear. I can't even tell you how many times this contraption has been posted on my Facebook wall:

Nope, sorry mom, not taking this bike camping.

Nope, sorry mom, not taking this bike camping.


When I show them pictures of my fully loaded bicycle, then the questions really start to flow. 

And y'all- this was a crappy packing job. I brought a 2 person tent, 2 sleeping pads, a stove, didn't compress my sleeping bag, and brought way too much food. Also, note where my front sleeping pad is- I don't recommend this. But, it worked. So, onto my actual gear reviews and camping hacks.

This post is going to cover my sleeping system. I've gone through a few iterations, and below is what I've found to be the most comfortable by far. Also, when I'm riding or hiking, I like to sleep and wake up well rested. Tossing, turning, and shivering all night do no good for getting in the miles the next day.

This system works in both my 1 person and 2 person tent. When I take my hammock, I ditch the z-pad and just do the inflatable pad as a level of insulation.

My Favorite Sleep System

I'm a cold sleeper. Even in July when it's 60 degrees at night, I'm shivering. I've finally landed on the perfect system that keeps me snug as a bug, even down to 30 degrees (the coldest I've tested it), but I'm guessing it would work even colder, since it's all rated for lower temps.

Bottom level: Therm-a-Rest Z Lite Sol Sleeping Pad

This pad is the old staple of hikers and bikers. Super light weight, works as a seat rest for sitting on the ground too. This goes on the bottom of my setup and helps insulate the whole package. In the height of summer, I'll sometimes leave this behind (but not usually, as it's so light and perfect for sitting on the ground.) It can be strapped on top of the outside of your bike basically wherever.

Next level: Big Agnes Q Core Insulated SLX Pad

Inflate this bad boy about 90% of the way up and it's the best sleeping pad I've ever used. I'm a side sleeper and it provides awesome support for my hips. Love it. And it's rated down to 15 degrees.

Sleeping bag: REI Joule Women's Sleeping Bag

This is a women's specific down bag with a synthetic outer liner that is water-resistant. Helpful incase your bag gets wet (but I still always pack it in a dry bag just in case, as wet down is useless.) This bag is great as it's shorter so my feet stay warm, and the mummy hood is lovely for cold nights. This bag also accommodates my wide hips pretty well, as it is built for women! Nice job REI!

I also use a simple synthetic pillow, but sometimes depending on space, will just stuff some clothes up into the head space of my bag.

A Note on R-Values and Temperature Ratings

As you search for camping gear, you'll notice that sleeping pads have an R-Value and sleeping bags have a temperature rating on the spec page.

The R-Value will range from 0-10, and the temperature range will be indicated. This is a basically an indication of how warm it will keep you, with a base layer on. Scientifically, it's the capacity of an insulating material to resist heat flow. The higher the R-value, the greater the insulating power. 

You should pick one that meets your needs - consider weight, if you're willing to spend the time blowing up the pad, deflating, etc. And how much it weighs.  For me, I like being warm and toasty, and don't mind blowing up the pad to do so!

Next up: Cooking systems and coffee brewing while camping!