Keeping your Rain Gear Waterproof Season after Season
This post contains affiliate links. When you make a purchase using these links, I receive a small commission from that purchase. To learn more about affiliate links, please read this post. Thank you for your support!

The author and her favorite rain jacket.
Have you seen the forecast for the next few days? I know a large percentage of my readers live in the northwest, and if you haven’t looked yet, the rain is coming.

I got my first cycling specific rain jacket that actually fit in January of 2021. Prior to the Pearl Izumi WXB Monsoon Rain Jacket, which I’ve raved about to anyone who will listen (and was just featured on Insider.com as one of my go-to Plus Sized Gear finds for cycling), I used casual rain jackets from Old Navy, rain capes, and fleece jackets - just about anything to attempt to keep myself dry. Spoiler alert - they don’t work that well.
Well, as the seasons change again and we head into the rainy season, I realized I had no idea how to properly care for my rain jacket to make sure it’s as water repellent as possible! I assumed you just pull it out of the closet when the rain starts and voila…you’re ready!
Turns out that might not be the case. Rain gear, just like all the rest of your gear, needs to be taken care of to stay in good working order.
I learned all this recently as I’ve partnered up with Nikwax NA, makers of some of the best (and most sustainable) technical fabric wash, waterproofing materials, and gear protectants on the market to learn how to keep my favorite new rain jacket in tip-top shape for years to come.
I’m gonna share with you what I’ve learned, so you can keep your gear in great shape too:
You’re supposed to both CLEAN and RE-WATERPROOF your gear!
Just like our clothes, our outer layers get gross. Road dirt, grime, grease from our fingers, body oil, and just dirt from daily life builds up on our rain jackets, which actually attracts more water to the fabric. I’ve definitely noticed this on my gear, especially around the collar (where it touches my face), near the hand openings, and by the zipper. These spots always seem to lose their water repellency the fastest and now I know why!

Before Cleaning/Waterproofing
The water is sitting on the surface, kind of absorbing into the fabric.
The first step in taking care of your gear is to clean it with a technical wash. Using a regular detergent (which I’m totally guilty of) actually attracts water to the fabric instead of repelling it, the whole point of wearing a rain coat!
I used (and recommend) Nikwax’s TechWash - you add it directly to the washing machine (just like detergent) and run a regular cycle. Easy peasy!
****Quick note - if you live in a building with a shared laundry facility, make sure you clean out the detergent hole before putting in the TechWash! If not, the detergent will basically deactivate the TechWash, making it pointless.****
Clean, then waterproof your gear.

Step 1. Clean
You wouldn’t wax a dirty car. Why would you waterproof a dirty jacket? Clean that baby!
You wouldn’t wax a dirty car. So why would you waterproof dirty gear? When it's put this way, it makes way more sense. So, after you wash your gear with the TechWash, run it through another cycle with the wash-in waterproofing (or use the spray on waterproofing.) Hang it up to dry (no heat needed to activate!) And you’re ready to go!

Step 2. Waterproof
After you clean it, then you can waterproof it. Run another cycle with the TX Direct Wash-in and you’re done!
You should clean your gear 5 times more often than you waterproof it!
Ok, this one was mind-blowing to me. Maybe I’m a gross person because I don’t think I wash my rain jacket 5 times in a season. But after learning this, I will definitely be washing my rain jacket and technical gear MUCH MORE OFTEN!
Clean your technical gear, base layers, wool, and footwear using the proper cleaners!
One size does NOT fit all when it comes to this and we should not be using standard laundry detergent to clean our gear! (Again, I’m definitely guilty of this…)
We all know that funky smell that happens when people wear their rain gear or base layers and don’t clean it properly. Don’t be that person. Nikwax makes specifically designed base layer wash, wool wash, technical gear wash (for tents, etc), and a sandal wash for our nasty Crocs, Chacos, etc.

Nikwax products are pretty dang sustainable - and have been since the beginning!
Over the past few years, I’ve definitely switched many of my cleaning products away from harsh chemicals and more towards natural ingredients. Truth be told, I think I use more vinegar and baking soda than is healthy, but that stuff works. So I was heartened to learn about Nikwax’s sustainability efforts, including using all water-based products, never using PFCs, and having a goal of using 100% recycled plastic in their bottles by the end of this year.
Super importantly, their chemicals are also non-persistent in the environment, which means they don’t stick around - because they’re water based, we won’t be breathing in or ingesting NikWax for years to come.
The Greenest Gear is the Gear you Already Own
Honestly when you think about it, it's surprising how much money we spend on our outdoor gear, and how little time and energy we spend to maintain it. If we all took a little more time, effort and yes, investment into keeping our existing gear in good shape, we’d all need to consume a lot less gear overall.
So, in addition to riding my bike more this winter, my goal is to be a lot less gross and take better care of my gear. I’d love for you to join me in this effort!
Frog Lake Loop Bikepacking Trip Recap with Oregon Field Guide
There are affiliate links in the post below. If you make a purchase using my links, I will receive a small commission. To learn more about affiliate links, please read this post.
Last week I rode the Frog Lake Loop Trail near Mount Hood with Kailey Kornhauser and a film crew from Oregon Field Guide. This 40 mile route might be my new favorite weekend route - it’s a perfect length for a short adventure, has an excellent challenge:reward ratio, and is good for a solo trip or group trip. Basically everything I look for in a bikepacking trip!

The logistics of this trip were pretty funny to coordinate - we started chatting with the team at Oregon Public Broadcasting in April. They saw our All Bodies on Bikes film and really wanted to do a follow-up episode on us. We initially planned to ride the Lower Deschutes River Trail but got foiled by gusty winds a few times. After a summer of many emails and rescheduling due to weather and production schedules, we finally landed on a weekend that worked for all of us.
The Frog Lake Loop, as developed and mapped out by Molly Sugar (thanks Molly!!) is designed to be ridden in two days. With a total distance of 40ish miles, each day is relatively short, allowing lots of time for exploring the gorgeous scenery, taking in the views, or adding fun little hikes or spur routes.
The first day is a lot of descending and goes fast! We didn’t really get riding until 11am (after an interview and packing the bikes) and made it to camp by 6pm. This was with multiple stops to shoot and film portions of the trail repeatedly. My point is - the riding isn’t hard or strenuous, especially on Day 1. Mainly nice gravel roads, a little bit of singletrack, a short hike-a-bike section on the Pacific Crest Trail, and a fun descent on new asphalt.

One highlight of Day 1 is Little Crater Lake. This strange geological formation is a super deep, spring-fed lake that is crystal clear blue. It’s about a half-mile off of the PCT, so if you’re on that trail, I highly recommend a quick detour to see this beauty.

The route takes you around Timothy Lake, which has an abundance of both reservable and dispersed camping options. We stayed at a reserved spot, but if I was doing the route again on my own, I would choose to stay at one of the dispersed camping spots right along the lake. We passed by a number of these and they looked absolutely stunning. (Disclaimer: we were there on a Monday/Tuesday, and they were nearly all empty. I have no idea if they get full other times of the summer.)
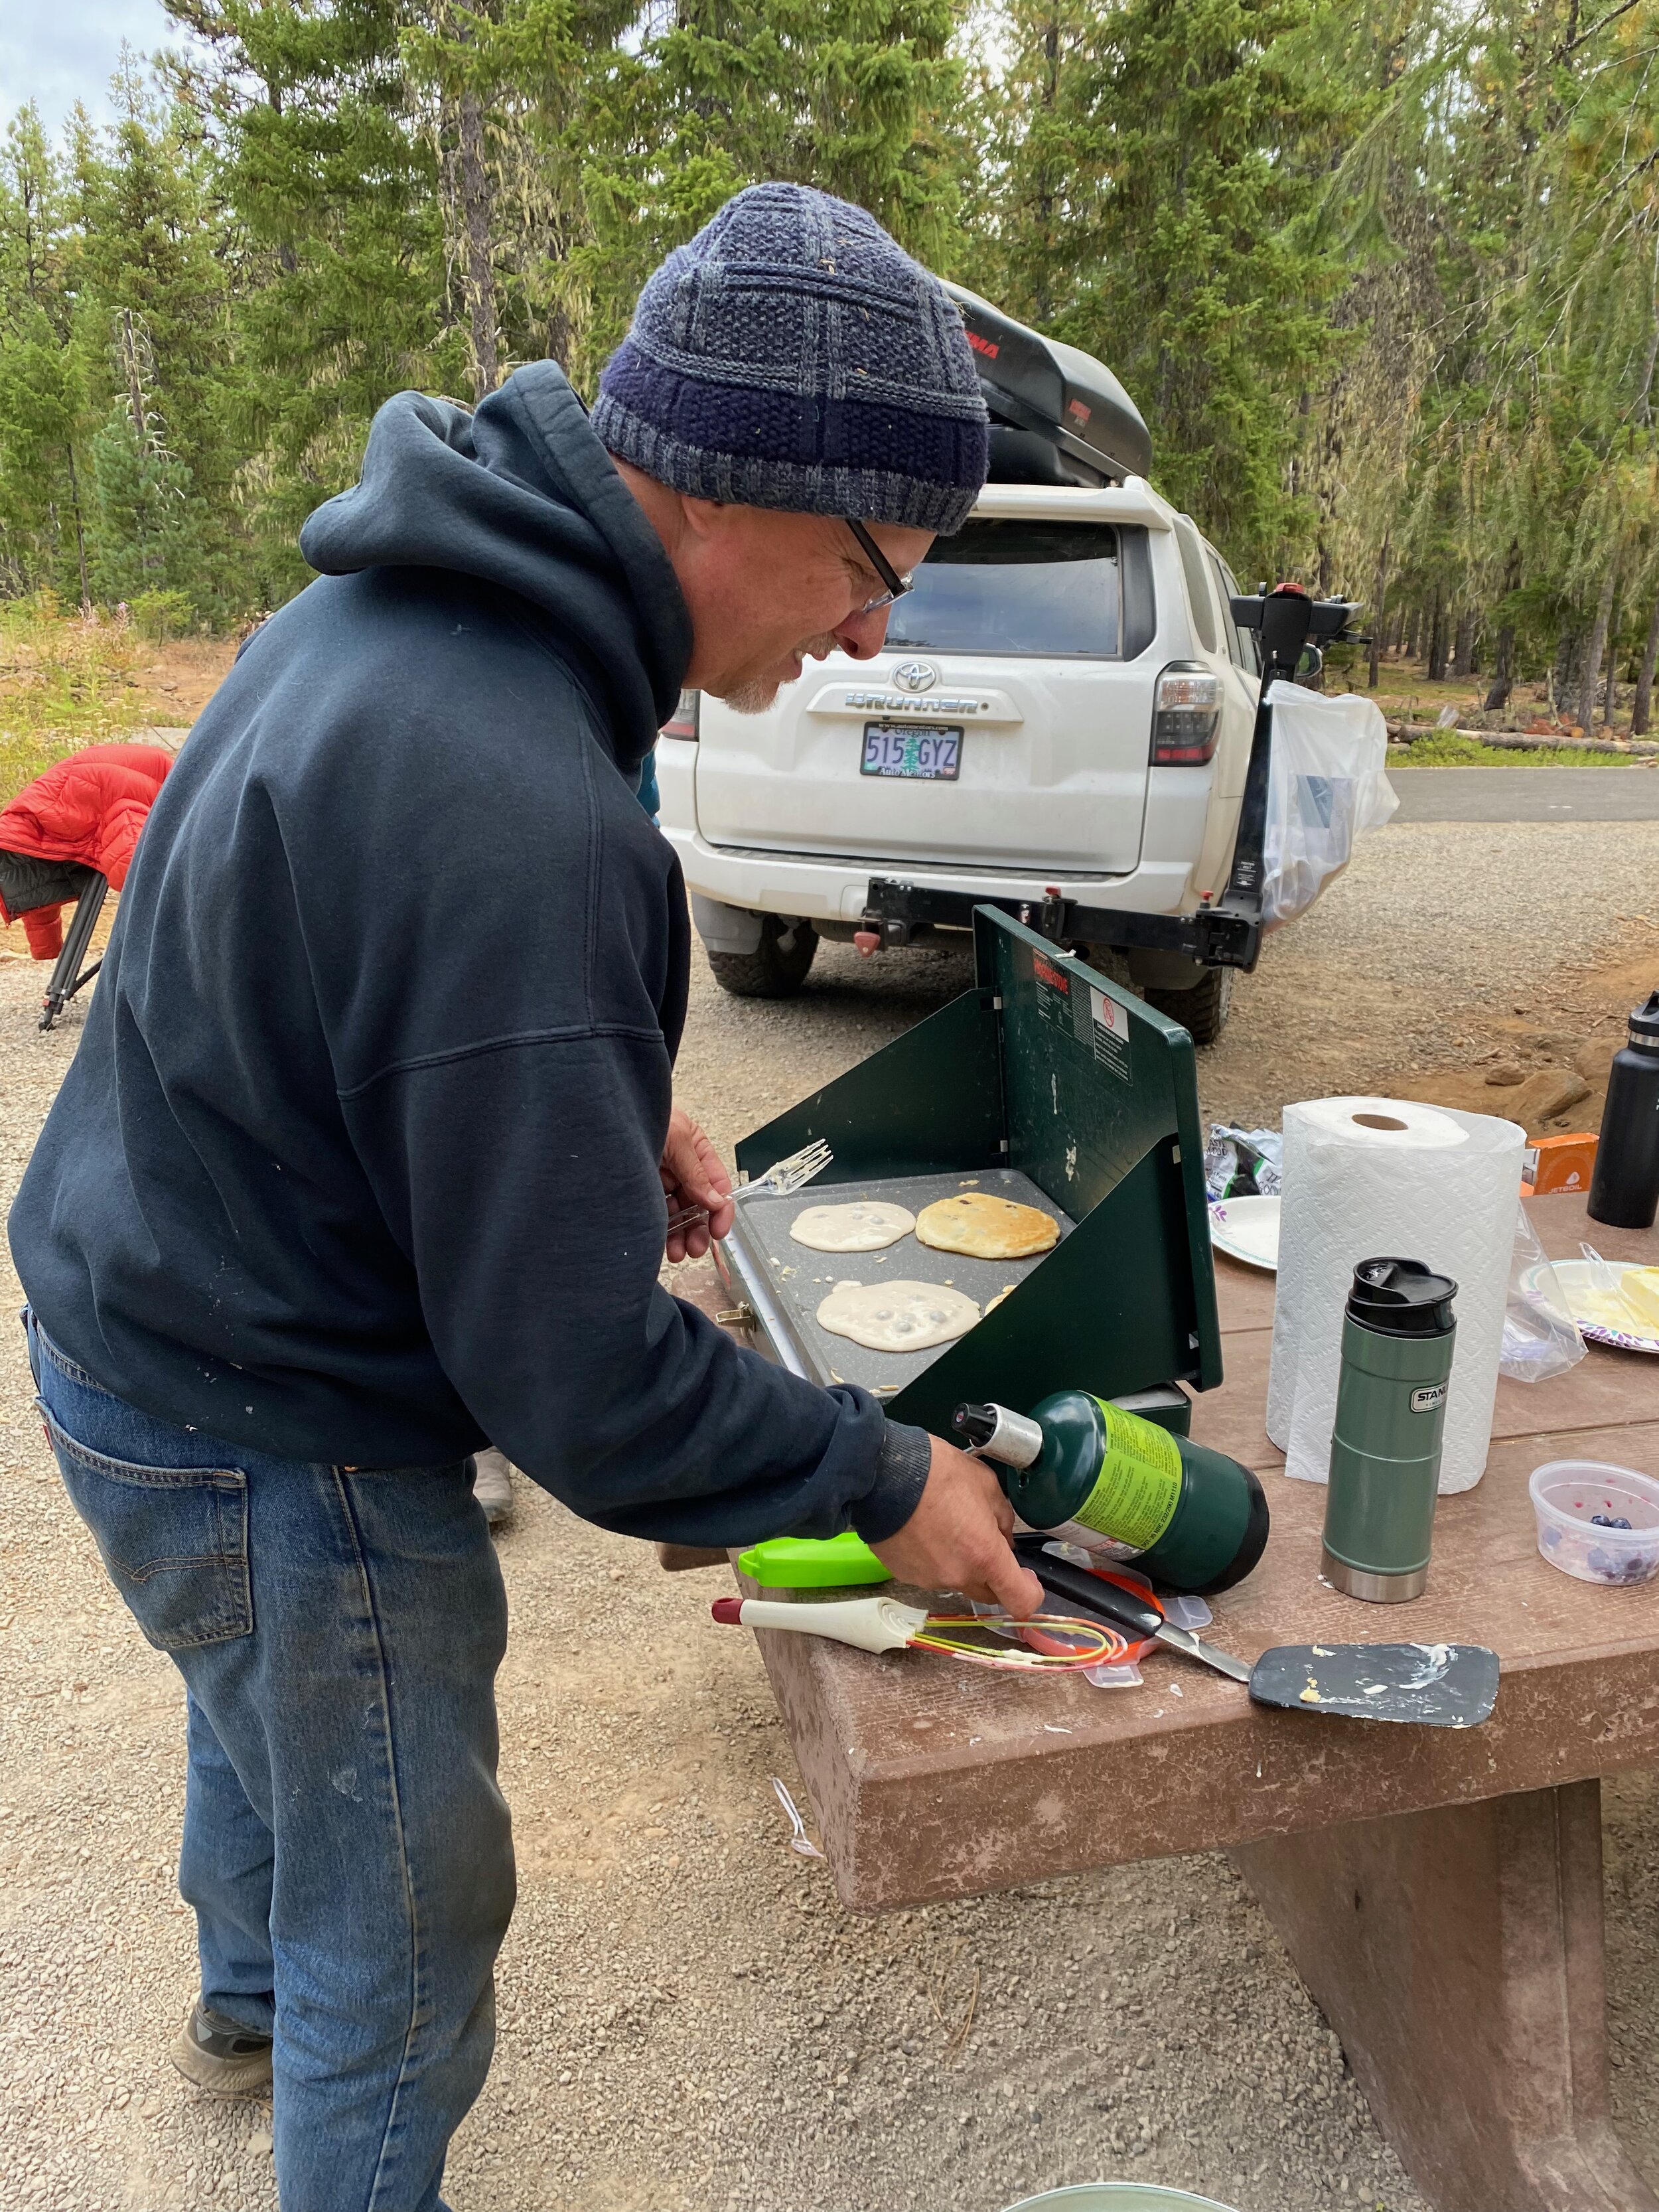
Gourmet breakfast care of the Oregon Field Guide team. Thanks Todd!
My favorite part of the ride was suprisingly Day 2. Kailey had warned me that most of the day would be climbing and she wasn’t wrong. We spent the first half of the day riding some of the most gorgeous, loamy, single track I’ve been on, which quickly led into a 2 hour climb. But somehow through all this gravel riding and racing I’ve been doing this summer I’ve come to enjoy and appreciate climbing. I found myself actually enjoying really some long, tough climbs that I previously would’ve been cursing.

Bizarre, but I’ll take it.
Before I knew it the camera crew was cheering us on as we approached the final descent of the trip. As we rounded the final bend, a gorgeous view of Mt. Hood came into view. We celebrated at the shore of Frog Lake for a while, reflecting on our trip.
Honestly, there’s not much I would change! I think I finally learned how to pack appropriately for a bikepacking trip - I wore literally every single piece of clothing I took, I ate nearly all my food, and didn’t have too much excess stuff. I’m going to call it a win!

My bikepacking setup
Here are some details of what I took:
Bicycle: Velo Orange Piolet
Tires: SimWorks SuperYummy 26 x 2.22 set up tubeless
Bags:
Ortlieb Handlebar Bag with Accessory Pack
Camping Gear
Tent: Nemo Dragonfly Bikepacking Tent
Sleeping Bag: Nemo Forte Women’s 35 Degree Bag
Sleeping Pad: Nemo Flyer Insulated Pad - Regular Wide

All Loaded up and Ready to go!
Reflections on the Trip
It’s pretty amazing how far we’ve both come in a year - from our first trip together on the C2C trail to this trip. I’ve grown as an athlete, an ambassador, and as a businesswoman.
I think the industry has also grown a lot too. I’ll do a future post on this, but we’ve held over 10 All Bodies on Bikes events in less than a year, launched a website, and a community with over 5,000 strong.
I think it really hit home on this trip how big of an impact we’re having with the All Bodies on Bikes work. We ran into two different families on the trip who knew us - one at Little Crater Lake and another during a massive climb.
Meeting these families and hearing them talk about how they watched our film together as a family during lockdown with their 12 year old (and were now out bikepacking together) really hit home that ‘dang, our message is getting out there.’ So thank you all for your support, your encouragement, and I’ll be sure to link to the OPB segment when it’s released!
Land Acknowledgement
I’d like to acknowledge and thank the Confederated Tribes of Warm Springs, Confederated Tribes of Grand Ronde, and the Cascades Tribe for allowing us to recreate on their traditional lands.
Simple Tasks to Keep Your Bike Happy, Working Well, and Out of the Shop
Your bike is an investment! Even if you didn’t pay very much for it or it was a gift, keeping it running well is key to having a good time on two wheels. Doing these 4 simple tasks will keep your bike running well and hopefully out of the shop (except for routine maintenance)!
When you buy something using the links in my blog posts, I may receive a small commission from your purchase via affiliate links.
Your bike is an investment! Even if you didn’t pay very much for it or it was a gift, keeping it running well is key to having a good time on two wheels.
I’ll be the first to admit that I am not mechanically skilled. I’ve taken a few courses and can get through in a pinch, but for anything more advanced that changing a flat tire and oiling my chain, it goes to the pros.
But there are a few super simple things you can do at home on a regular basis that will help keep your bike happy, working well, and hopefully out of shop except for routine maintenance!

Air your tires up before each ride
Properly inflated tires lead to less flats. Get a good home pump, learn how much air to put in your tires, and do it before each ride!

Lube your chain
Cleaning and lubing your chain helps make sure you can shift between gears easily, climb hills, and have a more pleasant bike ride. Clean, well-lubed parts last longer too. I like an all-season lube, but depending on where you live, you may want a specific formula for wet or dry seasons. Here’s a great little video on how to properly lube your chain (fast forward to 10:00 on the video.)

Wash your bike!
Give it a good scrub - especially if you’ve been playing in the dust, mud, or riding in th rain. Dirt and road grime can build up in the crevices and small parts, leading to corrosion and gross stuff. If I have time, I’ll give my bike a full wash & detail with these Pedro’s Pro Brush Tools. If I’m in a hurry, this Muc-Off Cleaner sprays on and wipes off quickly!

Check your bolts
Using an Allen key (or multi-tool), check to all your bolts on your bike to make sure they’re tight. This will prevent anything from slipping or coming loose during your ride.
My Top 10 Essential Pieces of Cycling Gear
Disclosure: Some of the links below may be affiliate links, meaning if you click through and make a purchase, I earn a small commission at no additional cost to you.
It’s true, all you REALLY need is a bike, but for the best, most comfortable experience on a bike there are a few accessories that will improve your cycling life immensely. Most of these are under $50 and will make your ride safer, more comfortable and most importantly, more fun!
I’ve included links to my personal favorites but there are lots of great options out there. So, without further ado, my top 10 accessories for bike life!
A Quality Floor Pump

I really love this basic Park Tool PFP-8 Home Mechanic Floor Pump. It’s simple to use, works for both Presta and Shrader valves, has an easy to read gauge, and is relatively inexpensive at $43.95. I check my tire pressure before every ride, so this is literally my most essential tool.
2. A Feedbag (Handlebar Bag)

Having easy access to snacks, your camera, water bottle, bear spray, inhaler, or whatever else you may need is key when you’re riding along. A feedbag attaches to your handlebar and stem and keeps all of your essentials right at your fingertips for quick access. I love this Revelate Designs Mountain Feedbag as it can be opened and closed with one hand, has a large inside pocket, multiple outside mesh pockets, and quickly attaches with velcro and a snap for secure attachment to multiple size bikes.
3. Cycling Gloves

Simple and functional, these gloves help absorb road vibration and provide protection to your hands. These come in both half-finger length for warm days and full length for colder rides.
4. Water Bottle

This one may seem obvious, but not all water bottles are created equal. I’m partial to the Purist bottle (and will soon have some in my shop) but until then, encourage you to support the Radical Adventure Riders or your local bike shop.
5. Lock

Bike thieve suck. While nothing will totally prevent it, a good u-lock will at least deter/delay the theft a bit. I highly recommend the smallest u-lock you can get away with, as there is less room to get a tool in to pry the lock apart. Make sure you also register your bike on bikeindex.com as well!
6. Raincoat / Raincape

This is the first cycling specific rain jacket I’ve ever worn that actually fits! Coming in sizes from XS-3XL (which I wear) this jacket has tons of cool features - zip down armpit vents, reflective bits in all the right places, and generous length for riding. As a bonus, here’s a video of me being really excited about trying it on for the first time.
7. A Rack & Panniers

Ok, technically this is 2 pieces of gear, but having a quality rack and panniers will make all the difference if you decide to commute, bike camp, or grocery shop with your bike. I love these panniers - they’re waterproof, have replaceable parts and are super durable.
I don’t have a specific recommendation for a rack, as you’ll need one that is compatible with your bike. Chat with your local bike shop and see what they recommend!
8. Roadside Repair Kit (Tire Levers, Patch Kit & Hand Pump)

Unless you’re running tubeless (and sometimes even then), flat tires are a fact of life. Remove your tires easily with these tire levers. $5 for a set.
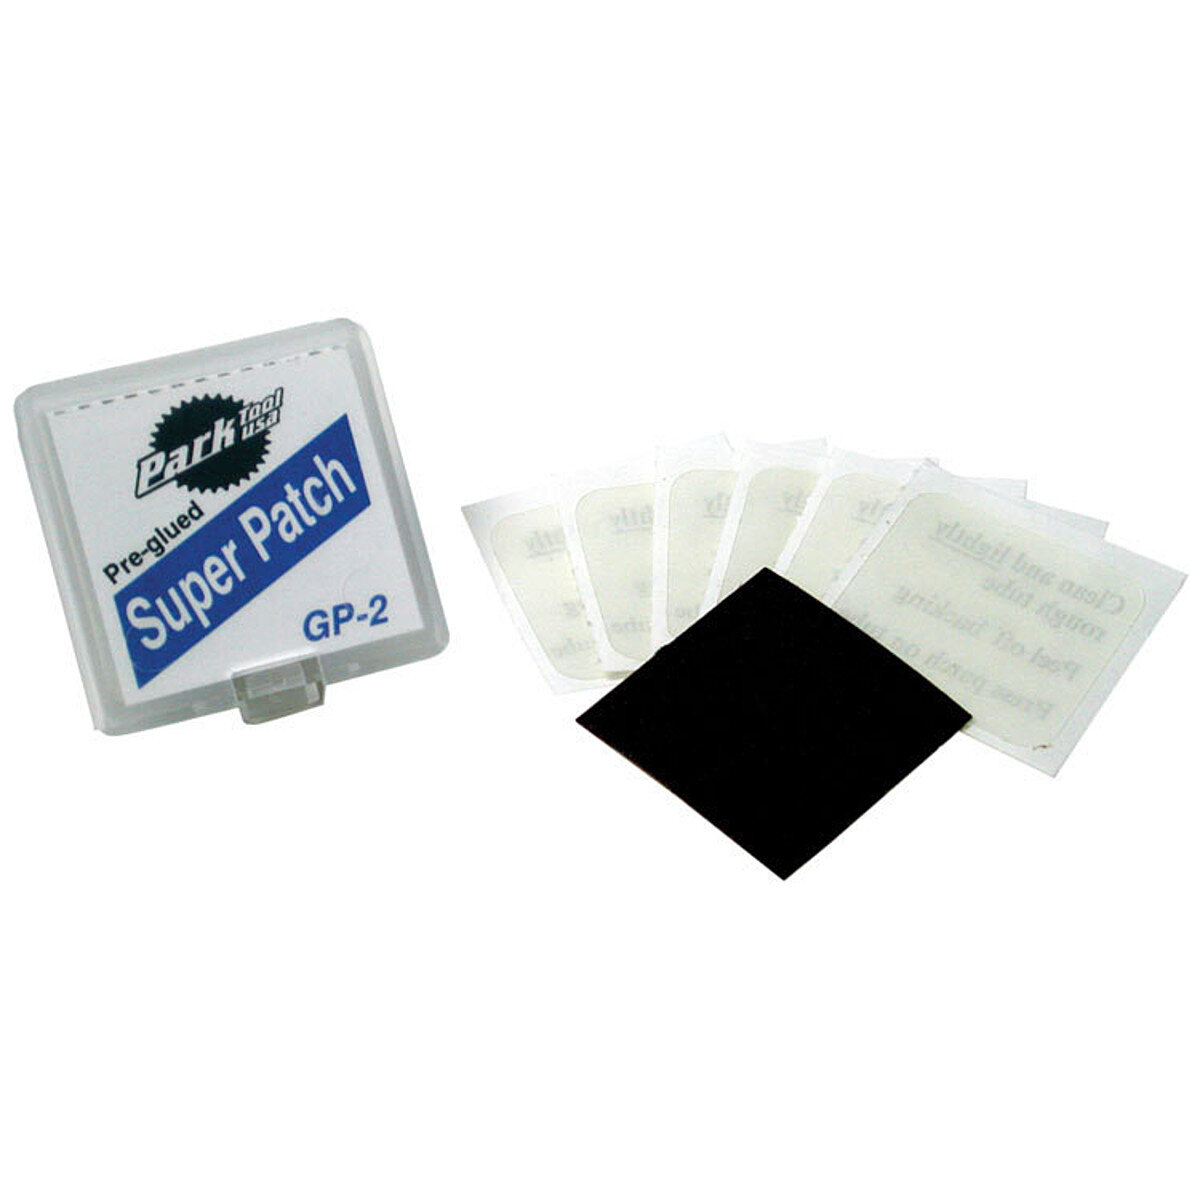
Patch Kit
Learn how to patch your tires. It’s quick, it’s sustainable, it’s easy.

Leyzene Sport Drive Hand Pump
I love this pump because it has a flexible hose which makes attaching it to your tire valve easy. It also has attachments for both presta and Schrader valves, so it works for all your bikes!
9. A Bell

Spurcycle Compact Bell
Loud with a clear sound, this bell is nice and compact and doesn’t take a ton of space on your handlebars.
10. Lights
