How to Travel with your Bike
Disclosure: Some of the links below may be affiliate links, meaning if you click through and make a purchase, I earn a small commission at no additional cost to you.
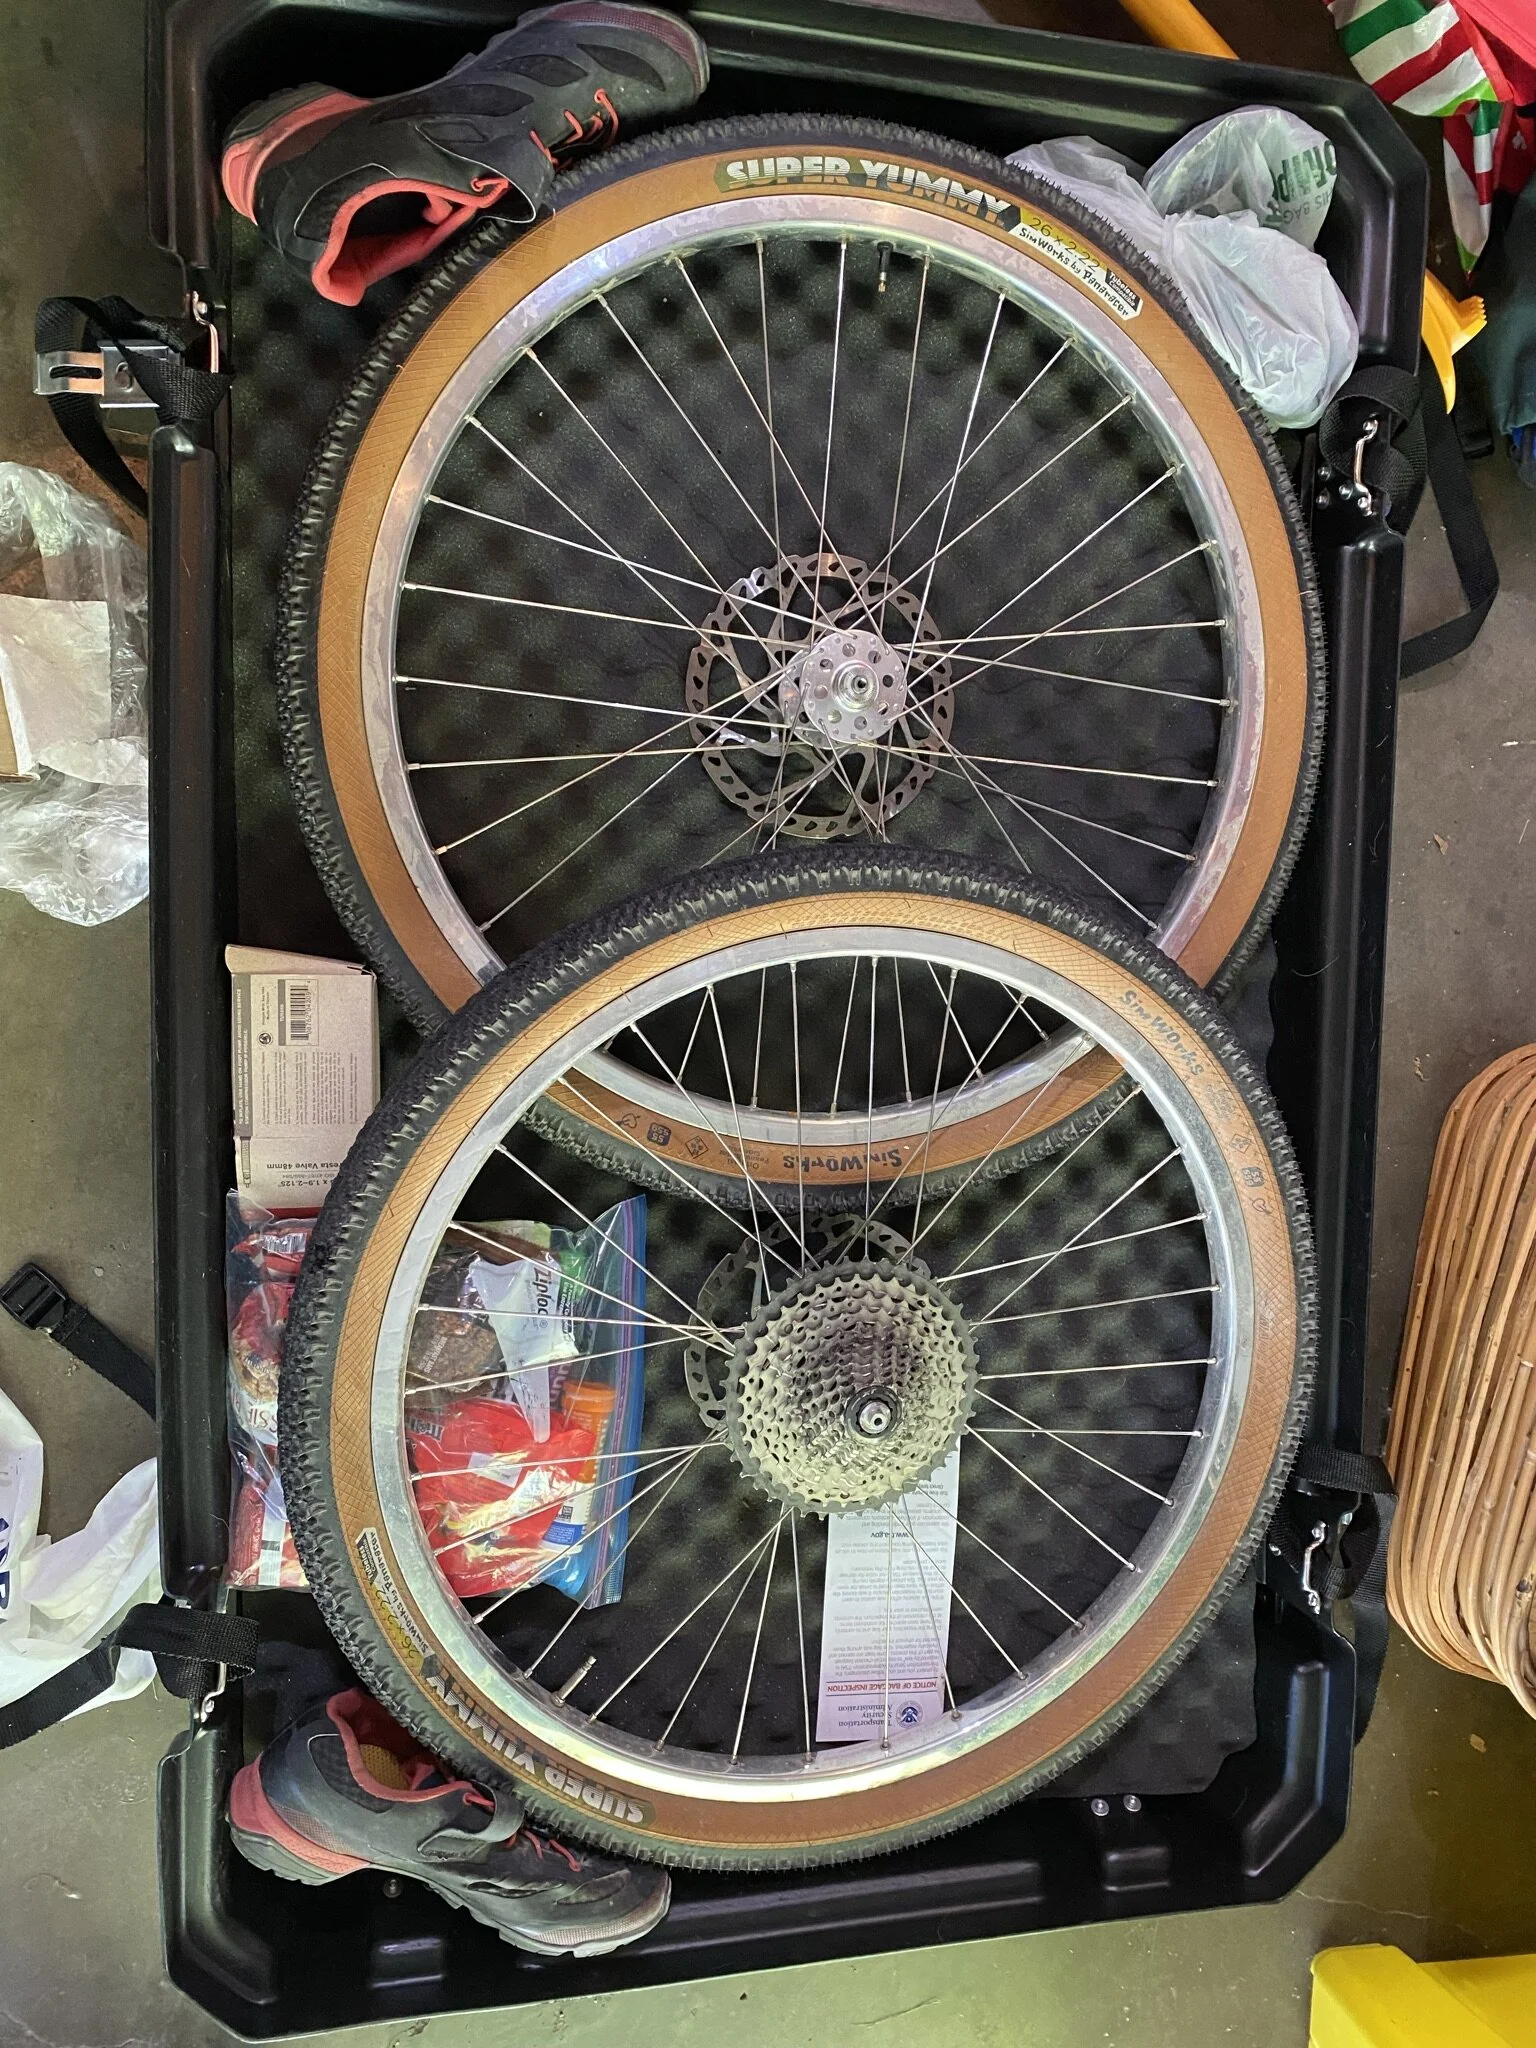
I recently flew with my bike for the first time ever to Unbound Gravel in Kansas and would love to share my experience with you!

I flew Alaska Airlines, which has one of the most generous bicycle policies, allowing bikes to travel as a standard piece of luggage. This meant that because I booked it with my Alaska Airlines credit card, my bag and bike flew free. (P.S. I don’t have a link to share, but if you’re interested in signing up for the credit card, get in touch and I can get you a referral code that’ll score both of us free miles.)
But, if you’re not flying on an airline that let’s you check your bike as luggage affordably, there’s another great option - BikeFlights.com
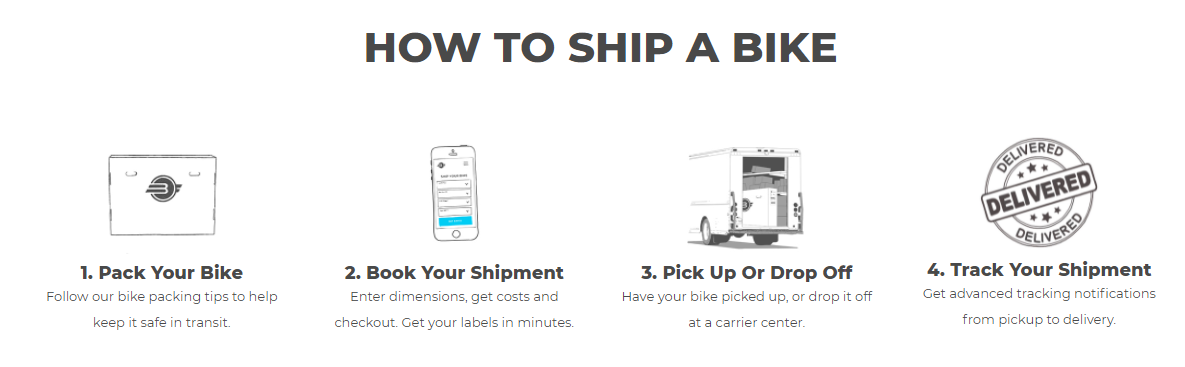
BikeFlights uses UPS and bulk shipping magic to get lower rates for full bikes, wheels, and frames. They also provide lots of handy tips, tricks and advice for the best way to pack your bike to ensure it arrives undamaged. The best part is that you don’t need to worry about lugging a big bike box through the airport - it can be delivered exactly where you specify!
Ok…so the shipping/flying is actually the easy part. The harder part (for me at least) was figuring out how to take apart the bike and pack it up safely for transport.
Here’s what I learned:
Take your pedals off first. I used this tutorial (no pedal wrench needed!) and it was super easy! Put these into a baggie for safe keeping.
Remove your seat post and saddle. Pro-tip: Use a sharpie (or nail polish) to mark your seat height before you remove the seat post so when you put it back on you can get it exactly where you want it. I also put this in a grocery bag, as the seat post will have grease on it.
Shift to the smallest cog and remove both your wheels. Secure the crank and chain to your bike with a zip tie to prevent the chain from scratching your bike frame.
Deflate the tires. Remove the axle (either quick release or thru-axle) and store safely. I kept these in the same baggie with my pedals.
Unscrew your top cap and remove your handlebars. You’ll want to take the handlebars all the way off your bike to fit into the box.
Your bike is now ready to be packed up. Depending on what kind of box you’re using, you might need to follow a specific order to pack the bike properly. I would recommend using bubble wrap, foam cushioning, or specific bike packing materials (you can get these from a bike shop) to reduce the risk of damage to your bike. Be especially mindful of the derailleur, drop-outs and brakes.
When you get to your destination, its time to put everything back together!
Make sure you save all of your packing material, as you’ll likely need to travel back home too. I recommend bringing a small tube of bike grease with you - this is a good time to re-lubricate pedals, seatposts, etc.
Good luck and happy traveling!
Seattle Needs you to Plan a Group Ride
Believe it or not, there was a time when there was a casual bike ride or bike culture-related event nearly every night of the week in Seattle. These ranged from Critical Lass to Bike Polo to the Disaster Relief Trials to outer spaced themed Alley Cats. If you rode a bike in Seattle and wanted to find like-minded folks to ride with, you typically could.
Now, even though it’s Bike Everywhere Month, the Events Calendar on the Seattle Bike Blog is woefully sad, aside from the awesome advocacy work Seattle Neighborhood Greenways are doing.
Obviously we took a very necessary break during COVID, but now that vaccines are available to all and the city has installed new bike lanes all over the city, I think we’re ready for some big bike energy in town!

Big Bike Energy image courtesy of Gears for Queers
In the last week I’ve gotten asked at least six times about upcoming group rides in Seattle that I’m leading, and sorry, but my next one isn’t until June 19th! But there is absolutely no reason there shouldn’t be many group rides between now and then!
While I’m honored that folks look to me as a leader in the bike community here in Seattle and enjoy the group rides that I lead, I’m here to tell you that you too can lead group bike rides that are safe, inclusive and fun! And the Seattle bike community needs you to!
Please, I’m begging you - take a risk, step out of your comfort zone and plan a ride, bike party, alley cat, or charity ride!
Nobody holds the keys to bike culture - together we can shape an inclusive community that reflects our values.
To help inspire you to plan the bike ride of your dreams, I’ve put together a 5 step no-fail plan. Obviously everybody’s planning process is different - you don’t have to follow my advice. But please, somebody plan a group ride and let’s get the bike community going again in this town!
Pick a Day & Time. I like to take into consideration when my intended audience will be able to attend, as well as expected car traffic at that time and any potential conflicting events (sports games, big events, etc.)
Designate your meet-up spot. I’ve played around with lots of different spots around town and find that the most successful are those that are centrally located, have a restroom, and food close by in case folks show up hungry.
Recruit your friends to help. Leading a ride alone is hard - having friends to help decide the route, act as sweeper (more on that later) and promote the ride is super helpful.
Announce the Ride! Make a flyer (digital or print to put up at shops), Facebook event, Instagram post, etc. Consider posting the event to local online communities like Seattle Bike Blog, Twitter, EverydayRides.com, and the Seattle WTF Bike Slack. Make sure you include all the relevant details of your ride like date, time, pace of ride, meetup spot and things to bring.
Do the dang thing! If it’s fun, do it again! If not, that’s ok! Maybe somebody else will be inspired to lead a ride!
And while I’ve got your attention, there’s a couple of things you can do as the Ride Leader/Organizer to ensure your ride is inclusive, safe and fun.
In no particular order:
Be honest about what pace you’re going to go at and stick to it. (Using a bike computer can be especially helpful for keeping a real time eye on this during your ride.) Remember, my “social pace” is probably not the same as your “social pace.”
Publish your intended route before the ride. Using RidewithGPS or other ride mapping software allows participants to download the route onto the bike computer (if that’s their thing.) This can also help alleviate any anxiety folks may be having about where the ride is going!
Have a sweeper at the back of the group who knows the destination and can help shepherd anyone who gets separated from the pack to the ride destination.
Regroup at the top of hills and actually give the last folks up a chance to catch their breath.
Don’t use judgement based descriptions like “beginner” when you actually mean slow. Calling out specific required skills (holding a paceline, being able to ride single track, etc.) will better allow potential attendees to gauge if the ride is appropriate for them.
So, what do you say? Need some inspiration for ideas for group rides? Take a look at what Portland is up to for the next 3 months with Pedalpalooza.
In closing, Seattle is not known for being the friendliest city. But in my experience, the bike community does a pretty damn good job of supporting each other. And I can guarantee that I’ll do my best as a bike advocate and fan of creating community to cheer you on, hype you, and help guide you (if you want it.)
Learn to Bike Camp with Me!! (Virtually!)
One of the most common questions I get is “How do I get started with bike camping?” After years of teaching beginners in person and taking many people on their first trip, I’ve realized in our new virtual world, I can share the knowledge far and wide!
I’m excited to announce that I’m offering virtual “Learn to Bike Camp Classes!”
Learn more about the classes and sign up here.

Too Heavy to Buy a Bike? Apparently So...
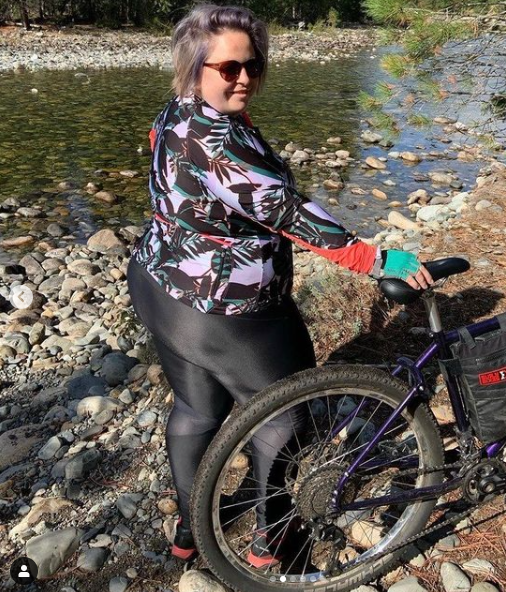
A man in Canada had a frustrating experience recently when he was refused pickup of his newly purchased bicycle after exceeding the weight limit established by the manufacturer…or so the story read. But is it so simple?
But instead of trading jabs at either the store or the customer, I’d instead like to offer a few ideas for broader solutions which would make the cycling world more inclusive to all, but especially people in larger bodies.
A man in Canada had a frustrating experience recently when he was refused pickup of his newly purchased bicycle after exceeding the weight limit established by the manufacturer…or so the story read. But is it so simple?
Turns out, the customer was asked to sign a waiver acknowledging that he was aware he exceeded the weight limit (and could’ve taken the bike home then.) The customer refused to sign and instead went to the media. Here’s the whole story.
I’ll let you decide for yourself who, if anyone is in the wrong here and if it’s discrimination, but I can definitely empathize with both the bike shop and the customer in this situation.
But instead of trading jabs at either the store or the customer, I’d instead like to offer a few ideas for broader solutions which would make the cycling world more inclusive to all, but especially people in larger bodies.

For the Bike Industry
Make Stronger Bikes - Regular people are getting into riding bikes and need equipment that is going to work for them! I would advocate for stronger bikes across all segments (road, mountain, recreational, electric) but especially recreational and commuting. I think we’re just at the tip of the iceberg in terms of a fundamental shift in how people get around and a whole lot more folks are going to be looking for practical, strong bicycles that can carry groceries, kids, and be everyday bicycles.
Make the Weight Limit Info Easier to Find -Some brands are already doing this and it’s awesome. For those that aren’t, make it easier! Put this in the owners manual and simple to understand.
Educate Bike Shop Employees - This one is a little bit sensitive, as we don’t necessarily want shop employees walking up to a person in a larger body and saying “Hi! You’re fat, I have just the bike for you!” But knowing how to sensitively and appropriately approach the topic of weight limits, appropriate shock pressure for different weights, and bike selection for different body types is crucial for a welcoming bike shopping environment.
Make Clothing for Larger People - This one feels like a chicken and egg. Fat folks ride in the rain and cold. Fat folks get wet and cold and need appropriate clothing. Please make larger sizing.
Hire me to train your staff and employees! Here’s a primer on what we can talk about - we can also customize it to your industry. Kudos to those brands that have already brought us in - we’ve had excellent conversations and I’m really excited to see future changes!
For Consumers
Do your Research - I know we’re already experts at this (find me a fat person who hasn’t looked up the weight limit of a zip line, seat width of an airplane, or confirmed to see if we’ll fit in a booth.) The burden should not be on our shoulders, but it can definitely help conversations at the bike shop if you have an idea of what you’re looking for before you go in.
If you’re just getting started, read this blog post - “Biking While Fat - 4 Things I Wish I Knew”
Support brands that are doing the work already - While somewhat limited, there are bike manufacturers who currently make bikes designed to hold a lot of weight. Surly Bikes and Zize come to mind (note: I love Surly but have not personally tried Zize.)
I’d also advocate that these tips are useful beyond the bike industry and could be applied to many outdoor pursuits. What else would you add to this list?