I Did a Cyclocross Race and Came in Dead Last

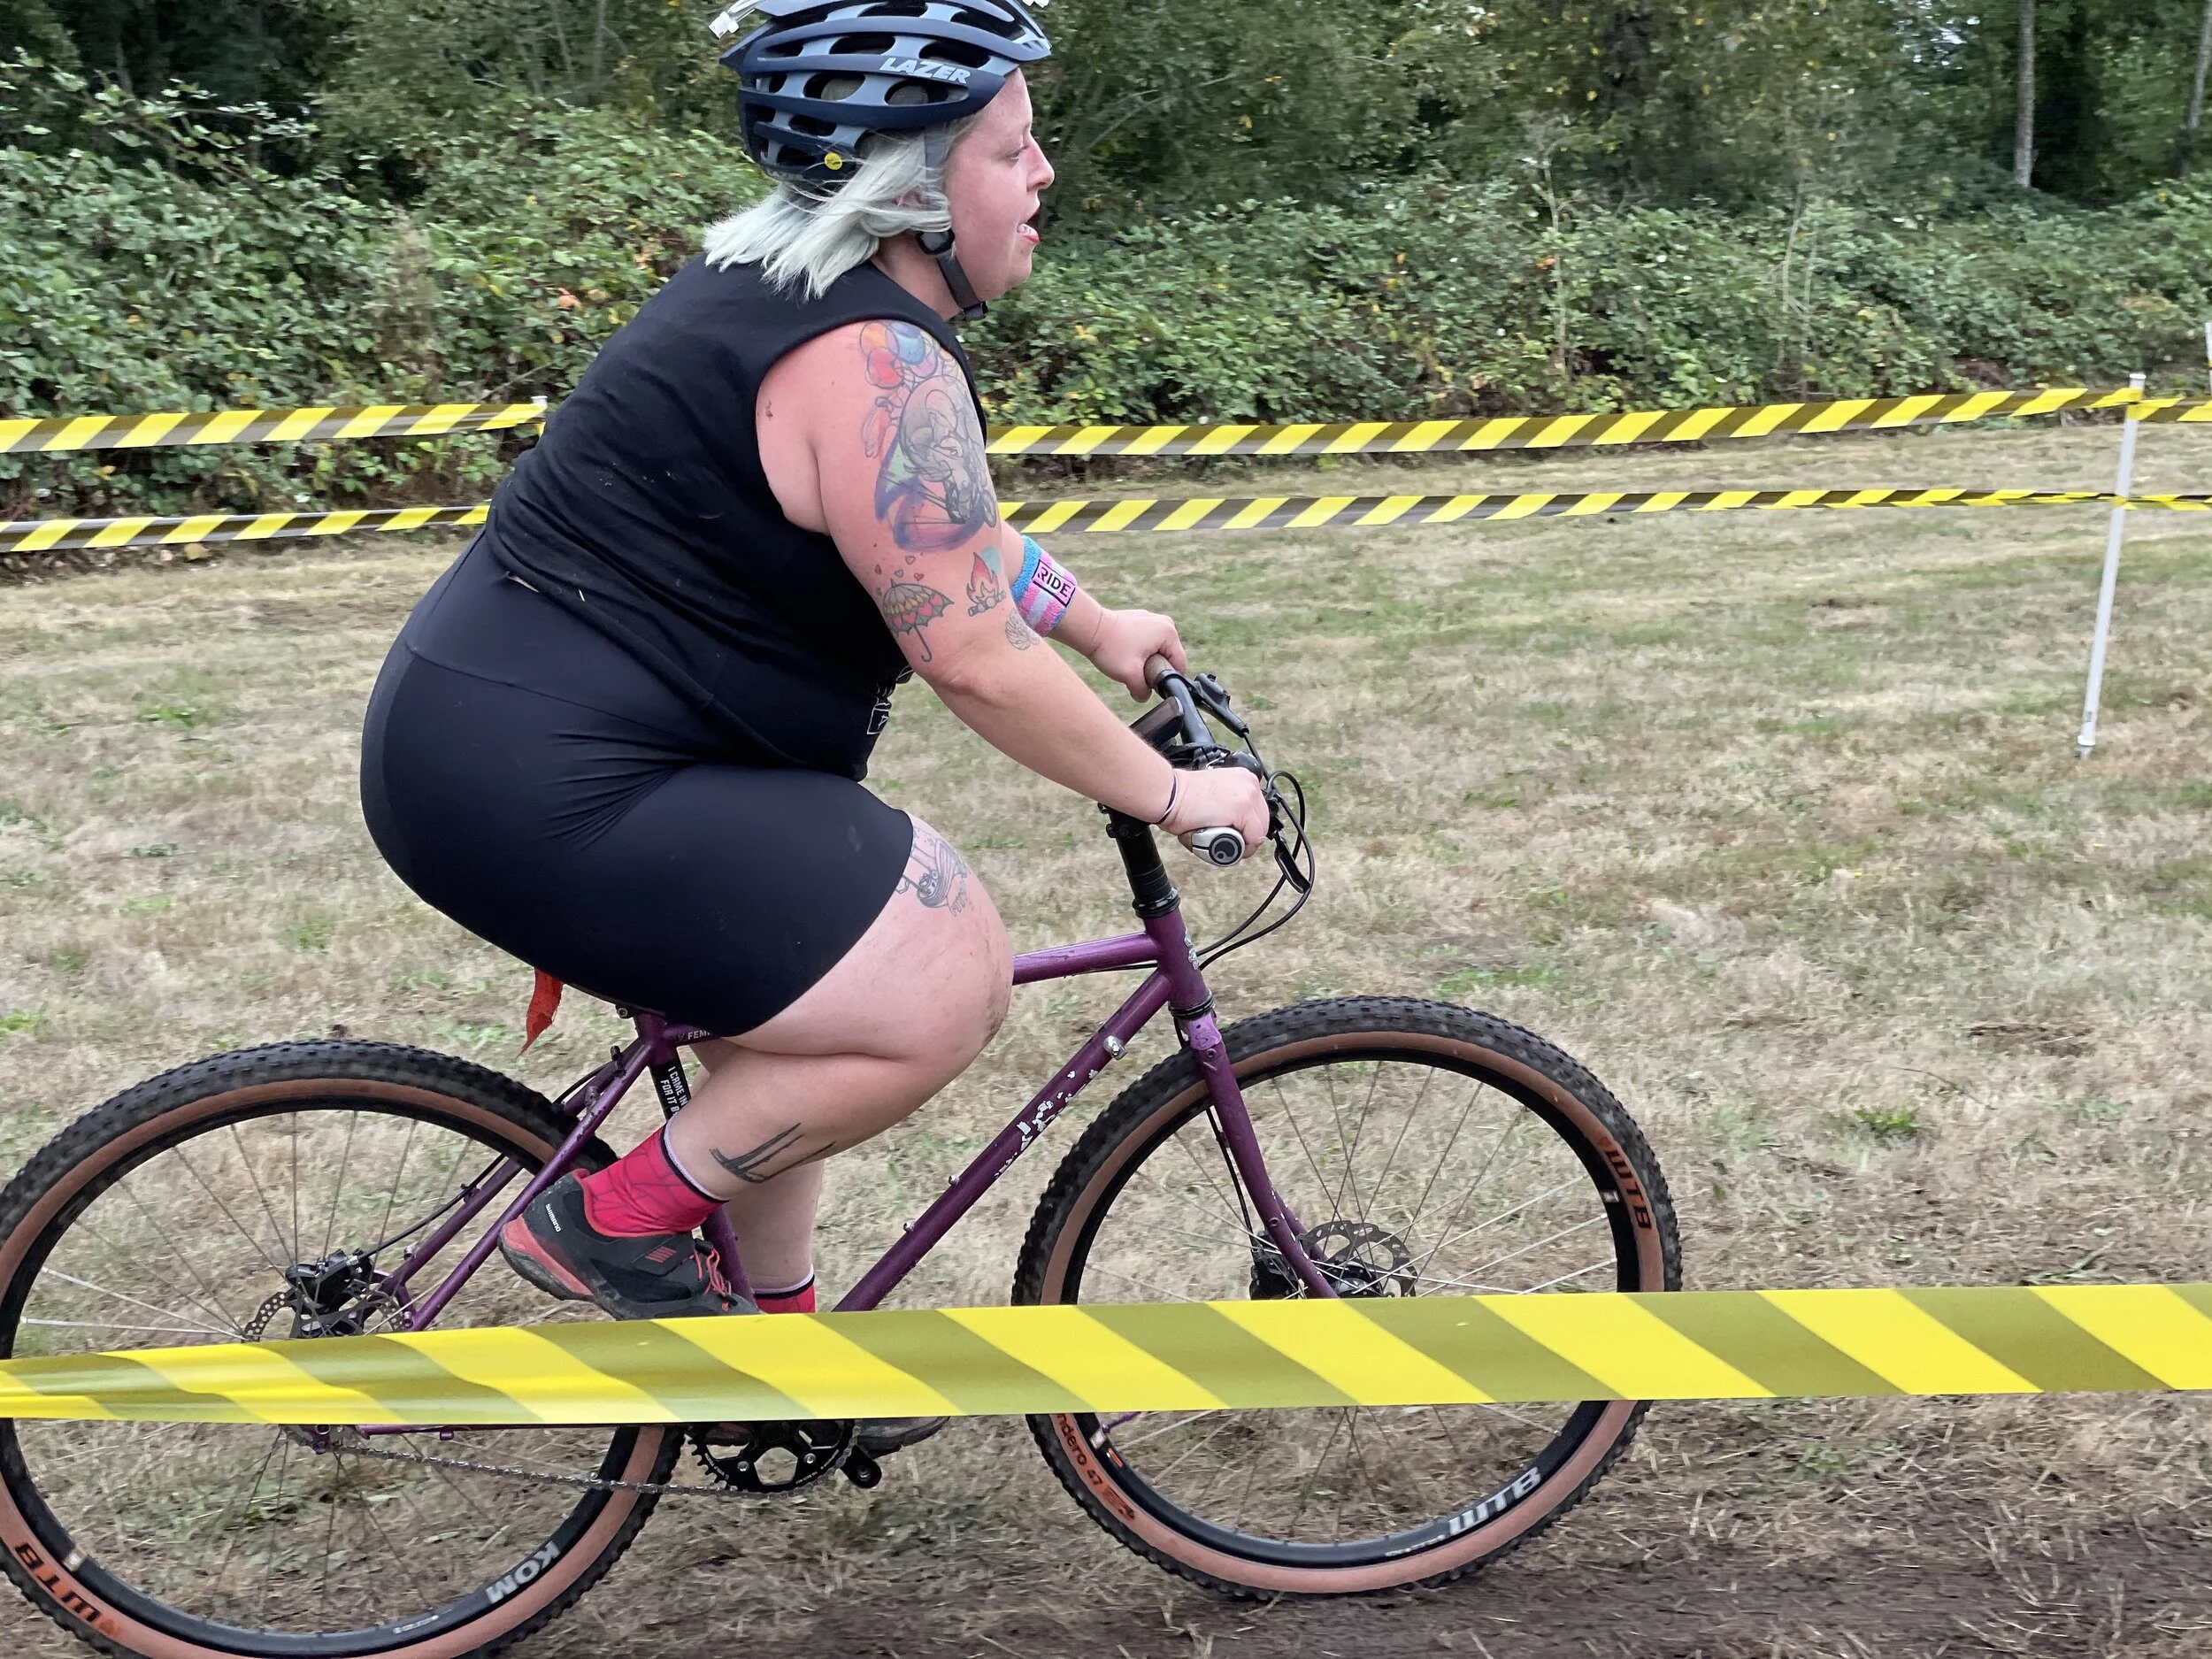
Lap 1 - already suffering
Last weekend I lined up at my first cyclocross race start line in the Women’s Beginner category, full of nerves, fear and excitement. Aside from half a lap dressed in a Santa suite in Portland a few years ago at the Single Speed World Series, I’ve never attempted cyclocross. For years I’ve stood on the sidelines and cheered on my friends.
I’ve always wanted to get out there and try it. Everyone (literally everyone) who has ever raced cross will tell you “It’s so fun.” “You just race your own race and do your own thing.” “Nobody cares how slow or fast you’re going - they’re all too concerned about their own race.”
Despite this AND all the body positivity and inclusion in cycling work I do, I’ve always been too intimidated to actually get out there myself. I was afraid of the mass start. I was intimidated by the performative aspect of everyone watching and cheering, and the idea that everyone would truly see just how much slower I am than everyone else, and frankly simply feared that I was too fat, too slow, and too unskilled to race cyclocross.
I also didn’t have a bike that would work for cross racing. For those unfamiliar, cyclocross is basically a criterium style race where you take on a variety of terrain and obstacles - from grass to mud to singletrack. An ideal bike is one that you can dismount/remount quickly, pickup easily to run with, and has clearance for knobby tires.
Sure, my Surly Straggler would’ve worked, but I was using that as my do-it-all commuter, touring, city bike, so removing the fenders, racks and accessories was not an option (or at least one that I was willing to do.)
Fast forward to 2021 and I’ve now been blessed with a stable of bicycles which has allowed me to convert my Surly Straggler into a single speed cyclocross bike! (HUGE thanks to competitivecyclist.com - one of my sponsors!
So here’s how the race went, what I learned, and what I’ll do differently next time!

The Surly in all her glory
Race Prep & Practice
In the weeks leading up to the race, I attended a few practice sessions with a local WTFNB (women trans femme non-binary) club called Breakfast Cycling. At these practices, we ran through a number of drills that would come in handy during the race. These included mounting and dismounting my bike, learning how to turn tight corners, how to carry my bike efficiently up hills, and how to start a race.
These practices were so helpful. If you’re looking into starting cyclocross, I highly recommend finding a team or group that runs practices. I was able to learn in a safe environment, ask questions and make mistakes in a supportive environment without the race day pressures.
What I Packed
Turns out, I took a lot of stuff to the race. Most of the stuff I didn’t end up using, but was glad I had it just in case. I’m sure I’ll get this list dialed in as the season goes on, but here’s what I packed:
Change of Clothes (for after the race)
Towel (to sit on in my car)
Water Bottles + Nuun (electrolyte tabs)
Snacks
Camping Chair
Dog Bowl & Leashes
Spare Tubes (even though I’m set up tubeless)
Extra Shoes & Socks
The Actual Race
I carpooled to the race with a teammate and we arrived a few hours early to give ourselves time to register and pre-ride the course. I wish I would’ve had more time to pre-ride the course more, as each lap I got more comfortable with tricky sections which would’ve made the actual race easier.
In our local series, all the women’s categories (except single speed) race together. This means total beginners like myself are on the course at the same time as world tour pros like Heidi Franz. Each category starts 30 seconds apart, with the fastest women starting first, and us taking off a few minutes after them.
From the start, I was in the back of the pack (which truthfully, is where I like to be.) I get nervous when other riders are right on my wheels, so riding my own pace at the back was perfect. I definitely started out way too hard and found myself struggling to breathe and heartrate way too high. I unfortunately forgot my heartrate monitor, but I’m looking forward to wearing it for future races.
Around the middle of the first lap, I eventually found my groove and settled into a sustainable pace for the rest of the race. That definitely included stopping for handups (beer, a cookie and some pickles) but hey! Race your own race!
Cyclocross is a funny sport in that I still don’t really understand how/why/when I’m done. I know I got lapped twice by the leader and at the end of the race there was a sign that said “you are done.” So I stopped riding.
Learnings for Next Time
My next race is coming up on Sunday and I’ll again be in the Beginner Women’s field. The only changes I’ll make for this week are to remember my heart rate monitor, eat more food, and maybe put a bit more air in my tires.

All smiles at the finish line
This blog contains affiliate links. When you make a purchase from one of my links (which I hope you do), I receive a small commission, which helps me keep doing this work. To learn more about my use of affiliate links, please click here.
How to Bike Commute - for regular, everyday people
This blog contains affiliate links. When you make a purchase from one of my links (which I hope you do), I receive a small commission, which helps me keep doing this work. To learn more about my use of affiliate links, please click here.
I’m going to let you in on a little secret - your commute doesn’t have to be a drag! It’s true - you can actually enjoy the time you spend going to and from work, school, or wherever! The secret - go by bicycle!
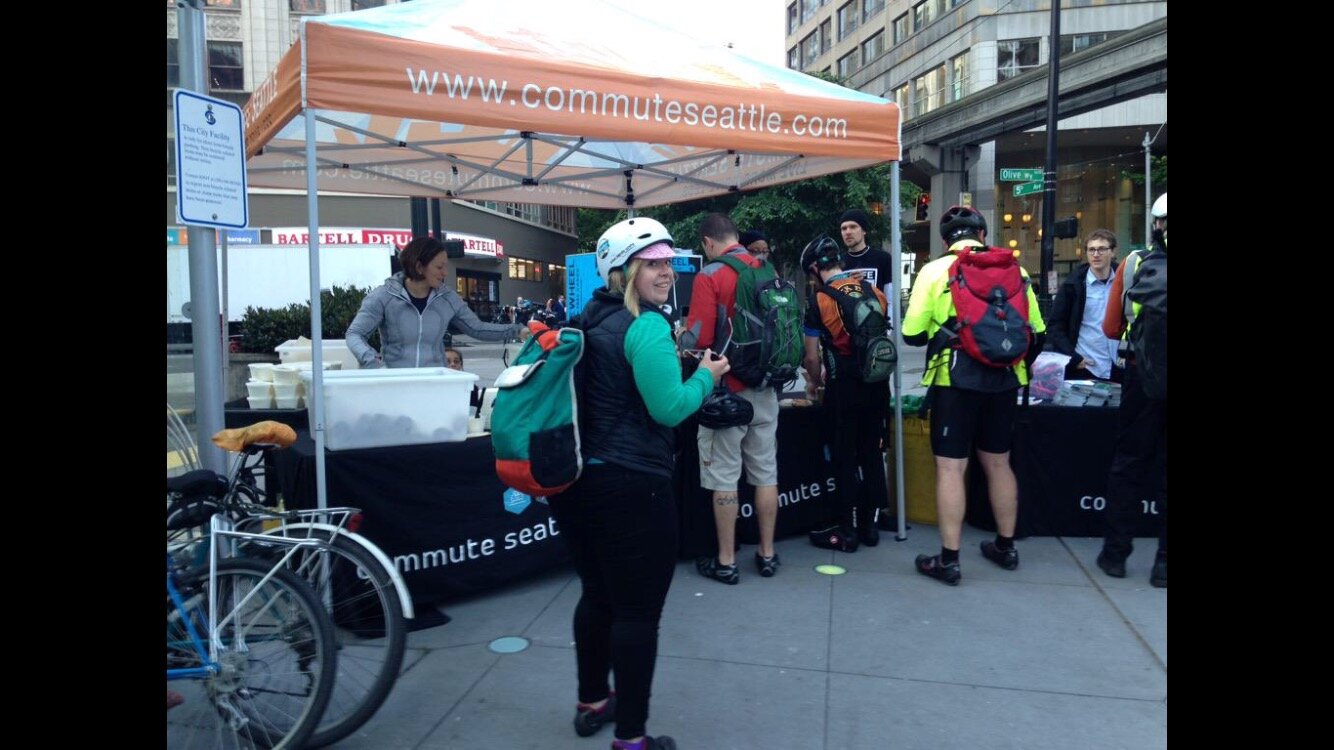
Marley in 2015
A blast from the past from Marley’s early days of commuting by bike.
I’m hoping by sharing my experience as a reluctant and admittedly often very lazy bike commuter, I can convince some of you to give it a try. And no, you don’t need to be in shape, wear anything special, or ride a fancy bike! Everyone can bike commute - even you!
“Middle-aged workers, in particular, especially benefitted from active commuting. Walkers and bike commuters between the ages of 35 and 54 had better self-reported work performance in the study than their peers who were stuck behind the wheel or took public transportation.”
I started bike commuting a few years ago when I realized it was taking me 45 minutes to ride the bus 3 miles downhill (told you I was lazy.) I realized that I could get to work quicker on a bike, have fun in the process, and get my blood flowing - all definite wins in my book.

lock your bike
No matter how secure your building’s parking is, a strong lock is essential. At my work, people clearly left them there. Don’t do this. It’s obnoxious.
After lots of trial and error, here’s my best advice for a successful bike commute.
Prep the night before.
Lay out your riding clothes, lights, shoes, gloves and jacket. Prepare your breakfast, pack your lunch and work bag, charge your lights. Whatever you need to do in the morning, do as much of it the night before as possible that way when your alarm goes off, all you need to do is get dressed, eat and hop on your bike! Trust me, it’s a lot harder to find your helmet at 6am than you might think.
Stash work shoes, toiletries, and a towel at work (if you can.)
If you’re lucky enough to have a locker room or spot to change clothes at work, I highly recommend leaving as many of your toiletries (or getting a duplicate set) there as possible. No need to carry deodorant, a hair dryer and a towel back and forth every day! At my last company, we had a communal hair dryer and straightening iron for everyone to use, which was a total life saver.
I also kept a stash of socks, underwear, a cardigan and shoes at work, because I would inevitably forget at least one of these crucial items most days. These lived in a desk drawer and saved my butt more than once.
Gear up properly.
Not to be “that” person who says you need all the fancy gear, but there definitely is some gear you’re going to want for a comfortable commute- especially if you live in a place where it rains or is dark during your ride.
The Bike: Any bike will work - honestly. For the most comfortable experience, I’d go towards a hybrid/all-road bicycle as they’re pretty dang durable. Something that can withstand potholes, rain, and lots of miles.
If you’re lucky enough to live in a city with a bike share, that’s a great way to test out the waters of bike commuting! More on that in a future post.
Electric bikes are another excellent option if they’re in your budget! Ranging from $999 for the RadMission to over $10,000 - the sky is the limit on how much you could spend on an e-bike (but you don’t have to!) Definitely a future post all about why I love e-bikes so much too!
Rack & Panniers to carry your gear: Yes, you can use a backpack, but I like having my bike carry my stuff. My go-to is the Ortlieb Classic Backroll Panniers - they’re waterproof, durable and big enough to carry lots of stuff. If you want something a bit cuter, Po Campo makes great bags that transition seamlesslesly from the bike to the office.
As for racks, it’s hard to make a specific recommendation as you have to make sure it fits your bike. Chat with your local trusted bike shop and give them your business. If you don’t have anywhere to bolt on a rack, this rack that attaches to your seat post and seat stays is a cool option though. Do NOT use this if you have a carbon frame!!
Lights: Let’s face it, winter is coming. For those of us in the northern hemisphere, it’s likely we will be commuting in the dark. Being able to see (and being seen) is crucial for a safe commute. Pick a light that’s in your budget - honestly I’ve tried a bunch and they’re all pretty good. I highly recommend rechargeable lights - take them into your office during the day and charge them and you’ll never be out of juice!
Fenders: Don’t be that person who sprays everyone behind you with gross water. Put fenders on your bike and keep yourself and those behind you dry. Bonus - it’ll keep your bike cleaner. (Make sure you get the proper size fenders for your tires!)
Lock: No matter where you’re parking your bike (unless it’s literally at your desk), you need a strong lock. I recommend a U-lock that can secure your front wheel, especially if you have quick-release style wheels.
Do a Test Ride before you need to be at work on time!
If you’re not already riding bikes on the regular, you might not have any concept of how long it’ll take you to get to work on your bike. This is ok!
Do a test ride on the weekend to gauge how long the ride will take and how your body feels doing it. Make it super realistic by loading up your bags, putting them on your bike and riding with them! Nobody wants to be surprised by an extra complication when they’re in a rush. Also, keep in mind that traffic patterns might vary from the weekend to a weekday.
Be realistic about the mileage - consider making your commute multimodal.
I realistically won’t ride more than 5-10 miles for a bike commute. And I ride a lot of miles when I want to. Be honest with yourself about how far you are willing to ride and use transit to help reduce the distance if you need. Most cities allow bikes to be loaded onto buses and trains.
One idea - take transit to work and ride your bike home when there might be less of a time crunch.
Find a mentor or buddy to ride with.
Ask around at work, in your local neighborhood Facebook group, or among your friends group. Perhaps there is an experienced rider who is traveling the same direction as you? Most cyclists are pretty friendly and excited to have more folks joining us on the road, so I’d encourage you to ask if they’d let you join on their commute. Having a seasoned rider lead you can help you gain confidence, learn tricks (or route tips) you might not otherwise know and provide extra visibility.

Bikes on the train
Don’t worry, this was pre-COVID.
Best of luck out there and more to come on this topic, including How to Bike Commute with a Laptop, How to Bike Commute and Not Get Sweaty, and How to Bike Commute in Dress Clothes!
What are Affiliate Links and Why Do You Use Them?
You may have noticed that starting a few months ago on my blog there’s been a disclaimer at top of my pages that reads “There are affiliate links on my page. When you buy something using this link, I receive a small commission from your purchase.”
I used to see this on blog posts and scroll past it, annoyed by the extra text. Just show me the damn recipe or product recommendation that I came here for. Ugggghhh.
But here’s the low down on that disclaimer and why you see it here: it’s a legal requirement.
What the Heck Are Affiliate Links?
Basically, I earn a small monetary commission (a % of the sale) if you purchase using my affiliate link. By using my links, you help me earn a bit of money, keeping this dream alive.
Does this mean you sold out?
Well, technically, yes. But I only recommend products and brands I actually use, love and recommend. You won’t find affiliate links for brands or products I don’t trust or won’t use myself.
Do you actually make money from this?
Surprisingly YES! Affiliate links are a primary way that bloggers (myself included) make money! Each site varies, but it really does make a difference when you purchase through our links! I paid my rent last month using affiliate links!
Ok Cool. What sites/brands are you affiliated with?
Well, I’m so glad you asked!! Check out all my affiliates here and I’m always open to more partnerships!
Plus Size Rain Gear Recommendations for Cycling
There are affiliate links in the post below. I earn a small commission if you purchase things using these links. To learn more about affiliate links, please read this post.
As I mentioned in my last post, for those of us in Seattle the rain is coming! While this is very welcome news to many as it’s been a historically dry summer, for those of us who use our bikes as our primary mode of transportation, it definitely makes things a bit more challenging.

Marley in a green rain cape, Kailey in a rain coat. Photo by Gritchelle Fallesgon
Staying warm, comfortable and dry on the bike is possible! Read on for my favorite recommendations for rain gear for biking, specifically for plus size cyclists! (I think most of these items come in straight sizes, but to be honest, I don’t know because I’ve never been straight sized.)
Layering is Your Best Friend
One of the biggest challenges I find when riding in the rain is moderating my temperature. Sometimes it’s 40 degrees and raining - other times it’s 75. These situations definitely call for different clothing, but if you’re anything like me, you’re not made out of money and you need one jacket that can work for a wide variety of situations. So how do you make it work?
Layering. Specifically base layers, mid-layers, and top layers.
Plus Size Base Layers
These are an absolute staple in my wardrobe. I sleep in them year-round when I’m camping, ride in them when its cold, and practically live in them in the winter.
32 Degrees Light Weight Top Base Layer - At $8.99 (and often available at Costco), this is a must-have. Unfortunately its only available up to an XXL (I wear an XL for size reference), but I’m hopeful they’ll have larger sizes in the future. Synthetic material, packs down super small.
REI Co-Op Top Plus Size Base Layer - A bit of a step-up from the 32 Degrees version, this top comes in both a crew neck version and quarter-zip version. Sizes 1x-3x
Smart Wool Merino Base Layer Top - The fanciest of all the tops, this merino wool base layer feels luxe against your skin, repels odors, and stays fresh in the backcountry. Sizes 1x-3x
On the bottoms, I will often wear just a base-layer or wool tights and then change clothes when I get to where I’m going. Even with fenders, I find that my legs get wetter than I would like.
SmartWool Plus Size Bottoms - These are the most expensive of the bunch but I highly recommend them. warm, cozy and go perfectly under a skirt or dress! Sizes 1x-3x
32 Degrees Light Weight Base Layer Bottoms - Again, these only come up to an XXL, but these pants are great for warmer rainy days and at less than $10 you can’t really go wrong.
Plus Size Mid-Layers
Your mid-layer goes in between the baselayer and the outer shell. This is often the piece that I change up the most depending on the temperature. I find that sweaters, t-shirts, and breathable fabrics help ensure the most comfort.
Plus Size Outer Layers
The outer layer is what you need to be waterproof. Whether its a ran cape, rain jacket, hardshell, or something in between, comfort, visibility, and water repellency are all key.
Rain Jacket vs. Rain Cape
Put simply, the biggest difference between a rain cape and a jacket are the fit. Whereas the jacket fits close to your body, the rain cape fits like a poncho, with ample room for reaching your handlebars, covering your legs in a seated position, and fitting a wide variety of bodies.
Vaude Valdipino Cycling Cape - This one is simple, easy and comes in 3 colors. Folds up into a pocket for easy storage when you’re not using it.
City Cycling Rain Cape - Budget friendly at $29.99 you can’t go wrong with this one.
Pearl Izumi WXB Monsoon Rain Jacket - I’ve raved about this one all over the place. I love it. My first cycling specific rain jacket that fits. Clever reflective bits. Hood fits over the helmet. Breathable arm pits. Just a good rain jacket.
Socks, Shoes & Shoe Covers
Wool socks are my favorite in the rainy season. I don’t know how or why they work, but they keep you warm even when they’re wet, don’t get too stinky, and can be repaired! I love the Pearl Izumi Merino sock - nothing fancy or flashy, just a good quality sock with no unnecessary seams.
Shoe Covers - I typically wear rain boots but there are times when I need to ride in specific shoes in the rain. Queue the shoe covers. You won’t win any cool points but your feet will be warm? I have the Pearl Izumi Elite Softshell Shoe Cover - they slip on over your shoes and keep you nice and warm and dry.